Monday 29 November 2021

What if: Vimeiro 1808

Edit: I've followed this post with a revised scenario. This post is still needed for OOB.

For my first 'historical' Peninsular battle scenario, I have chosen Vimeiro 1808. I've chosen it partly because I have enough figures to do it (at my chosen scale, more anon), partly because I can do it all on one table, and partly because it's an interesting battle.

That said, this is not going to be a recreation of the battle in any real sense. Although I'm using historic numbers, and the terrain and deployments are not too far away from [the feel of] those which framed the battle, I'm going to play around with time to a large degree.

Historically, Vimiero was actually two combats that were isolated from each other by both time and distance. Firstly, there was the combat for Vimeiro and its associated hill. Then, sometime later in the day, there was the combat for the eastern end of the Eastern ridge, which was itself two combats, with the second following after the first French attack had been successfully beaten off and the British had recovered their composure. In short, the outnumbered French attacked piecemeal and paid the price for it.

My 'what if' scenario poses that all of the attacks happened at roughly the same time. The British on the Eastern Ridge will lose their historical local superiority of numbers and give the French a chance of victory. Ding dong, that's a game!

With both combats fought simultaneously the battle will be perfect for four players; no one will be left twiddling thumbs, waiting for his time to arrive, whilst the others have fun. My plan is for two players to face off for Vimeiro and Vimeiro Hill; whilst two players face off for the Eastern ridge. Essentially, my 'What if' Vimeiro scenario will remain two separate combats.

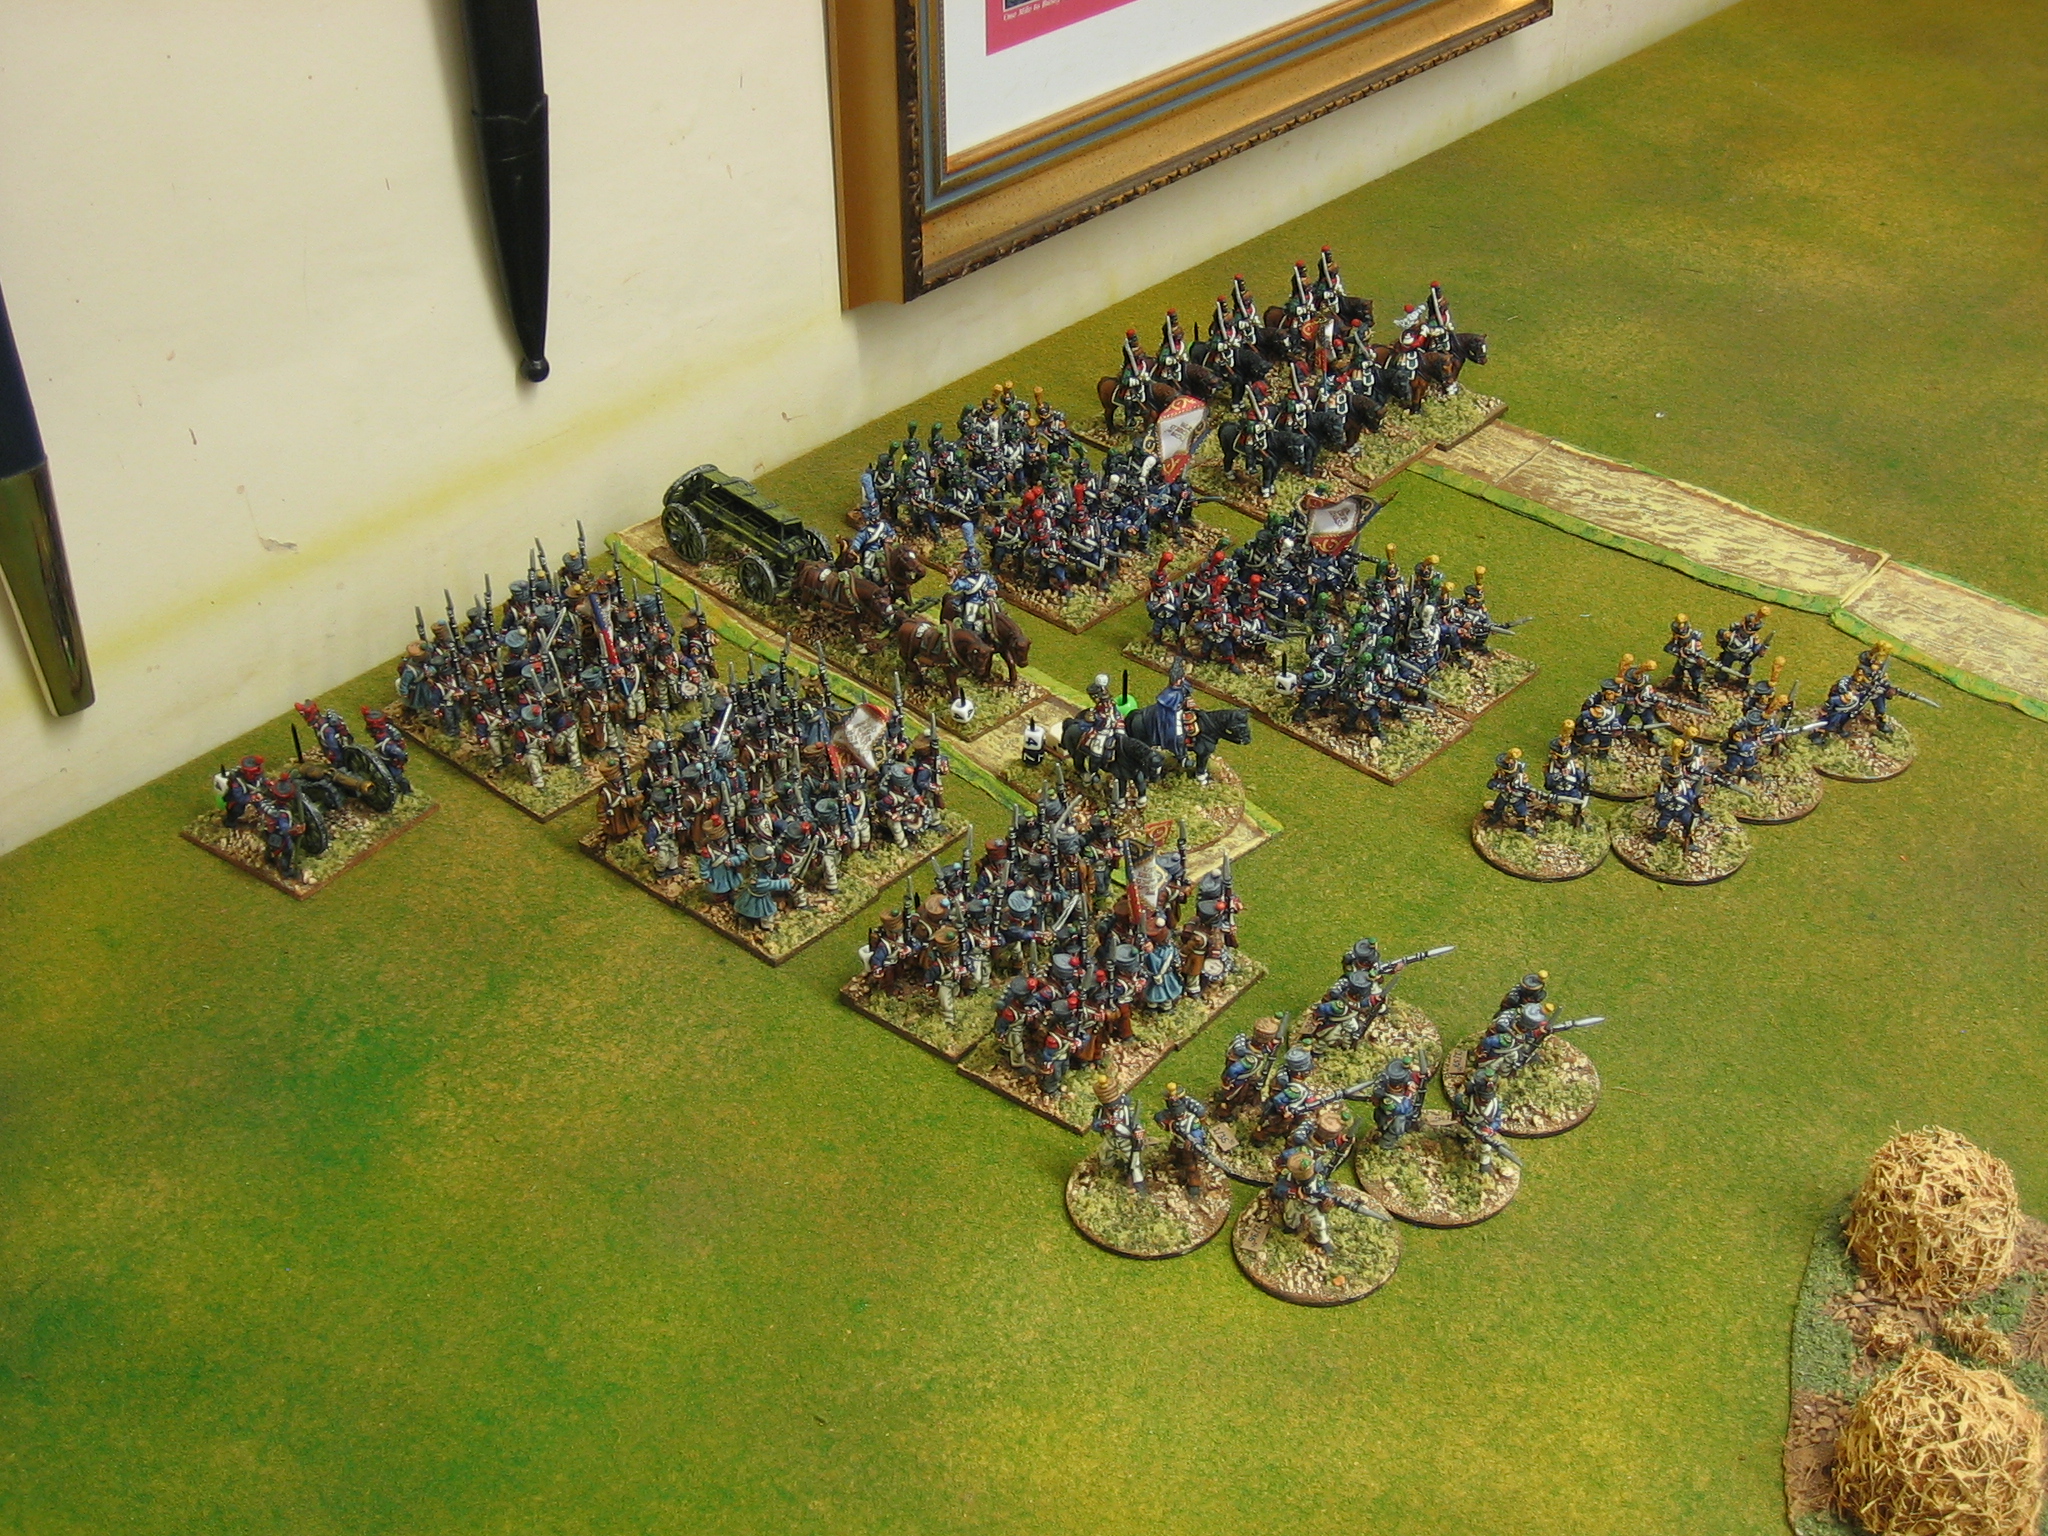
The set up for 'What if' Vimeiro 1808. 
BTW. I did make a schoolboy error when I set this game up: The room wall
 should be at the other end of the table, so to speak
.

Before I get down to the scenario notes proper, I just want to run my scaling method past you again because it does throw up some anomalies, and more in this case than usual. 

Rather than go the route of scaling units and having units of various sizes (much favoured by most Napoleonic players), I have decided to fly in the face of conventional wisdom: I have chosen to have units all one size, with each infantry unit representing 1000 men, and to forget the actual granular nature of brigades and divisions. E.g. Regardless of how many battalions made up a division, I will represent every 1000 men present with an infantry unit, every 500 troopers with a cavalry unit; fractions will be rounded, naturally.

This battle is a bit strange because of the number of large units (over 1000 men each) engaged. Normally I will end up with divisions fielding less units than would be historically present, and given that "I'm scaling" most wargamers would accept this without much of a to do: But, at Vimeiro, some formations have more units than they historically should. E.g. Solignac should really only have three battalions but, using my scaling method, his 4,000 men gives him four; Brenier should have four battalions but has five for similar reasons. This doesn't bother me very much but, I don't want to confuse anyone with my OOB without first explaining how I got there.

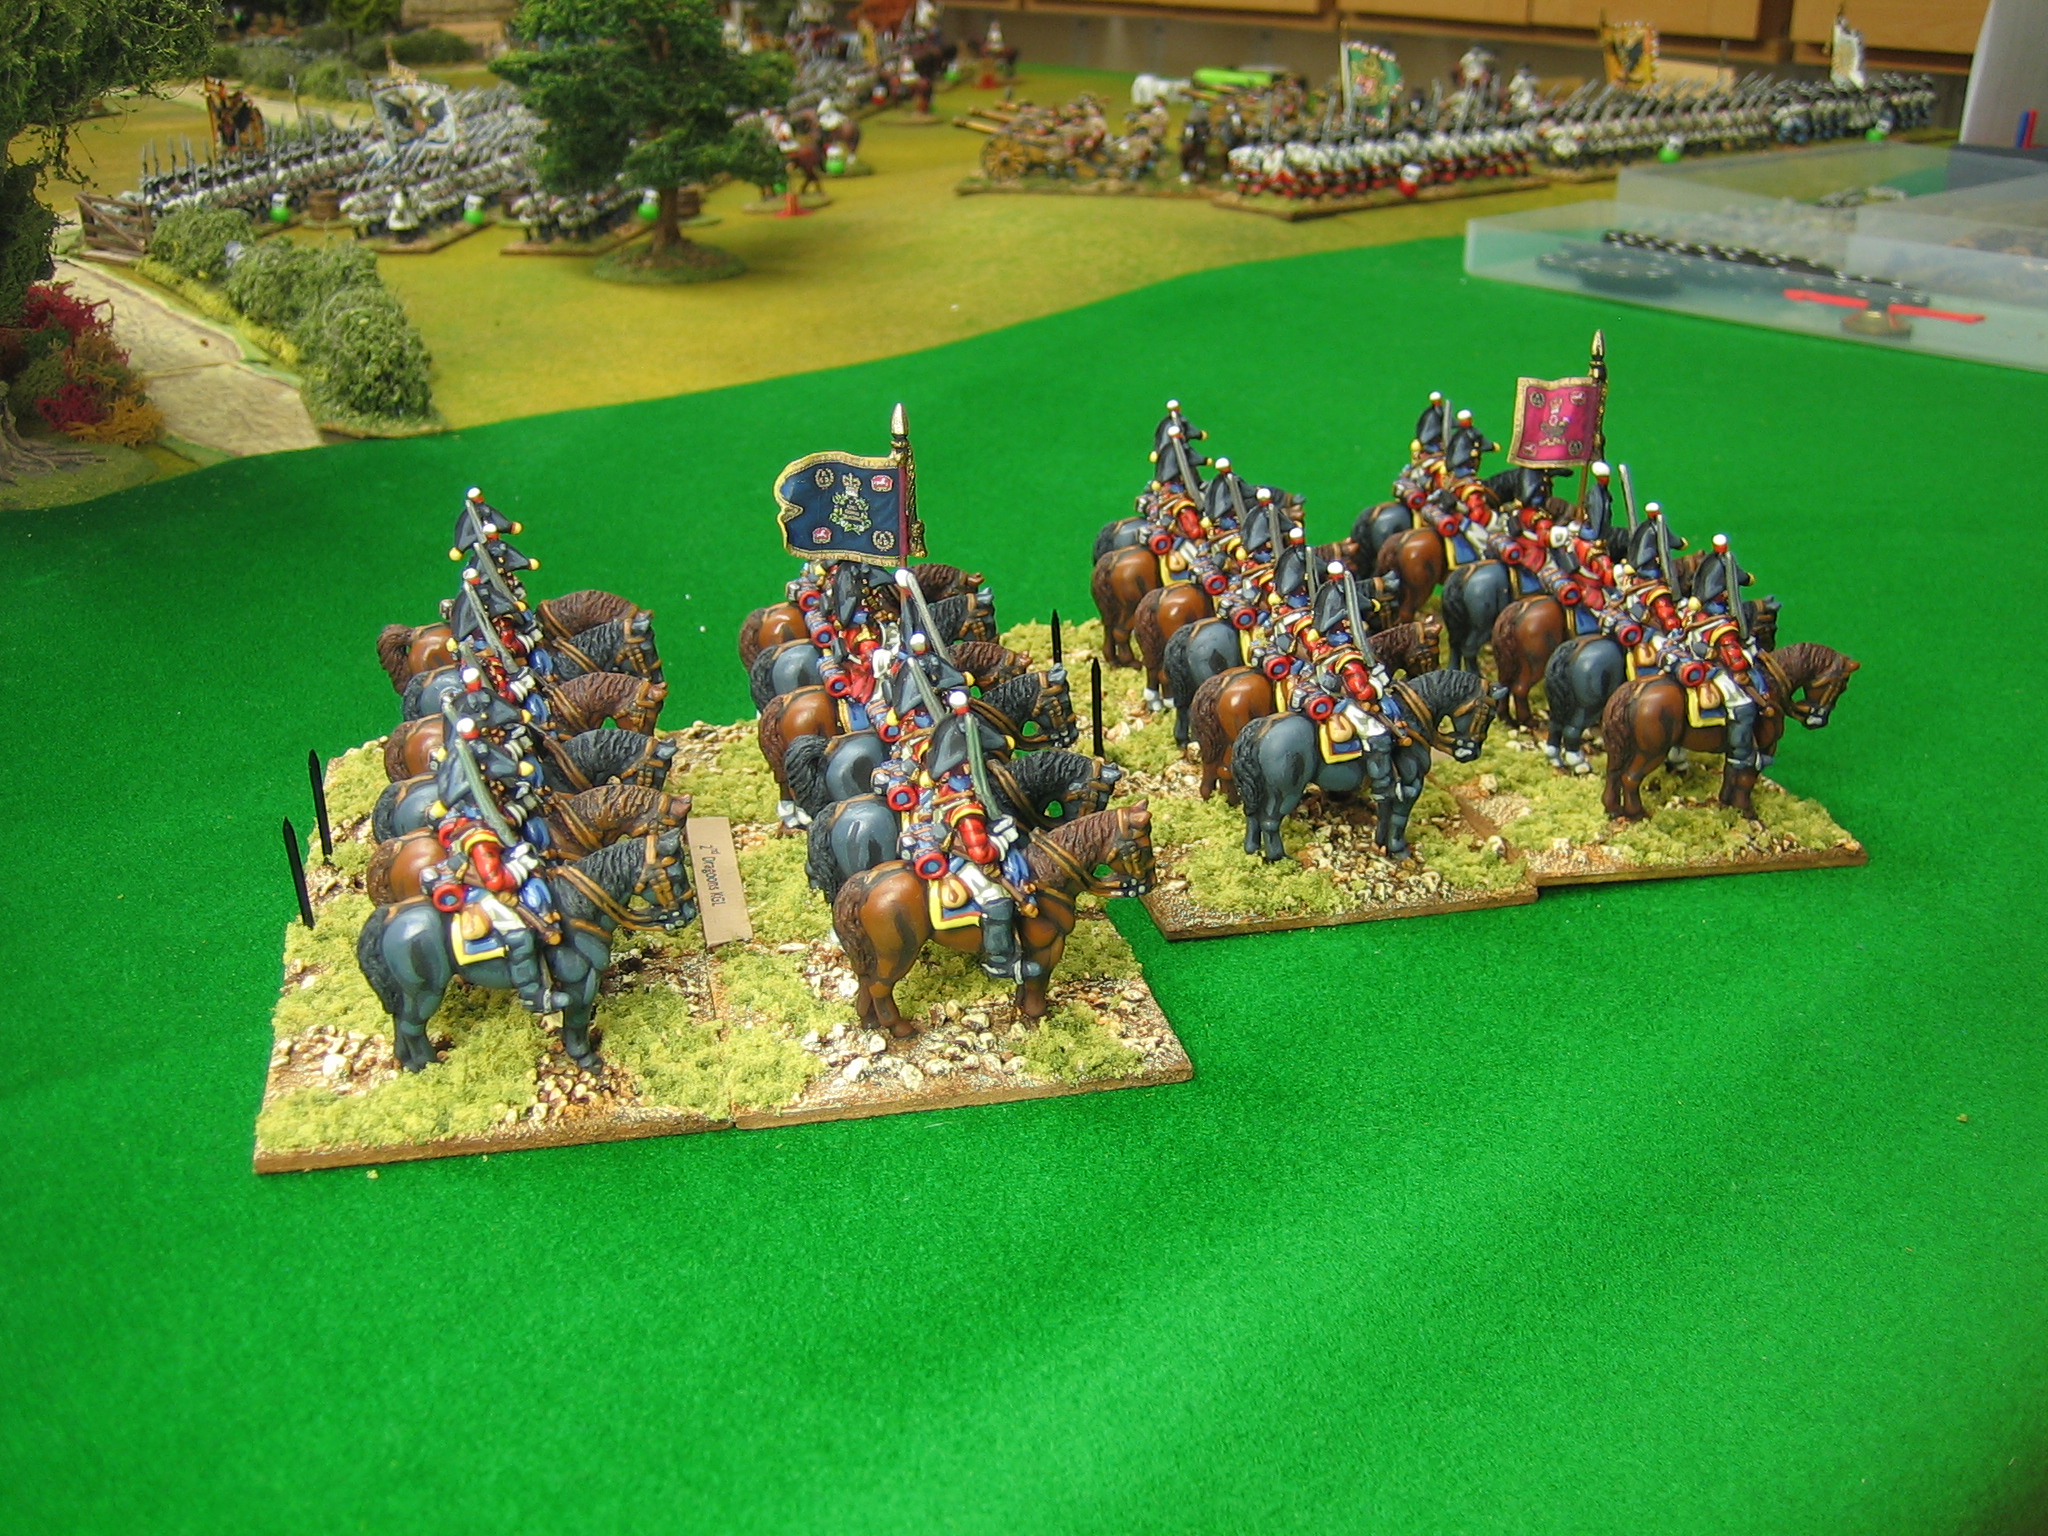
Another thing I have done, to concentrate effort and make the game less granular than it otherwise might be, is to combine certain brigades into ad hoc divisions with one division, rather than two brigade, command stands. Normally I would organise things at divisional level rather than brigade level, so where two brigades are to undertake the same task, in the same local, I have combined them. An example would be the defence of the eastern end of the Eastern Ridge by Nightingall and Furgusson: Historcally the two brigades worked closely together to achieve this so I have formed both brigades into a division under the combined command (one command stand) of both officers. Other examples of my ad hoc division making can be seen in the photograph above.

British Briefing:

Wellesley: Commander-in-Chief stand: Superior (2 Brilliant Leader cards). 12 Army Morale Points (AMP). 6 Transferable Divisional Morale Points (TDMP).

Victory Conditions: You are the holding the bridgehead in Portugal which will allow reinforcements to pour ashore from Britain. You must repel the French at all costs by holding Vimeiro and Vimeiro Hill. If you fail, you will be thrown back into the sea.

Anstruther's and Fane's Brigades (Division), 5,200 men: 
Command stand: Skilled. 19 Divisional Morale Points (DMP).
2 Line infantry. Ready.
2 Light infantry. Eager.
2 Skirmish rifle 1/2 units. Eager.
1 Light cavalry. Ready. (Combined British and Portuguese cavalry).
1 Battery. Ready.

Hill's Brigade, 2,700 men. (Off table, holding position on the Western Ridge behind Vimeiro to defend the right flank of the army):
Command stand: Skilled. 19 Divisional Morale Points (DMP).
3 Line infantry. Ready.

(Note: Hill must be activated by die roll on the Stratagem card, from turn 2, before arrival on table: Turn 2: D4 Vs D8; Turn 3: D6 Vs D8; etc. Once activated Hill's Brigade can be deployed anywhere behind the R. Maceira. Historically he wasn't called on but he was available).

Acland's Brigade, 1,300 men:
Command stand: Skilled. 6 DMP.
1 Line infantry. Ready (+2 rifle SK stands).
1 Battery. Ready.

Craufurd's and Fane's Brigades (Division), 3,500 men:
Command stand: Skilled. 10 DMP.
1 Highland infantry: Ready, Ferocious.
1 Line infantry. Ready.
2 Portuguese  Line. Battle weary. 

(Note: Craufurd and Fane may not be activated until the appearance of the British Event 1 card, or the start of turn 2. Historically he arrived too late to make an impact).

Bowes' Brigade, 1,800 men:
Command stand: Skilled. 6 DMP.
2 Line infantry. Ready.

Nightingall's and Furgusson's Brigades (Division), 4,000 men:
Command stand: Skilled. 12 DMP.
2 Line infantry. Ready.
2 Light infantry. Eager.
1 Battery. Ready.

British riflemen hold the vineyards on the lower slopes ofVimeiro Hill; they are
backed by the line and light infantry battalions of Fane and Anstruther. 

French Briefing:

Junot: Commander-in-Chief stand: Average. 11 Army Morale Points (AMP). 4 Transferable Divisional Morale Points (TDMP).

Victory Conditions: You must destroy the army currently defending the British bridgehead in Portugal before their reinforcements arrive in overwhelming force: Throw them back into the sea!

Brenier's Brigade. 5,100 men:
2 Light infantry. Ready.
3 Line infantry. Ready.
1 Dragoons. Ready
1 Battery. Ready.

(Note: Brenier may not be activated until the appearance of the French Event 1 card).
Solignac's Brigade, 4,000 men:
Command stand: Skilled. 12 DMP.
3 Light infantry. Ready.
1 Line infantry. Ready.
1 Battery. Ready.
Thomiere's and Charlot's Brigades (Division), 4,200 men:
Command stand: Skilled. 13 DMP.
4 Line infantry. Ready.
2 Batteries. Ready 

Kellerman's Brigade, 1,200 men:
Command stand: Skilled. 6 DMP.
2 Grenadiers. Eager.

Margaron's Cavalry Division, 1,500 men:
Command stand: Skilled. 8 DMP.
2 Dragoons. Ready.
1 Chasseurs a Cheval. Ready.

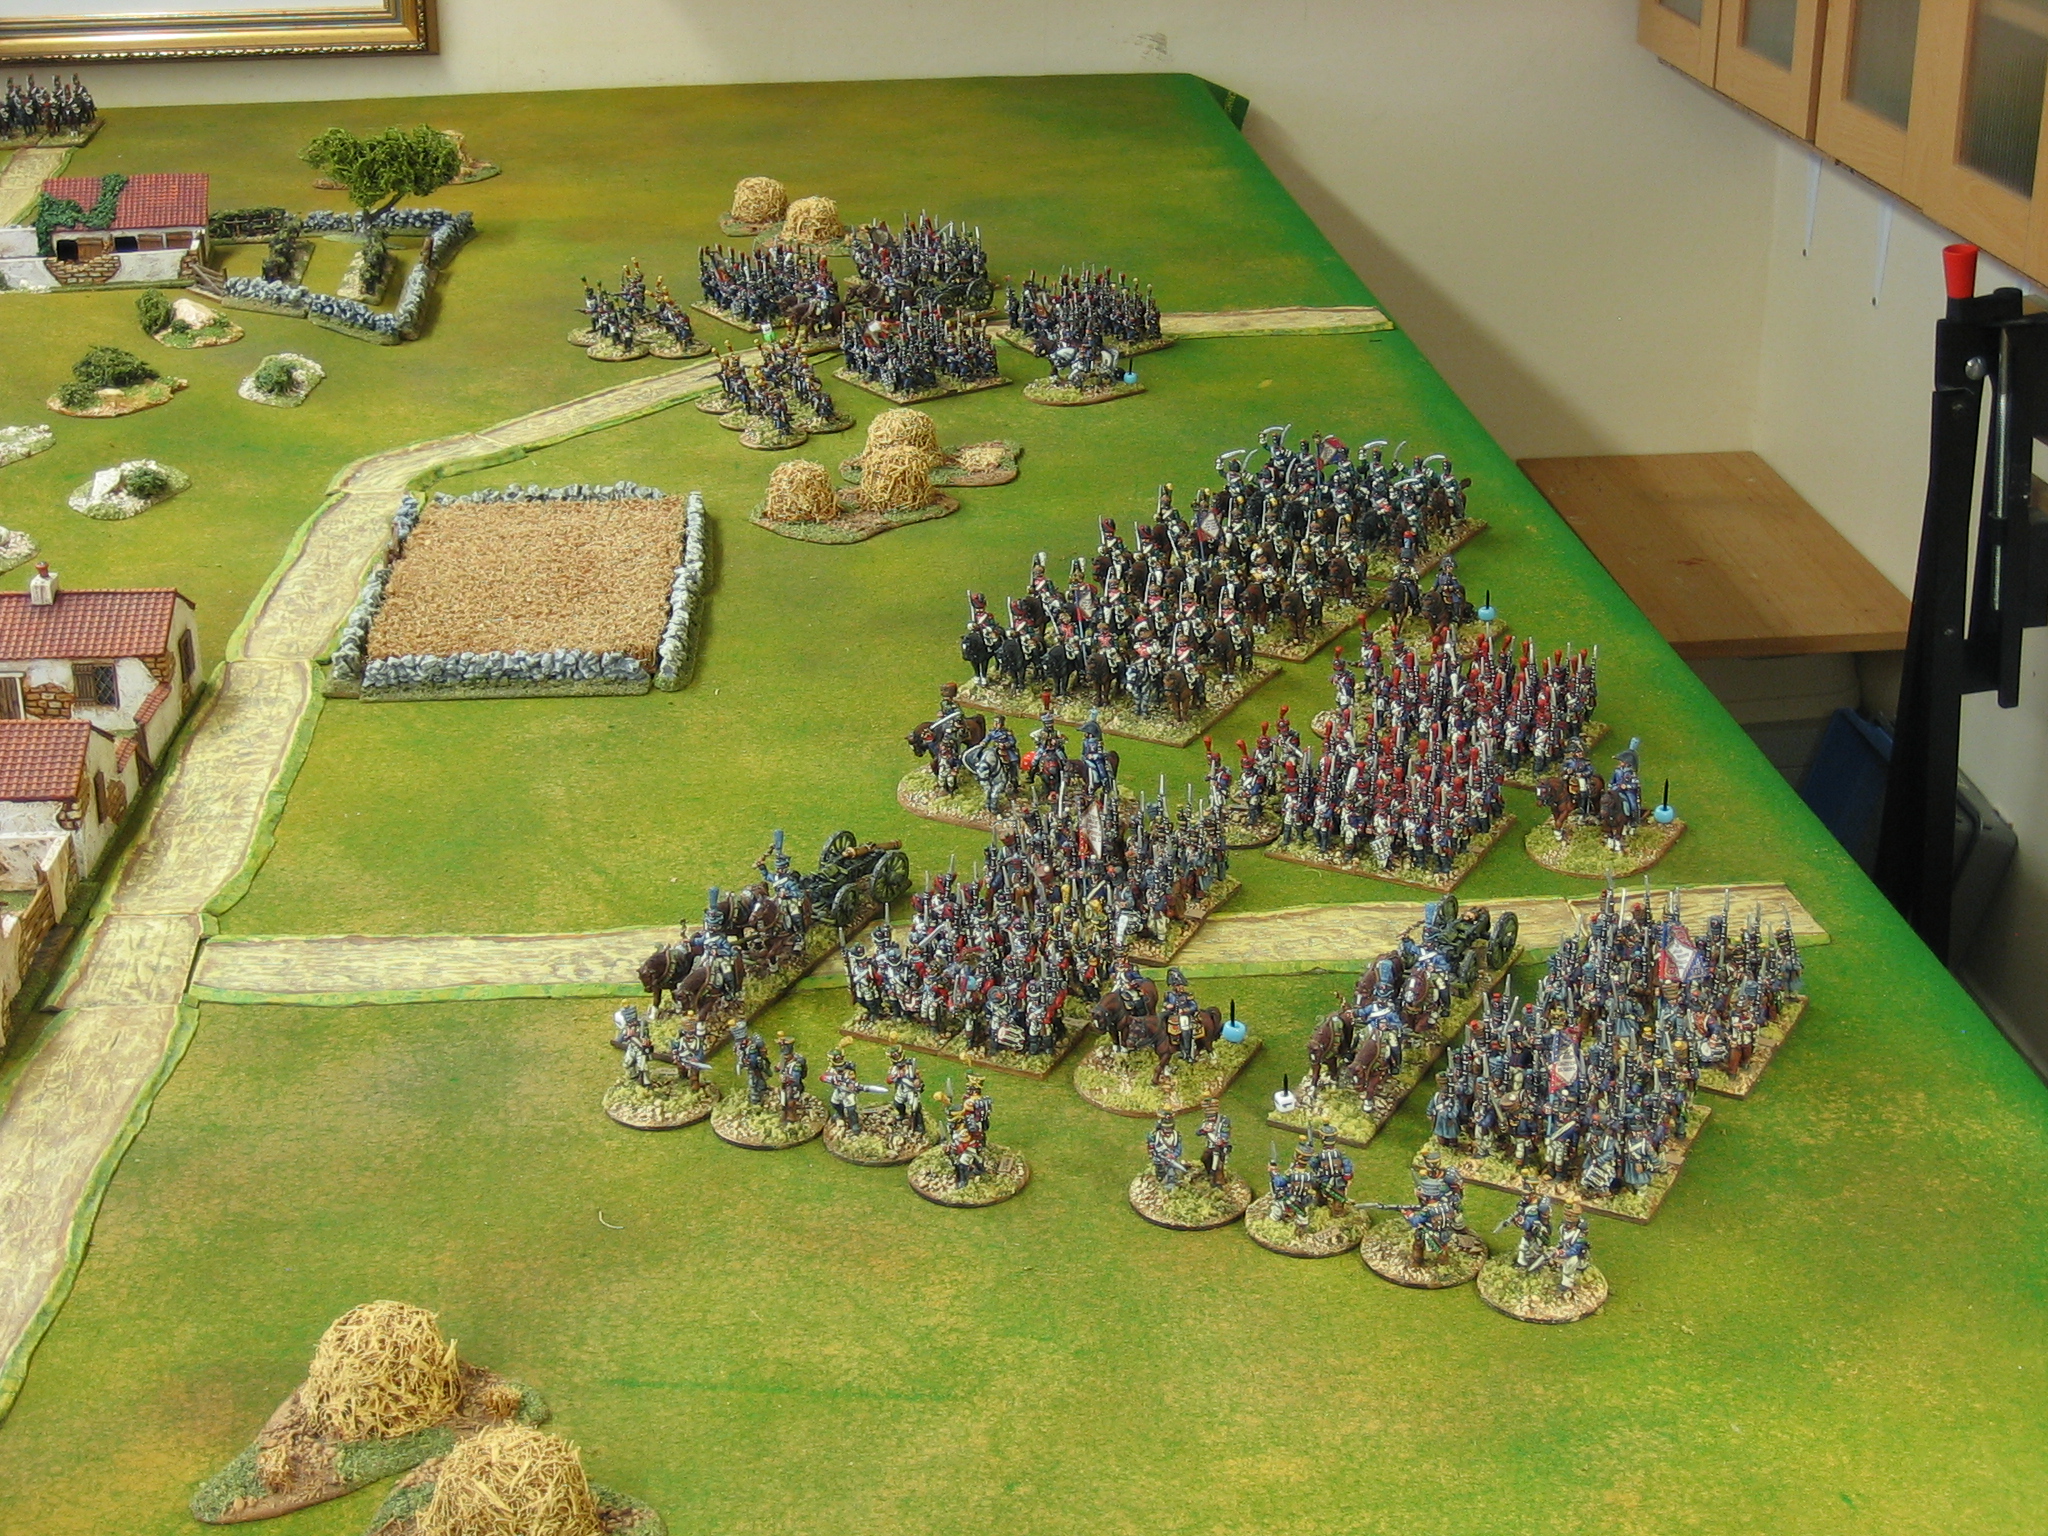
The massed columns of the French prepare for the assault.

The view from behind Vimeiro, with the Eastern Ridge extending out into the distance.
(Table is 12' x 6').

Terrain: 
  • The hills are rough (steep slopes) terrain. 
  • The walled fields are very rough terrain; they provide soft cover. Regardless of type they do not block line of sight - historically, I suspect most would be low vineyards and the like (?) but grape vines are something I'm woefully short of - note to self: Make more! There do not appear to be any stone walls in the area today so I suspect there have never been.
  • Town sections should be treated as standard stone buildings with normal capacity.
  • The R. Maceira and its tributary (for want of better information) are very rough terrain, the Maceira itself is 'wet'.

Thursday 25 November 2021

Bulking out a command stand: A roadside shrine


I'm in the process of sorting out the last batches of figures to finish the Anglo-Portuguese and French armies. 

I had always planned to do a second corps command stand for the French (because I can see two corps commanders featuring at the same time) and consequently, I've had three mounted figures and a couple of foot figures to do this in my lead pile for a long time. 

I hadn't planned anything similar for the Anglo-Portuguese but I had thought about having a Beresford command stand (I even painted him). Then I decided he was surplus to requirements and didn't rebase him when I rebased the other officers.  

However, whilst rummaging through the bag of odds and sods (left over from the project) I came across another unused British mounted officer. That would be two mounted figures, and I have an unused painted foot officer and an unpainted sergeant marching with his partisan over his shoulder: But, that is still not quite enough for a full C-in-C stand. Could I use a 'stand filler' as the extra piece I would need?

I could make a signpost as a filler, or a blasted tree trunk, or what about a roadside shrine! A shrine would not be out of place in a very Catholic Spain.

A roadside shrine could be quite big, at least as big as a figure, and it would be more eye catching than a signpost, or a tree stump. 

I'm not a great model maker, average at best, but even I could probably manage a cross in some kind of housing, perhaps on a Milliput stone plinth with a kneeling step. 

I had some bits of plastic (Perry plastic bases and Airfix bits) I could cut up to make the cross and the housing, and Milliput is always to hand, so I got to work.

Then I decided that a proper crucifix might look better - more eye catching - than a plain cross. Sculpting is something I'm not very good at at all but, the Christ figure would be tiny and being such a recognisable thing only an impression would be needed. Out came the Milliput and in a jiffy I had this little piece of treasure - it's not that good but, you immediately know what it is.

I'm not sure how I'll paint the crucifix. Perhaps as a brass Christ on a wooden cross, or perhaps all wood, or all brass. Not being all that up on early 19th Century Spanish shrines I'm open to suggestions.

BTW, the plinth isn't a solid lump of Milliput. It's actually a block of balsawood with a coat of Millitput applied to the outside. Other construction is all visible. 


Edit: I have painted it up with a carved wood crucifix (which I could always, and simply, repaint as brass) and I think it looks pretty good. 

Here is a close up of the Christ. You can see just how simple I made the construction, with rolled Milliput for arms and legs - position, more than detail, being everything.


Tuesday 23 November 2021

Brunswick Oels Jagers for the Peninsular. Did somebody die?


The answer is, yes. If you want to know who, go to this wiki-link.

This is one of those iconic units so beloved by wargamers. I wanted one too, so when Alec sculpted these last year they went straight into my next Front Rank order. I wasn't disappointed, they are superbly designed and executed. 

The trouble with this unit, and I've painted it at least twice over the years for clients, is that it's a headache to paint: Black, black and more black; even the buttons are black; and so are the cuffs, which I'd forgotten were black.

Although I don't usually do painting tips in blog posts like this, I will for this unit - they might be useful in this case.
I've learned that I have to throw away my usual painting 'order of march' when doing this unit. 

After undercoating, I painted the whole figure with my black base paint (Humbrol 33), stem to stern. 

Then, in the following order, I: 
  1. Painted hands and faces.
  2. Painted none black equipment (canteens, packs and pack rolls, musket stocks), and hair. 
  3. Highlighted coats, lace and shako plumes.
  4. Painted blue collar and shoulder straps, which are best highlighted very light.
  5. Touched up belts, shako, shoes, and musket metal with plain black to re-establish some nice hard edges.
  6. Highlighted black belts, shoes, shako, etc. 
  7. Finished, as usual, with metals.
I think the trick to livening these boys up is to use two or more black hues using the same black base. I used two hues; two or three highlights of each hue. I paint in enamels; I've added the Humbrol numbers I used in parentheses.
  1. Blue Hue: Used for soft stuff such as clothing, plume and lace: Black (33) and sky blue (89). I added a bit of white (34) to this hue to get a third highlight, dry brushed over lace and plume to bring these details out even further. 
  2. Grey Hue: Used for hard stuff such as belts, shako and shoes: Black (33) and white (34) - only two highlights used. 
You will note that the officers have red sashes; apparently they wore red, not national colours, in the Peninsular.
All in all, they make for quite an impressive, if funerial, unit. 

They are not quite as monotone black as you might imagine and I put this down to the using sky blue in the main highlight hue - it has more life than plain black and white grey.

Bases are 2mm MDF: Square bases are home cut 45mm x 45mm. Round bases are 45mm diameter from Warbases.
Lastly, I also bought a six pack of jagers to add to my 'floating' divisional skirmish stand count. 

I will always remember these guys because, a couple of decades ago, I played in a huge Salamanca game where I commanded the odd base of these chaps. Being something of a Napoleonic noob at the time, I enquired who they were by asking "Why do I have Austrians?" I still think it was an easy mistake to make.

Though, I should have remembered who they were from my second oldest wargame book: Blandford's Uniforms of the Napoleonic Wars (received Christmas 1976; now without dust cover and looking very tatty), from which I've taken these uniform details.

The thing is, I can't find a picture of the the hat badge for this 1809 unit. These Front Rank figures came with a running horse badge, so they have that. If you know differently (I suspect they had a hunting horn) please let me know so I can edit this with proper info. 

Note that, as per Blandford, I have removed the figures' hat plumes. 

Blandford also shows the uniform without a blanket roll but, I think this is 'campaign dress' acceptable.

Officially, that is the Anglo-Portuguese project done. All of the originally planned units, plus this late addition, are now painted. However, when I ordered the Spanish hordes a few months ago, I added a couple of extra British units and three French units. Consequently, I'm ploughing on. 

Next up, 51st (2nd West Riding) Light Infantry - my local regiment, their regimental museum is in Halifax - to fight alongside the Brunswick Oels Jagers as part of 7th Division. 

Saturday 20 November 2021

Napoleonic British hussars with a Spanish twist.


As I am making a push to finish the British I thought I'd get the difficult cavalry unit out of the way.


10th Prince of Wales Own Hussars (or are they?).  

These figures are not my favourite Front Rank figures. I think the sculpts are quite old and the detail, which is very intricate, on things like palisse button loops and lace, doesn't quite suit my painting style. 
That said, I think they've come out okay. Very red white and blue, and one for the Brexiteers.

Note the distinctive grey fur cap of the officer, and the grey fur trim on the pelisses.
The six bases are 45mm x 60mm x 2mm MDF. 

Two of the bases have a 7mm wide bar set at the back; one to hold the name plate; one to secure the two pins I use to hold command group ID and unit quality beads. 

Consequently, these stands are slightly raised at the back; this construction is the same for all my units in this collection. It has allowed me to do something special with this unit because......

..........this unit is not only usable by the British as the 10th Hussars, at a pinch, they can also be used for..........
....the Spanish Husares de Almansa regiment raised by General Whittingham (in Spanish Service) in 1810 and uniformed, it is said, in the uniform of the British 10th Hussars supplied by Britain. 

How EU friendly is that!

However, it does seem that there may have been significant differences in the uniform so a bit of imagination will be needed to make the change. 

I've seen two modern pictures of the Husares de Almansa (sources unknown) and both show the uniform of the 10th with the following differences: Black fur caps for all ranks; white fur edged pelisses.

The differences, especially in cap colour is striking but, as you know, I like a bit of fudge.

I've used a magnetic strip for the 10th Hussar's name plate whilst that for the Husares de Almansa is  stuck onto the base atop a piece of thin steel sheet. 

To increase the magnetism of the steel sheet, I've set three small earth magnets into the name bar below it. This seems to add quite a lot of magnetic pull.

I had to think hard before deciding to which name plate to make removable. In the end it came down to this: The unit will most commonly be British and stored as such, so to keep the plate in place and magnetised for most of the time (especially when in storage) that name is the removable one.

Next up, an infantry unit: The Brunswick Oels. Then just two more to go!

Monday 15 November 2021

Latest Napoleonic Additions


The Anglo-Portuguese army is getting very close to completion with the addition of these two Dragoon units. 

These represent the 1st and 2nd Dragoons King's German Legion. Historically they were brigaded together.

Figures are 28mm by Front Rank (which has recently been acquired by Gripping Beast: Presently, FR isn't open for new business). 

The flags are by GMB Designs. 

The figures were painted in enamels by Yours Truly, and they are based on home cut 2mm MDF (45mm x 60mm).

These two units are identically uniformed with the blue facings of Royal Regiments. This was handy because it enabled me to paint them as a single batch.

I'm rather fond of this 'standing ready' pose because it seems to be how most of my heavy cavalry spends its time on the table-top. It also makes the figures nice and compact and easy to handle
The flags too are almost made for a double batch of the KGL. One flag sheet serves to produce the flags for both regiments.

The crimson square flag is suitable for the first squadron of either 1st or 2nd Regiment KGL; the swallow tailed flag blue flag for the second squadron is only suitable for the 2nd Dragoons KGL.
I used various sources for the uniform but, the Osprey book (Men-at-arms 338) provided a very useful picture for the Second Dragoons KGL, including one of a trooper mounted. 

This was very useful in explaining the arrangement for the troopers cape strapped on top of his pistol holsters. This seems to comprise a strap at each side plus a much broader leather strap arrangement at the top - I had thought this top piece was two or three more straps before seeing this picture.

Before I start the Spanish, I've decided to plough through what is left in the lead pile for the Anglo-Portuguese and French. If I don't do it now, will I ever be bothered? Plus, I think I'll churn through a lot of the Spanish very quickly as they are much more simply uniformed.

Next up are British 10th Hussars, a unit of British light infantry, a unit of Black Brunswickers, and then finally a unit of Portuguese cavalry: That will signal a roll call for the British.
After that, I'm going to paint two units of Legere and a unit of Chasseurs a Cheval. 

That will complete the first two armies - I have no plans to extend either beyond their present numbers, each touching the 1000 strong mark as it is. Then, I'll just have 800 or so Spanish to do - simples!