Sunday 10 July 2022

Soldiers of Napoleon: First read through (the rules sections) review

Soldiers of Napoleon by Warwick Kinrade (& Andy Fox).
Produced by Artorus Games.
Retailed by Gripping Beast. 

Firstly, this is not a full review, it's simply my first impression of the core rules, especially as regards to them being used by me, and my opinion of the product in general. There is far too much in the book to review in a single concise blog post. However, there is a lot of buzz about these rules so I'll join in the chorus with my two pennies worth.

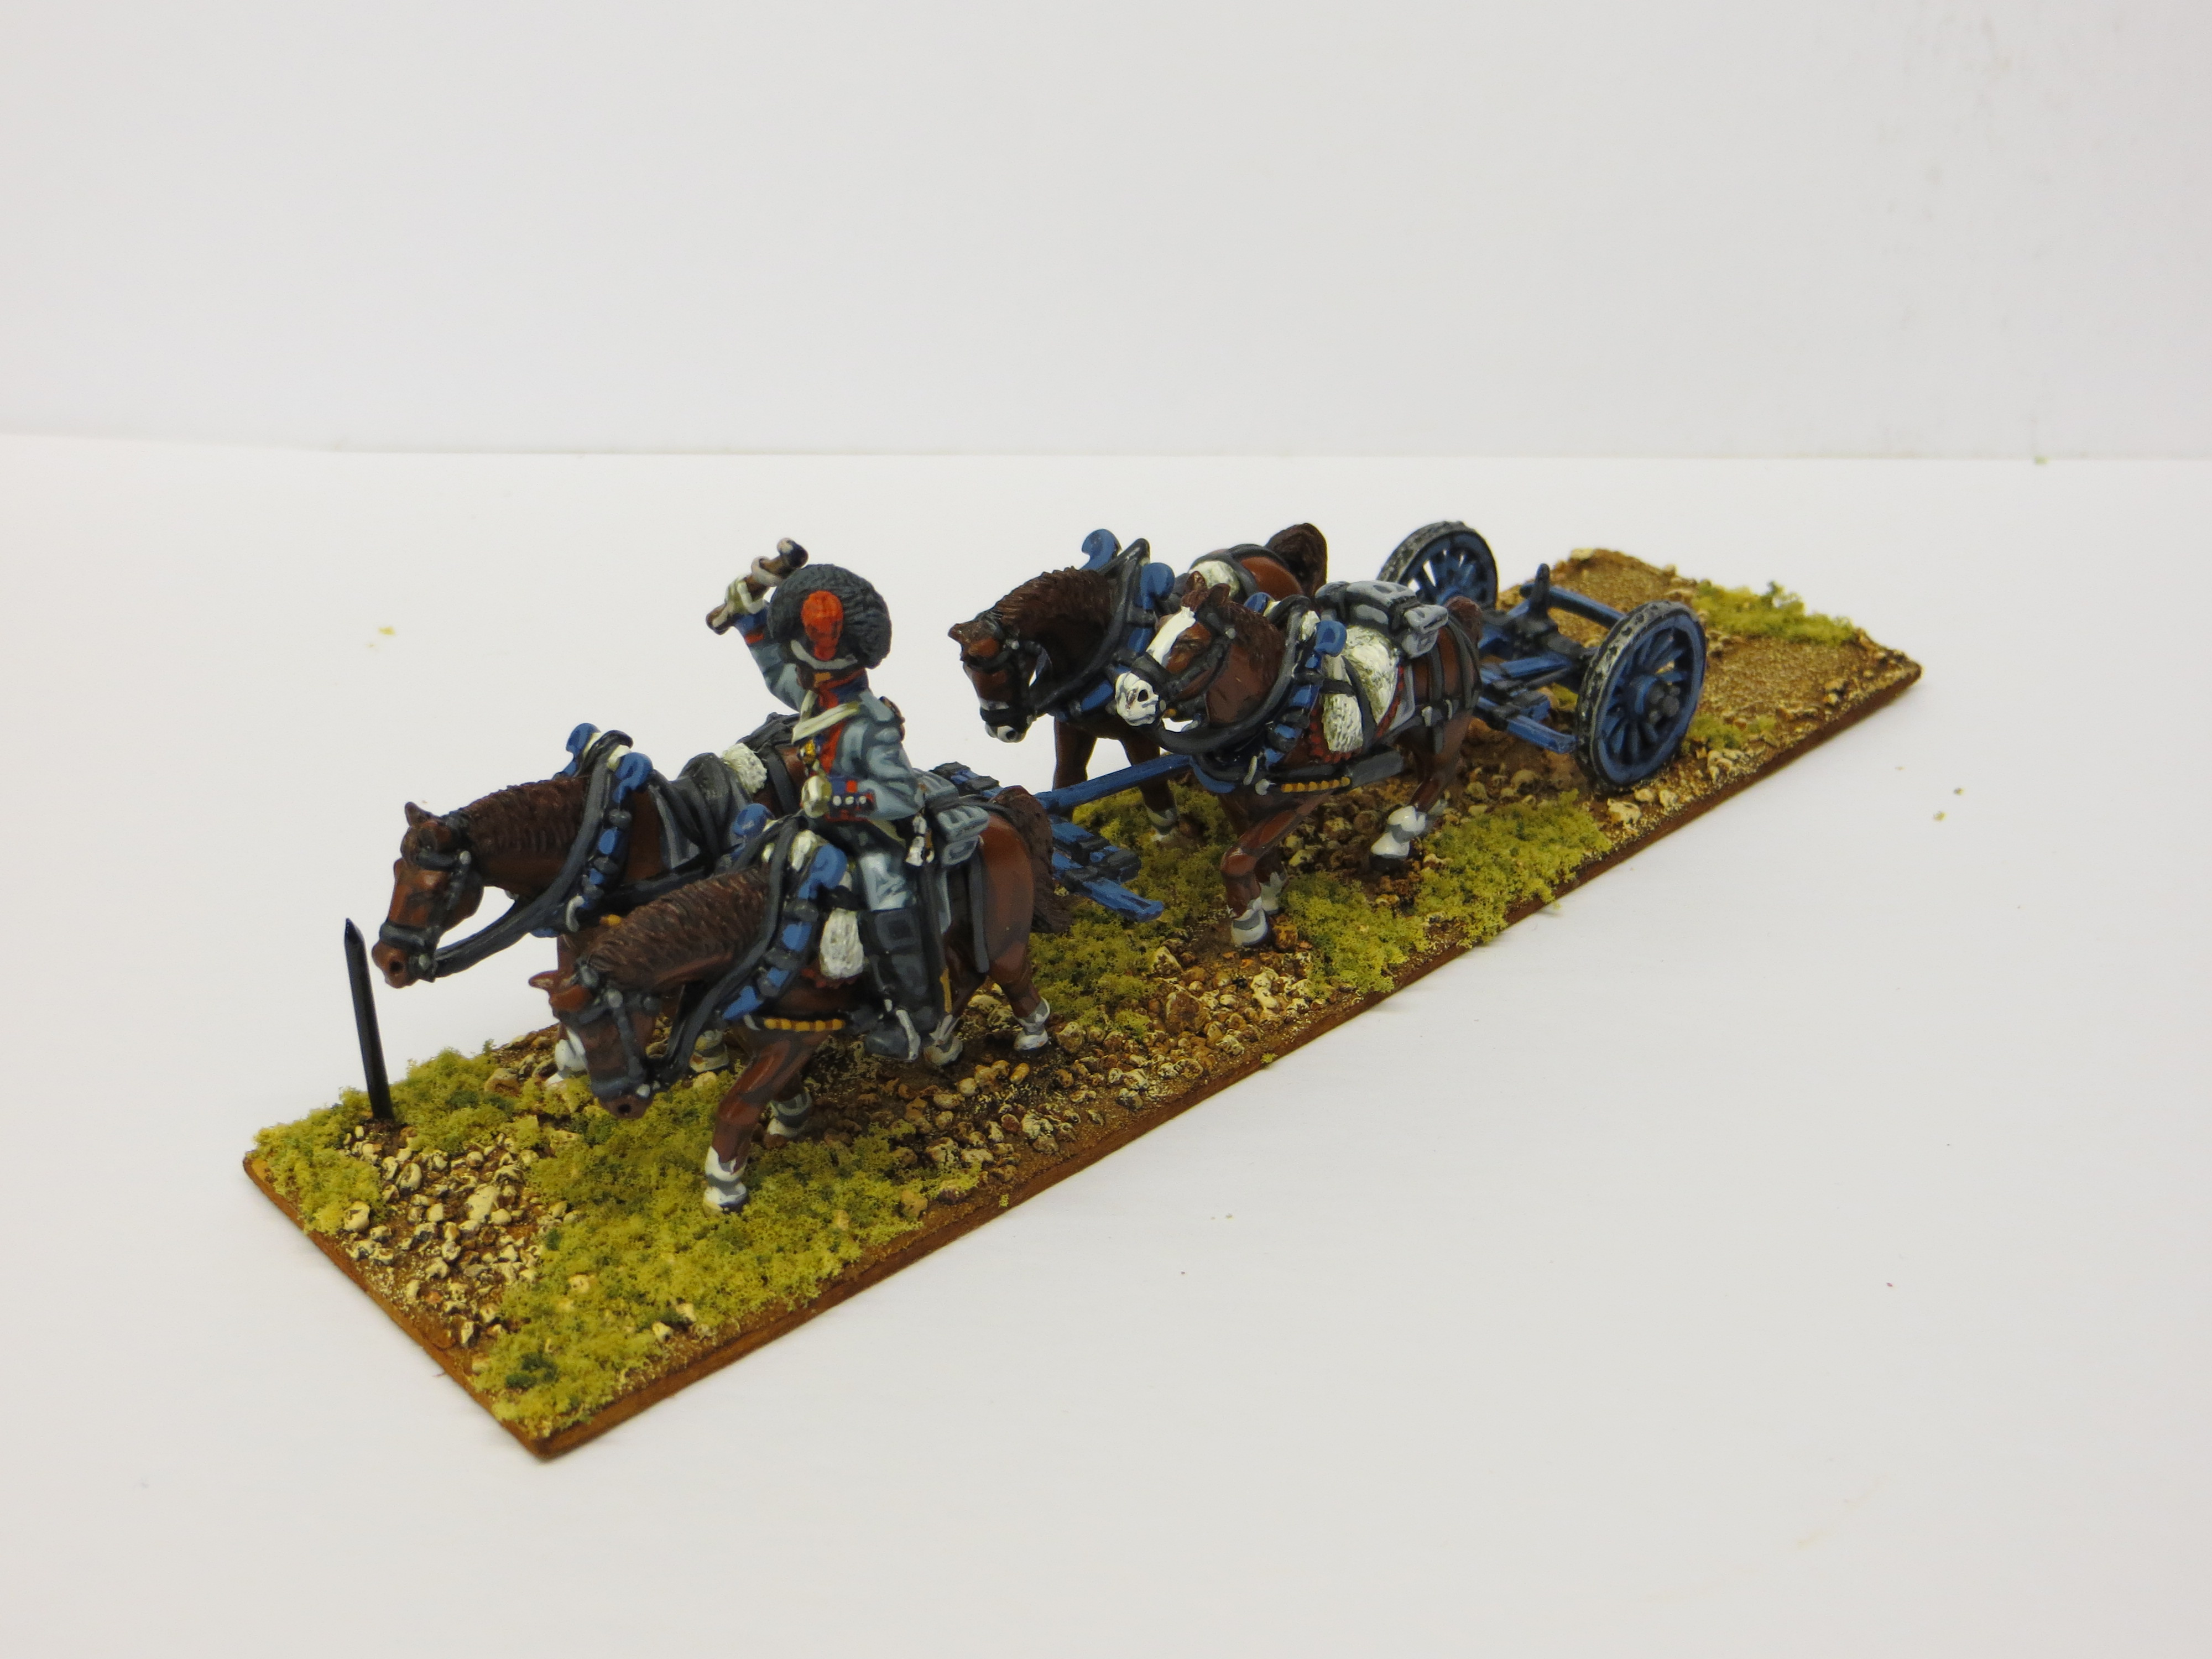
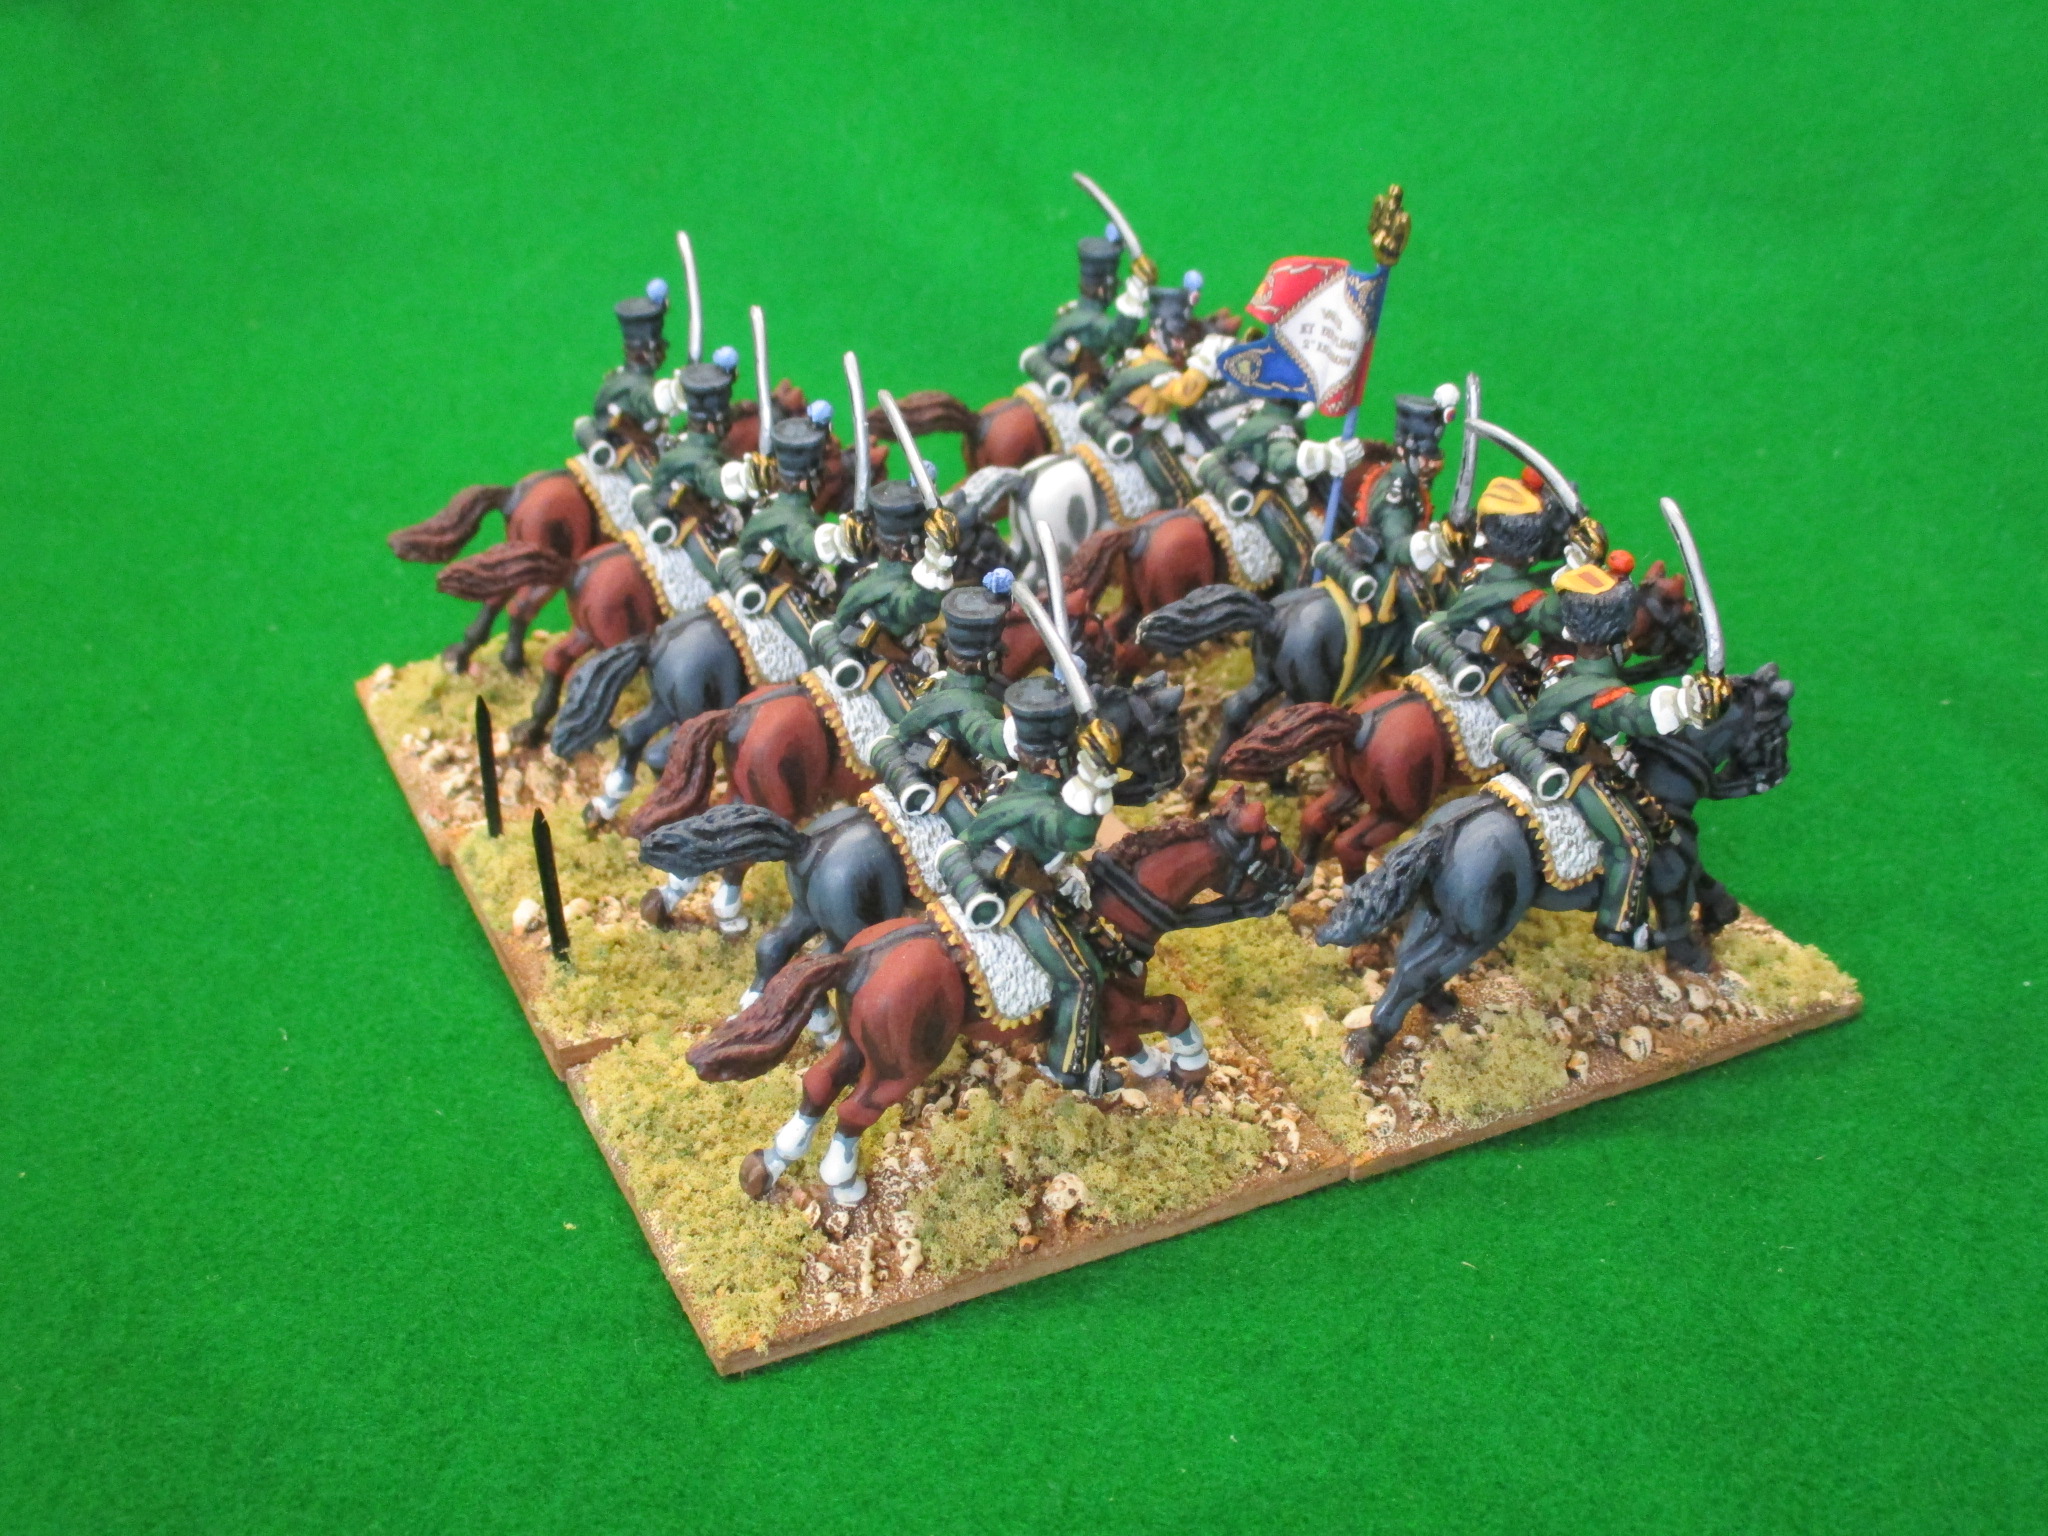
My copy of this rules set, with accompanying boxed deck of 56 cards, arrived yesterday and on opening the box my first impression was favourable. The book, 127 numbered pages, is a quality (softback) affair; the print seems to be well organised and laid out in clearly labelled paragraphs; it's printed in a nicely sized font; from first reading, the writing style is excellent. The pictures (prints of original paintings, as well as the usual photos of some nice model soldiers, some of which are used as explanatory diagrams) are not excessive - this is not a fluffed out glossy picture book, for a change. The only thing I'm worried about is the softback binding which at the moment, it has to be said, looks nice and tight - however, I'm yet to buy an unstapled softback rules book which, if used a lot, has managed to remain so over time and time will tell. 

The die cut cards (proper playing cards, if on the narrow side of standard) are very nicely presented. They are a quality product. I have immediately put mine into protective card sleeves and will put their box away for safe keeping. I would advise everyone to do this because cards deteriorate rapidly on a wargames table because wargames table-tops tend to be slightly abrasive and slightly 'dirty'. The cards cannot be bought separately from the rules - it's a £30 deck of cards folks; you can't play the game without it; take care of it.

The book is divided into five major sections. The core rules, which are quite short at 36 pages, followed by a section on 'Battles and Battlefields' covering terrain, deployment, scouting, etc; a section on 'Armies and Theatres' which covers army building, brigade construction, commanders, reserves and special unit types, etc; and then the last two sections deal with setting up battles for '1813-14 the War of the 6th Coalition' and '1815 the War of the Seventh Coalition' - neither of which I have troops for but are generally instructive as guidelines for the armies and campaigns that the book doesn't cover. The lack of initial scope (other campaigns are not specifically covered at all) will be a disappointment to some players, especially those without the time or inclination to do some spade work but, I expect supplements for other sub-periods will be forthcoming. Nor is the rulebook an 'all in guide' for the beginner - prior knowledge of Napoleonic warfare is essential.

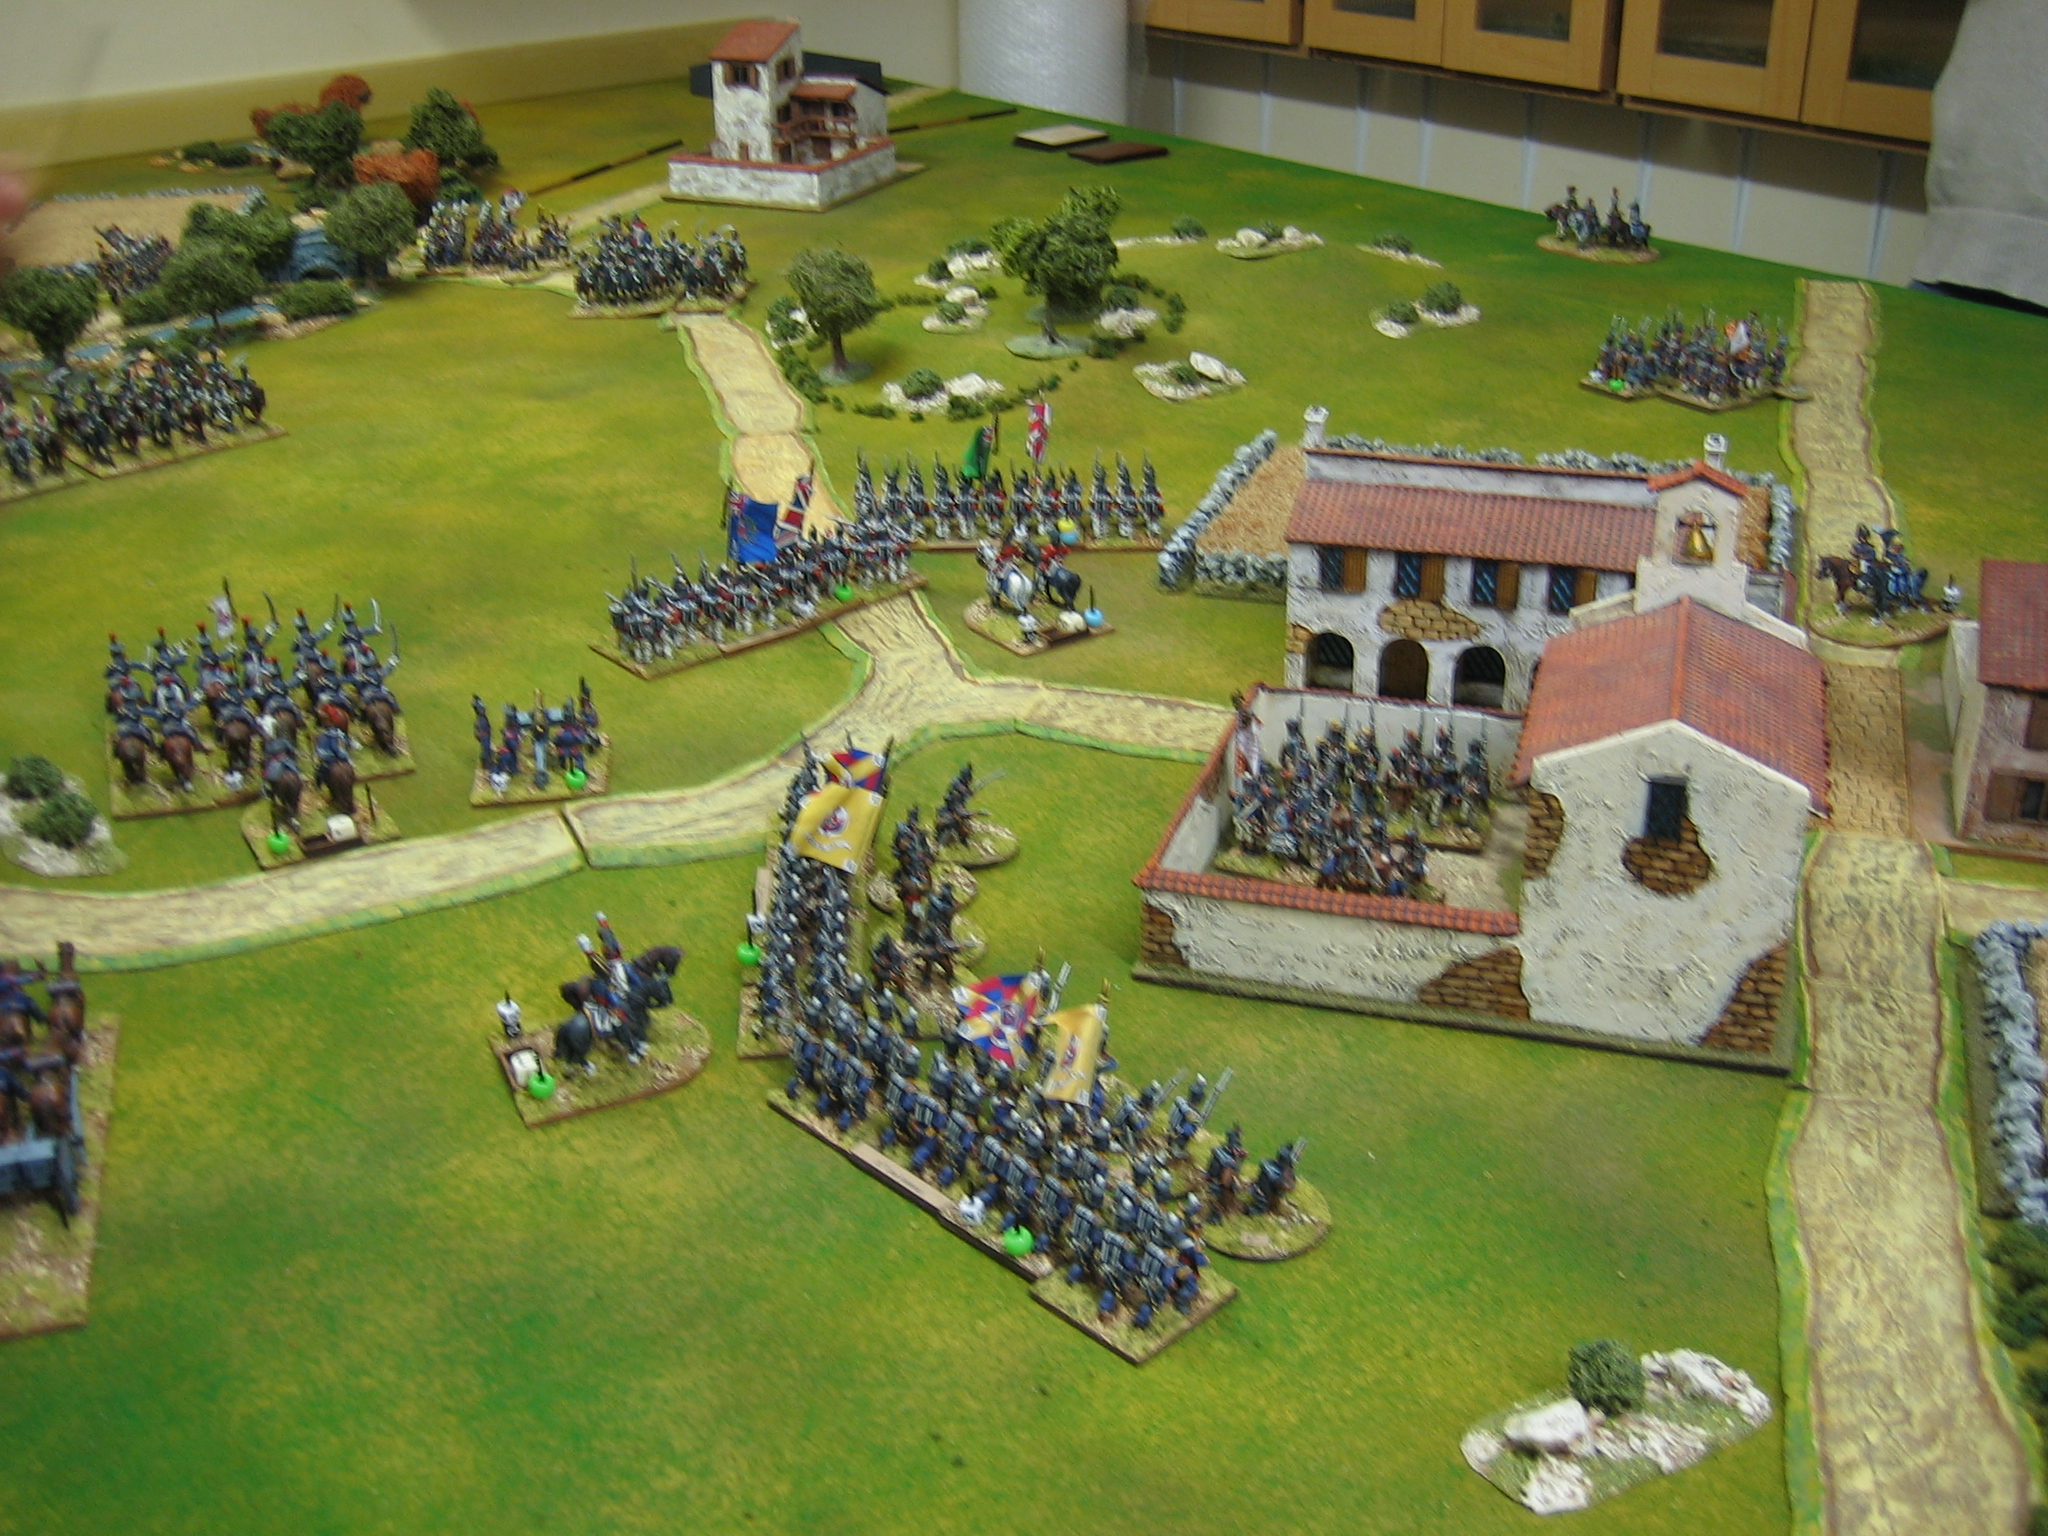
Getting onto the rules themselves. Firstly, scale of game. Having only seen reviews and a couple of videos of the game this was my chief concern. Could I use the rules to fight the scale of battle I want to fight using the rules without 'house amendment'. I'm glad to say that, from first read through, I can. The rules allow for battles with two to five (typically three or four) 'brigades' representing a 'division' and its reserves: Brigades, according to the rules, can each be anything between two and six units, plus artillery, strong (they can be up to seven strong according to the coalition lists): When playing this (on-table) 'division', it should be seen as one of several fighting on a wider (off table) front, with abstracted rules to say how what is going on elsewhere effects your own (on table) effort. 

As you know, I don't play with brigades. I play with brigade-less divisions made up of units each representing 1000 infantry or 500 cavalry - for the Peninsular that typically works out at four to six infantry units, or two to four cavalry units, per division. These numbers fall quite nicely within the parameters of the game: Instead of what they call 'brigades' I'll field what I call 'divisions', and as I usually field three to four this looks to fall nicely within the rule parameters as well; corps commanders will substitute for division commanders, and army commanders will substitute for corps. I really can't see how playing at this scale will effect how the game is played very much: I believe the term is 'bath-tubbing'.

Although I knew that base size was unimportant, the next concern I had was that the rules allow for, indeed they encourage, different sized units. A stand equates to 150 infantry: Consequently, infantry units vary between two and six stands strong. Because of the way I field my divisions all of my units are the same size (four stands, representing 1000 men). Will this be a problem? Obviously, if the rules cover everything between two and six stands they will cover four stands but, will this take away a significant nuance in the way things are set up. Until the game is played it is hard to tell but, I suspect not. 

Measurements are stated as paces and paces are left to the player to define. Typically in 28mm, one pace is 1". Movement distances are what we all expect - infantry in a column of attack move 6; line 4; column 8. Heavy cavalry 50% more, light cavalry 100% more. Dice are used to determine the effect of terrain. Musketry range for a volley is 10. 8pdrs can shoot canister 10 and round shot or shrapnel 40. 

Recommended table size for 28mm is roughly 6 x 4, larger being considered a nice to have: Lucky me!

I'm not going to dwell at all on the fire and melee combat mechanics. Although they vary from one set of rules to another they are, to a large extent, the easiest thing to get right. To my mind they are also the least interesting part of any rule set. Mr Kinrade has written rules before. I expect that he knows his onions and I'm prepared to take his combat mechanics on trust. Suffice to say that it is a D6 per stand game with fairly standard modifiers; they look elegant enough to allow for swift play without constant reference to the very short (1 page) QRS. However, there are two things worth mentioning. Firstly, and importantly in my view, skirmishers feature and look to be an important tool. Secondly, the way 'damage' (disruptions) is taken and recovered looks interesting - play will tell.

Units stay on table until disruptions are greater than stands, at which point the unit is destroyed at the end of a turn. Disruptions are taken during fire, melee, for repetitive orders and some movements - possibly other things that have slipped my mind too.

Now the important thing: Command and control. To my mind, this is the most important thing in any set of rules and the game mechanics that govern it should always lie at the game's heart: It is what differentiates one set of rules from another, and either makes a game good, bad, or meh. They are certainly at the core of this set of rules so Mr. Kinrade has my respect for that.

On first reading, the mechanics governing this aspect of the game look right up my street. In general, everything you do is governed by the playing of 'Action Cards'. At the start of each turn the player is dealt a hand of cards (two plus the number of brigade commanders 'not at risk'). These are played alternately by the players to activate units in a chosen 'brigade' by giving them an order; or the card may be played as an event; or played to rally. 

The number of orders a card allows is restricted (each card has a number of 'order points', 2 - 6, printed on it). Units in the brigade, up to the card's order points number, can be given one order each (though distance to the commander has an effect on how many order points the order will cost). These orders are quite specific: move is an order, change formation is an order, wheeling ('manoeuvre') is an order, fire is an order, charge is an order, etc. This will severely limit what players can do and I like that. The 'brigade' can be activated again on the player's next card but this causes disruption (damage) to its units. 

There seems to be no limit on how many consecutive order cards can be played by the player on a 'brigade', except that each time a consecutive card is played on a single brigade, even turn to turn, it causes disruption (damage) to the units that receive orders. The author suggests that a marker is placed next to the last 'brigadier' to issue orders so that this is not forgotten. This will naturally limit the number of successive actions a player will wish to order a brigade's units to carry out and represents them being overburdened within the timescale of a turn. It's worth noting that events and rallies do not incur the same disruption on a brigade. 

The card can be used to play an event. Events are varied but include things like 'Fierce Cavalry Charge (6+)', 'Commander [enemy] Wounded (5+) ', and so forth. They are not automatic but rely on a simple chance roll on D6, e.g. 5+. In themselves they are not battle winning but can unpredictably change conditions locally to something advantageous. In short, they allow you to throw a spanner at your opponent.  

There are also six 'objective missions' which can be played as events, such as 'Take The High Ground', which if achieved wins victory points. I've not come across this before: Its novel and slightly abstract (because the 'mission' might not seem that important in relation to how the game looks) but, again I like the idea. Look out, incoming spanner!

Last of all a card can be used to rally disruptions from a unit. There are several ways this can be done. The most interesting is to swap one stand for two disruptions - effectively converting disruptions into physical unit casualties. I think this is quite novel and might actually be something very clever - game play will tell.

At the end of every turn there is an end phase. Each side goes through this, deciding if reserves arrive, removing units with more disruptions than stands and gaining victory points for them, and so on.

Victory points decide who wins and when. They are amassed during a game for effectively killing units, when the enemy rallies units (interesting), gaining game objective points, etc. When your VPs are more than the enemy's break point total (his points per unit) you win the game. Most rules seem to have something similar these days so I will not go into these in any detail but, they look reasonable enough and will steer a player's overall 'game strategy' to gain ascendancy.

Then, new Action Cards are dealt for the start of the next turn.

When the Action Card deck is completely depleted all of the cards are collected together again and shuffled. Six cards are then permanently removed sight unseen before Action Cards continue to be dealt and play can start again (BTW, six cards are removed in a similar way on the first turn too, so you can never be sure what's in the deck). If victory has not been achieved before the cards 'run out' (a very long game?) it's nightfall and the game will end in a draw. So, the game even has a natural end to it - that's a nice touch.  

So, after reading through the first two sections, and only browsing the others, that's it. There is a lot in the first sections and I'll need to read through them again before moving onto the others. All in all, this book is packed with 'extra bits' and I don't expect to be fully conversant for some time. One thing I'm sure of is that the initial learning curve is too steep to play the 'whole game' straight out of the box unless an experienced player is on hand to show you the ropes. However, at their core, the basic rules are quite simple. I don't think the rules will require more than one game for the players to get the basics; all else will surely follow in the way most rules are learnt. So, that's my plan: The next game here will be a small Soldiers of Napoleon practice game featuring two or three of my 'divisions' / their 'brigades' a side. I'll do a short follow up report on how this goes.

As I mentioned at the start of this post, there has been quite a lot of hype and buzz around these rules. I think they will be a fun set that lead to exciting games and in consequence I think they will become very popular. So, I'm going to stick my neck out and tell you to take a punt before they sell out and you need to wait for a reprint - I don't have any insider information so I don't know if this will actually happen but, I think it might. The rules are available from Gripping Beast.

For another review, here's a link to one by Mark (Extra Crispy) Severin.

Here's a Wargames Illustrated video interview conducted by Daniel Faulconbridge with the author / designers W. Kinrade and A. Fox.

Wednesday 6 July 2022

Napoleonic Project Stage 2: The Spanish

 The British and French are done!

The French - less the three finishing units and command stand. 998 men.

The British - 1040 men.

Now it's time to begin work on my 'mid war' Spanish army. They have been a long time coming. Indeed, I purchased them in October last year and until last month did little more than sort out officer groups and add the skirmishers to the infantry bags. 

The Spanish army is about a third smaller than the French and British army, numbering twenty three infantry units (including three guerrilla units), six cavalry units, five guns, three limbers and seven officer stands: The lower numbers, combined with the fact that its one army to paint not two, should enable painting to progress reasonably quickly.

I've made a start by painting four units in what was termed the 'British Uniform'. These I've named Jaen, Victoria, Union and Bailen. These all served with Morillo's Division as part of Wellington's forces at Vittoria: Quite a versatile Spanish contingent. 

Edit: Since posting I've been informed by Mighty Owl that Bailen was not with Morillo's Division at Vittoria and the Wiki OOB for Vittoria is wrong in this respect. I will paint up Tiradores de Doyle (actually not featured in the Wiki OOB) instead. Thanks to Bill Slavin for providing a picture of Tiradores de Doyle reenactors in British Uniform. Bailen will remain Bailen as it fulfils the prime directive: It fought in theatre (Spain) between 1809 and 1813.

Mighty Owl, citing two sources, including this one (see list 101) gives Morillo's Division as:
1º de León (regular infantry regiment)
Regimiento de la Unión (Galician unit raised in 1809)
Leal Legión Extremeña (raised in Extremadura by John Downie in 1810)
2º de Jaén (the old provincial militia, the line regiment was destroyed at Ocaña)
Voluntarios de la Victoria (Galician unit raised in 1808)
Tiradores de Doyle (Aragón unit raised in 1808)

All figures are by Front Rank. All were painted by me in enamels. Flags are by Adolfo Ramos. Round bases are by War Bases, others are home cut - they are all 45mm. Each unit is 24 figures with four extra skirmishers. 

Trousers were officially light blue but often they were not. I've painted two with mid blue trousers, two with grey trousers.

When it comes to flags for the Spanish I'm afraid it's generally a case of best guess / most suitable. I've chosen to flag mine with flags from their region - mostly. I like the Adolfo Ramos flags (because he offers more choice than GMB, and cavalry guidons). They are clearly printed, have bold colours and are quite darkly shaded: Truth be known, they probably go with my paining style!
I've chosen to paint my Spanish with well tanned flesh. In reality, of course, all Peninsular troops should probably be well tanned but I chose to paint my French and British with a more northerly, paler skin tone.
All these Front Rank infantry units were bought as unit packs. These packs come with two standard bearers as standard so an extra figure was bought to replace the second.

Quite early on, most units were officially reduced to one standard per battalion. Later, at least for some units, this was increased back to two.

Not all units were equipped with a standard from their region, many taking any old spare flags (created by the reduction) from the churches in which they were stored. As with most things Spanish (in this period) it all gets very confusing.
The rear view of these troops is quite good. Unlike other uniform styles provided by Front Rank these come with 'full equipment'. 

With the extra equipment making them more laborious to paint than the other types of unit, it's best to get them done early - whilst the will to paint (at the start of a project) is at its highest: There are another five units in this uniform style to paint, then onto the easy ones.
I think the pose - seemingly marching with purpose - is a good one. I like these units.
Each unit will have two skirmish stands. Too many? Perhaps.
Foot artillery (1812 uniform) in shako. An 8pdr gun and a howitzer. 

Home grown Spanish guns were mounted on  French, Gribeauval designed carriages, painted blue. Two of my guns will be British supplied pieces. 
It's a pity all of the Peninsular artillery crew are dressed in blue - British, French and Spanish - but it is what it is. 
I've used a French limber for these guns, converting the (French) driver with a head swap to wear a tarleton/ Bavarian style helmet. 

This splendid grey driver uniform, as close as was practical to convert to, is dated to 1813 (Osprey). In reality the leg / footwear should be short gaiters and shoes but, my guy has acquired some cavalry boots at some point on his travels.
Unlike the French and British, which were painted straight out of the bags, some of the Spanish figures will involve quite a lot of conversion. 

The artillery is the first stuff that required such work (the driver above was the first piece). 

This crew was the second. They were all converted from 1808 crew wearing bicorns and high gaiters. Now they wear a bearskin and mameluke style trousers.

The heads and bearskins are from Nassau grenadiers and a Nassau officer; the trousers were added using thin 'sheets' of Milliput applied with a scalpel, suitably rounded off and creased with a large pin. 

One fellow has a full beard because I accidentally chopped his chin off during decapitation.


It's such a colourful uniform I had to have it in my army.

I took the basis of the uniform from a contemporary print in one of the Osprey books. The print is captioned: 

"Horse artillery officer c.1812-1815; the exact unit is unidentified."

Now, that's a description to warm the heart of anyone muddling through!


The (French) limber driver received the same treatment.
I really like this battery. Rare it may have been but, I can see it featuring a lot in my own OOBs.
Finally, a command group officer stand.
A lot of aides de camp were very brightly dressed (lime green in at least one case) but this one wears something closer to the prescribed (ignored?) pattern.

Next up. More of the same including Cazadores in 'British Uniform'.

Tuesday 5 July 2022

Last of the French

EDIT: Sorry about the photographs - I had to use a different camera to the one I normally use.

When I ordered my Peninsular Spanish army in October last year I added a several nice to haves for my British and French armies. 

The British were all finished earlier this year and I posted a 'Parade of the British' at that point. Then I decided, rather than start the Spanish, I would finish the nice to haves for the French. I actually got these done some time ago but I've simply not had the time to blog post any progress for one reason or another. However, as late additions to an army I mistakenly said was finished, and posted about here in my 'Parade of the French', there are these beauties; if I'm not mistaken these extra bits bring the French army man count to 998.

Unless otherwise stated, all figures are by Front Rank. All are painted in enamels by yours truly. Flags are by GMB. Round bases are by War Bases, others are home cut.

First up, two units of Legere. These are actually the 25th Legere in a bogus uniform - whip me!
The reason for choosing the 25th was a desire to have white over green plumes for the chasseurs, which I've always thought rather fetching. However, I also wanted to have voltigeurs in colpacks (which in turn led to having bearskins for the carrabiniers). Unfortunately, I couldn't find any Legere serving in the Peninsular that wore colpacks so I decided to combine my desires - and hence my 25th are in a partly bogus uniform. Apart from head gear (the plumes are right) they are correctly dressed.


I realise this decision will have the purer minded of you physically coughing up blood but, in the end they are my figures and I can do with them as I wish - their heretical nature will, like most victims of the Spanish inquisition, be forgotten with time. 

Bogusness aside, I think they look great! I just love the colpacks!
More historical, the 5th Chasseurs a Cheval. This unit brings the Chasseur regiment count to three.
It's another unit with yellow trim. Yellow is really doing it for me at the moment.
As with all of my French cavalry I've painted most of them as one company (blue pompoms in this case) because it makes painting easier and 'the lines cleaner': French cavalry pompoms confuse the heck out of me.
This pic shows the unit in line, with its name plate and coloured bead pins (for ID numbers and quality markers, etc.). I always use beads for this kind of thing because it renders roster sheets superfluous (which saves a lot of set up time): Everything is in front of you; you can call a unit by its proper name during play (even if you don't know it by sight), and you never need to look it up on a list to discover its qualities (which saves time in play). 


A second 'Corps' commander stand: I think the hussar officer is a one piece 'special' by Foundry (?), kindly donated by Jason W. The dice boxes are for holding army morale dice (one black showing multiples of six, one white showing digits of 1 - 6 to give a range of 0 - 42; and one orange showing the commanders 1 - 6 personal transferable morale points), and the pin is for holding his quality bead (red poor, green average, blue skilled).
I would have liked to add a foot figure but didn't have anything suitable. However, not to mind, as a second 'Corps' commander he probably won't get out much.

Next up, a post on my newly painted Spanish. These currently number four units of infantry, three guns (one HA), two limbers (one HA) and a commander. I'm very much looking forward to showing you these as there are several converted figures amongst them. 


Monday 4 July 2022

Advance Guard Action: Version 2

 Here is a link to my original attempt at doing my own version of this old Charles S. Grant scenario.

Here are the bones of version 2:

French Orders 
14th July, 1812: Orders for the Commander of the advance guard: You are to clear the route to the town of Poca Estevan and secure the town for our main forces. This must be accomplished by last light on 15th July, year of Our Lord 1812. This town will form the concentration area prior to an assault on the bridge over the Tormes on 16th July. We believe the enemy already hold the bridge in strength. The bridge will be a costly objective, but one we must take in order to press into the heart of enemy country. It is regrettable that the enemy already has the bridge for surely we will lose many good men in taking it. Nevertheless, to take the town will benefit our preparations for the attack. I will send you what re-enforcements I can spare which should arrive in the area of the town at mid-day on 15th JulyI leave the advance guard in your care, confident that you will command it with good sense and imagination.

Initial French forces
C-in-C: Officer commanding the advance guard (skilled): 9 Army Morale Points (AMP); 6 Personal / Divisional Morale Points (P/DMP). 
Field officer 1 (skilled): 14 DMP.
1st / 2nd 25th Light: Ready, steadfast, light troops, SK3. (Roll D6 per unit: Add 1 DMP per 5 - 6).
Regiment Irlandaise Light: Readylight troops, SK3. (Roll D6 per unit: Add 1 DMP per 5 - 6).
1st / 2nd 36th Line: Ready, SK2. (Roll D6 per unit: Add 1 DMP per 5 - 6).
1st 39th Line: Ready, SK2. (Roll D6 per unit: Add 1 DMP per 5 - 6).
Battery of Foot Artillery (8pdrs): Ready. (Roll D6 per unit: Add 1 DMP per 5 - 6).
Field officer 2 (average): 6 DMP.
15th Dragoons: Ready. (Roll D6 per unit: Add 1 DMP per 5 - 6).
7th Chasseurs a Cheval: Ready. (Roll D6 per unit: Add 1 DMP per 5 - 6).
Battery of Horse artillery (6pdrs). Eager. (Roll D6: Add DMP per 5 - 6).

French reinforcements
Field officer 3 (average): 8 DMP. 
Vistula Lancers: Eager. (Roll D6: Add DMP per 4 - 6).
1st Hussars: Eager. (Roll D6: Add DMP per 4 - 6).
22nd Chasseurs a Cheval: Ready. (Roll D6: Add DMP per 5 - 6).
Field officer 4 (skilled): 6 DMP. 
1st / 2nd Paris Municipal Guard: Eager, SK2. (Roll D6: Add 1DMP per 4 - 6).
1st / 2nd 50th Line: Ready, SK2. (Roll D6 per unit: Add 1 DMP per 5 - 6).
Battery of Foot Artillery (12pdrs). Ready, heavy. (Roll D6 per unit: Add 1 DMP per 5 - 6).

British Orders 
14th July, 1812: Orders for the Commander of the advance guard: You are to clear the route to the bridge over the river Tormes and secure it for our main forces. This must be accomplished by last light on 15th July, year of Our Lord 1812. The bridge will form the concentration area prior to an assault on the town of Poca Estervan on 16th July. We believe the enemy already hold the town in strength. The town will be a costly objective, but one we must take in order to press into the heart of enemy country. It is regrettable that the enemy already has the town for surely we will lose many good men in taking it. Nevertheless, to take the bridge will benefit our preparations for the attack. I will send you what re-enforcements I can spare which should arrive in the area of the bridge at mid-day on 15th July. I leave the advance guard in your care, confident that you will command it with good sense and imagination.

Initial British forces
C-in-C: Officer commanding the advance guard (skilled): 9 Army Morale Points (AMP); 6 Personal / Divisional Morale Points (P/DMP).
Field officer 1 (skilled): 12 DMP.
51st Light Infantry: Eager, light troops, SK4. (Roll D6: Add 1 DMP per 4 - 6).
Chasseurs Britanniques: Ready, SK2. (Roll D6: Add 1 DMP per 5 - 6).
Brunswick Oels: Ready, light troops, SK3. (Roll D6: Add 1 DMP per 5 - 6).
12th Portuguese Line; Ready, SK2. (Roll D6: Add 1 DMP per 5 - 6).
21st Portuguese Line: Ready, SK2. (Roll D6: Add 1 DMP per 5 - 6).
Battery of Foot Artillery (9pdrs): Ready. (Roll D6: Add 1 DMP per 5 - 6).
5 Cacadores SK stands.
Field officer 2 (average): 6 DMP.
14th Light Dragoons: Ready, fierce, unreliable. (Roll D6: Add 1 DMP per 5 - 6).
10th Hussars: Eager, unreliable(Roll D6: Add 1 DMP per 4 - 6).
10th Portuguese cavalry: (Roll D6: Add 1 DMP per 5 - 6).

British reinforcements
Field officer 3 (average): 6 DMP. 
3rd Dragoons: Ready, fierce, unreliable. (Roll D6: Add 1 DMP per 5 - 6).
1st Dragoons KGL: Ready, fierce. (Roll D6: Add 1 DMP per 5 - 6).
Battery of Horse Artillery (6pdrs): Eager. (Roll D6: Add 1 DMP per 4 - 6).
Field Officer 4 (average): 12 DMP.
5th Foot: Eager, SK2. (Roll D6: Add 1 DMP per 5 - 6).
11th Foot: Ready, steadfast, SK2. (Roll D6: Add 1 DMP per 5 - 6).
27th Foot: Ready, steadfast, SK2. (Roll D6: Add 1 DMP per 5 - 6).
8th Portuguese Line: Ready, SK2. (Roll D6: Add 1 DMP per 5 - 6).
16th Poruguese Line: Ready, SK2. (Roll D6: Add 1 DMP per 5 - 6).
Battery of Foot Artillery (9pdrs): Ready. (Roll D6: Add 1 DMP per 5 - 6).
2 SK Rifle stand.

Situation at dawn 15th July 1812
At first light on the 15th July, both advance guards arrive in the area and discover, to their mutual surprise, that the enemy is not present. The commanders are not slow to grasp the significance of the situationEach player finds himself presented with an opportunity to forward the ambitions of his army, possibly winning glory for himself, by taking the initiative and overreaching the specifics of his orders and attempting to take the main prize by coup de main. However, such a course of action might overextend his forces and bring about a major reverse. In essence this is the dilemma, the balancing act, call it what you will, posed by this particular table-top teaser. 

The map
The table is roughly 10' x 6'. The walls and trees are by Last Valley. The buildings (town sections) are a mix of 'modular' by Warbases and scratch built ones - all use Warbases windows and doors; all have Will's plastic HO pantile roofing. The river and rocky bits are all home made. Cornfields are doormat dry brushed with household paint. The latex rubber road sections are by Early War Miniatures but, I don't think you can buy this design anymore. 

Terrain Definition
The Tormes river lies at the bottom of a steep ravine. It is extremely difficult terrain: It requires a test to cross; it counts both the 'cliffs' and 'water' modifiers. All hills have gentle slopes; crests stem from the centre of high points and block LOS. 'Woods' represent hillside strewn with boulders, small trees and heavy undergrowth and are rough terrain to infantry, very rough terrain to cavalry and artillery, and light cover to all; they block LOS. Buildings are 'town sections', heavy cover; they block LOS to areas beyond. Corn fields represent enclosed areas of mixed agriculture such as orchards, vineyards and gardens, counting as very rough terrain and light cover to all; they do not block LOS. Deployment areas are 48" x 12".  A-B-C mark the possible road entry points of each side's reserves. 

A note on reinforcements
There should be six envelopes. At the start of play both sides dice off to see who picks first; the player going second chooses one of the five remaining envelopes. At the end of turn one (a dispatch arrives) the players may open their envelopes. When the Stratagem card is turned, on the reinforcement's turn of arrival, the player must disclose dust rising above the relevant entry points. Reserves actually start to arrive on the first relevant move card (Infantry Division March / Cavalry Division March) after the Stratagem card is turned.

Reinforcement Envelopes:
  1. Command 3 at A on turn 2; Command 4 at A on turn 3.
  2. Command 3 at B on turn 2; Command 4 at A on turn 3.
  3. Command 3 at A on turn 2; Command 4 at B on turn 3.
  4. Command 3 at B on turn 3; Command 4 at C on turn 3.
  5. Command 3 at C on turn 3; Command 4 at A on turn 3.
  6. Command 3 at C on turn 3; Command 4 at C on turn 4. Plus hidden path stratagem: A local guide is willing to show you a way across the Tormes and its associated ravine. It is situated (specific location at players choice) on your side of the table up to the bridge. It is one unit wide. It does not negate the fact that the ravine is extremely difficult terrain; it does negate both the cliff and water difficulty check modifiers.


Advance Guard Action - A revamped Charles S. Grant scenario. First game

Sometimes you can try to be too clever: Last week I ran the scenario as I'd set it out and, although the game was quite a good one, it was all done and dusted before the reserves had arrived and if the game had continued the reserves were so unbalanced as to make the game not worth continuing. However, I promised you a report and here it is.

Both sides deployed fairly conventionally. Graham decided to contest the bridge with a mixed force of cavalry and Legere, whilst Mark decided to cover the bridge with cavalry and assault the town with his all of his infantry.

Here, very early in the game, Mark gets underway with his screening cavalry.
The French move towards the town of Poca Estavavan.
They arrive in strength and occupy it before the British can intervene.
The British move to clear the town section by section, starting with the church section: The French hold out remarkably well and for almost the whole evening's play. 

Mark employs his guns in counter-battery fire: This, in the long run, will unsettle the French position to the right of Poca Estevan and change the balance of the battle in what will prove to be a vital sector of the field.
The British attack is developing nicely - the French are being outgunned in the village and the French battery, which has been shattered by the British guns, is about to be overrun.


On the French right, the Legere occupy the farm and form square to nullify the British cavalry advance then, with these offering covering fire, they bring up their own cavalry.
This shot was taken just prior to the glorious charge of the French cavalry that all but swept the British cavalry from the field. After this charge the French had the bridge and their cavalry had free roam of the field.
But, the village was about to fall to the British, and their infantry, guns, and (what remained of) the 10th Portuguese cavalry were able to swing to face the French cavalry which was moving to outflank them.

At this point, with the French in the village beaten, the French reserves started to arrive. 

The French had drawn the cavalry reinforcements (envelope 3) and Graham felt, justifiably, that he had no way of retaking the village. 

It was quite late in the evening at this point so, when Mark revealed he had drawn the Light Division (envelope 2) which was shortly to arrive at C (the bridge road) Graham conceded - the game was truly up. A resounding British win.

The game was a good one and both players had had their successes but, it had not gone as I'd hoped. The changes I had made to the original scenario, changes I thought would add more uncertainty and excitement to the game, didn't work as planned. Firstly, I got the timings wrong - the reserves should have arrived slightly (a turn) earlier. Secondly, the randomness of the reserves only served to make (by chance, and if the game had been continued) a British victory inevitable. Consequently, I've changed the scenario a little and will re-run it again this week: See my next post, later today.