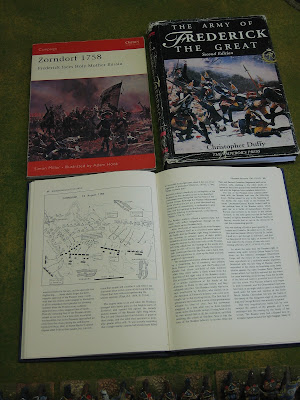
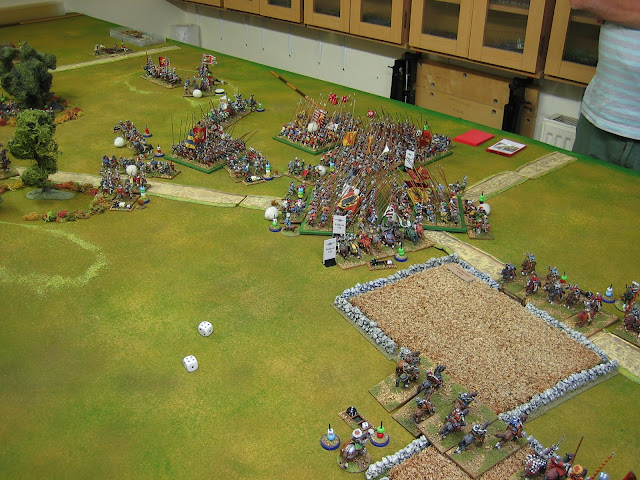
After so long playing the Napoleonic Peninsular campaign I'm still ringing the changes. The Ilkley Lads next battle will be a Seven Years War affair. Not wanting to have to set up something new every week, I've decided to do a big game that will last two or three sessions. That prospect lends itself to doing a big historical refight. To make life easy I decided to do Zorndorf - I know this battle back to front and could probably set it up blindfolded. It's also an excellent battle to base a wargame on.
The inconclusive Battle of Zorndorf, contested by Prussia and Russia, was a struggle of epic proportions and its historical casualties look like something more akin to a wargame than reality. At the start of the day Frederick could count on c. 37,000 effectives and Fermor could count on c.43,000. After twelve hours of bloody fighting, with both armies still maintaining the field, the Prussians had sustained c.13,000 casualties (34%) and the Russians c. 18,500 casualties (43%) - personally, I find those numbers astonishing.
In my opinion, historical battles of the Seven Years War are generally easier to represent on a wargame table than those of other horse and musket wargame periods, such as Napoleonic or ACW, because their deployments generally require less table depth. The linear nature of SYW battles often makes them fit naturally onto a wargame's table without much need to compress depth. Zorndorf is a prime example of this feature.
Zorndorf can be set up at various levels of troops scaling but, I like to set it up with one wargame unit equal to an infantry regiment of two battalions or five squadrons of cavalry. Incidentally, this is why my cavalry units are only 8 figures strong: Five squadrons of cavalry had almost exactly the same frontage as two battalions of infantry deployed side by side. This unit scaling still gives me a Russian line measuring approximately 13' long, so I need to raise the table's drop leaf (extending my table to 14' 8"). Fortunately, this is not a battle about insecure flanks, otherwise I might need even more. One thing I have done for this battle is to reduce the overall artillery numbers - not because I don't have enough guns, but because when I've scaled batteries more accurately they dominate this particular game too much - this is not an exercise in re-enactment, it's a game for fun.
In consequence of the extension being raised, it is impossible for me to take a photograph of the whole table from any part of my wargame room, so I need to take a shot from each end.
This first shot, looking east, shows the extent of both side's infantry lines, with the Prussians looking down onto the Russian lines from the higher ground to the north. Between the two sides is the Stein-Busch, a fairly open wood. The other key features can also be seen: To the left is the village of Zorndorf (which should be in flames after being torched by passing Cossacks), to the right is the village of Quartschen and, intersecting the Russian side of the field, are (west to east) the Langer-Grund, the Galgen-Grund and the Zabern-Grund. The Grunds are essentially natural water cuts that drain the land north of the river Metzel (which runs west-east behind the Russian position). The Grunds varied in depth, being no more than wet and boggy ground at their northern reaches, to steep sided 'ravines', at some points 10m deep, along their southern reaches - they are still very visible today (check out Google Earth for a very unspoilt battlefield. Modern day Zorndorf is called Sarbinowo). Seydlitz, having scouted the lower reaches of the Zabern-Grund, declared it unpracticable to cavalry so I'm counting the lower parts (defined on the table by streams) as impassable to cavalry and type III watercourses to infantry. I'm counting the upper reaches (defined on the table by boggy ground and pools) as type III watercourses to cavalry and type III terrain to infantry.This shot, looking west, shows the two side's cavalry wings extending into the far distance. It clearly shows the extent of the Langer-Grund and Galgen-Grund. On the northern (Prussian) side of the table I have added the 60m contour. This high ground is not a hill, it is more the higher end of a long shallow slope that drops down 30m to the river Metzel some 3km to the south. Between the two lines there were several folds in the ground, notably around the Stein-Busch and to the west of it (the Fuchsberg knoll). These were enough to obstruct line of sight to certain low lying areas of the field but in reality the smoke, blowing south from the Prussian artillery and the conflagration at Zorndorf, did more to impair vision - apparently Manteuffel's infantry emerged from the smoke just 40m in front of the Russian line - so I choose not to portray them.
The Russian cavalry wing under Demiku. I've seen this wargame force deployed in several ways. Often it is deployed as a continuous line (I've done it that way myself) but to shorten it slightly I now deploy it in two lines. It comprises two units of cuirassier, a unit of dragoons and four units of hussars. There are also three units of Cossacks (generally, not much better than useless in this period): These are leaderless but are not out of command in consequence; they will each roll d8 for movement activation; they cannot rally; two cards in the Russian sequence deck (Special Event) prevent them acting on the next card turned - they really are quite unreliable, just as they were historically.
Bounded on their left by the Langer-Grund is the Observation Corps under Browne. This comprises four large units of line infantry, each representing a three battalion regiment, and a large unit of their combined grenadiers. All of these units have five unit integrity points rather than four and that is their only 'big unit' benefit - they actually performed poorly on the day. The Corps has an attached battery of artillery.
The right infantry sector, commanded by Saltykov, lies between the Galgen-Grund and the Zabern-Grund. The command comprises eight units of line infantry, two units of line grenadiers and a unit of combined grenadiers; two units of artillery are attached.
Another shot of the same sector showing the southern end of the Zabern-Grund and Quartschen. The army's right wing cavalry, under Gaugreben, are also stationed here: they comprise a unit of cuirassier, a unit of horse grenadiers and a unit of hussars. Guarding the crossing over the Zabern-Grund is a unit of Cossacks.
Starting left to right, at the eastern end of the field are two Prussian cavalry commands. These begin the game off table but are positioned at their predefined points of arrival. Beyond the upper reaches of the Zabern-Grund is the command of Malachowski, this comprises four units of hussars. In the foreground is the command of Seydlitz; it comprises three units of cuirassier (including the Garde du Corps and Gendarmes) and a unit of dragoons.
To their right, to the left of Zorndorf and above the 60m contour, is the main infantry strike force. Leading is Manteuffel's command, comprising a unit of line infantry and three units of combined grenadiers; it has a battery of artillery attached. Behind them is the command of Kanitz, comprising five units of line infantry, two units of fusiliers and a unit of combined grenadiers; it has a battery of artillery attached. Behind them all is Marschall's command of four units of dragoons. Frederick the Great, commanding the Prussian army, can be seen just in front of Zorndorf - I should have painted him foolishly licking his lips.
Behind Zorndorf, refused, is Dohna's infantry command comprising three units of line infantry, two units of fusiliers and a unit of combined grenadiers; a unit of artillery is attached.
On the far right is the cavalry wing of Schorlemer. It comprises three units of cuirassier, a unit of dragoons and two units of hussars.
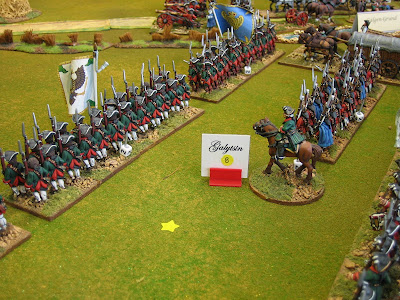
Note, the yellow star between the infantry lines. There are three of these, one in each infantry sector (Observation Corps, left and right). These are Prussian victory objectives. They will each cost the Russians six army morale points if contacted by a Prussian unit - this will encourage the Prussians to press an attack and might be the only way the outnumbered Prussian infantry can win; no such objective points exist on the other side of the table.
I have stationed Fermor, commander of the Russian army, in the right infantry sector. Here he is alongside his sumptuous coach. The coach was scratch built, in a moment of madness, from Milliput (chassis) and old postcards (coachwork) after purchasing some Foundry draft horses and various wheels (in a bring and buy odds and sods box) at a show.
One last shot of the Prussians - doomed men?
For the first time, we will use Field of Battle (2nd edition) rules for this battle.


