The following battle is a fictional meeting engagement, played solo using To the Strongest rules (with house amendments). It has no 'background scenario notes'. Its purpose is to test my amendments, especially for game balance. Both sides have a roughly equal points value (180 points, or thereabouts).
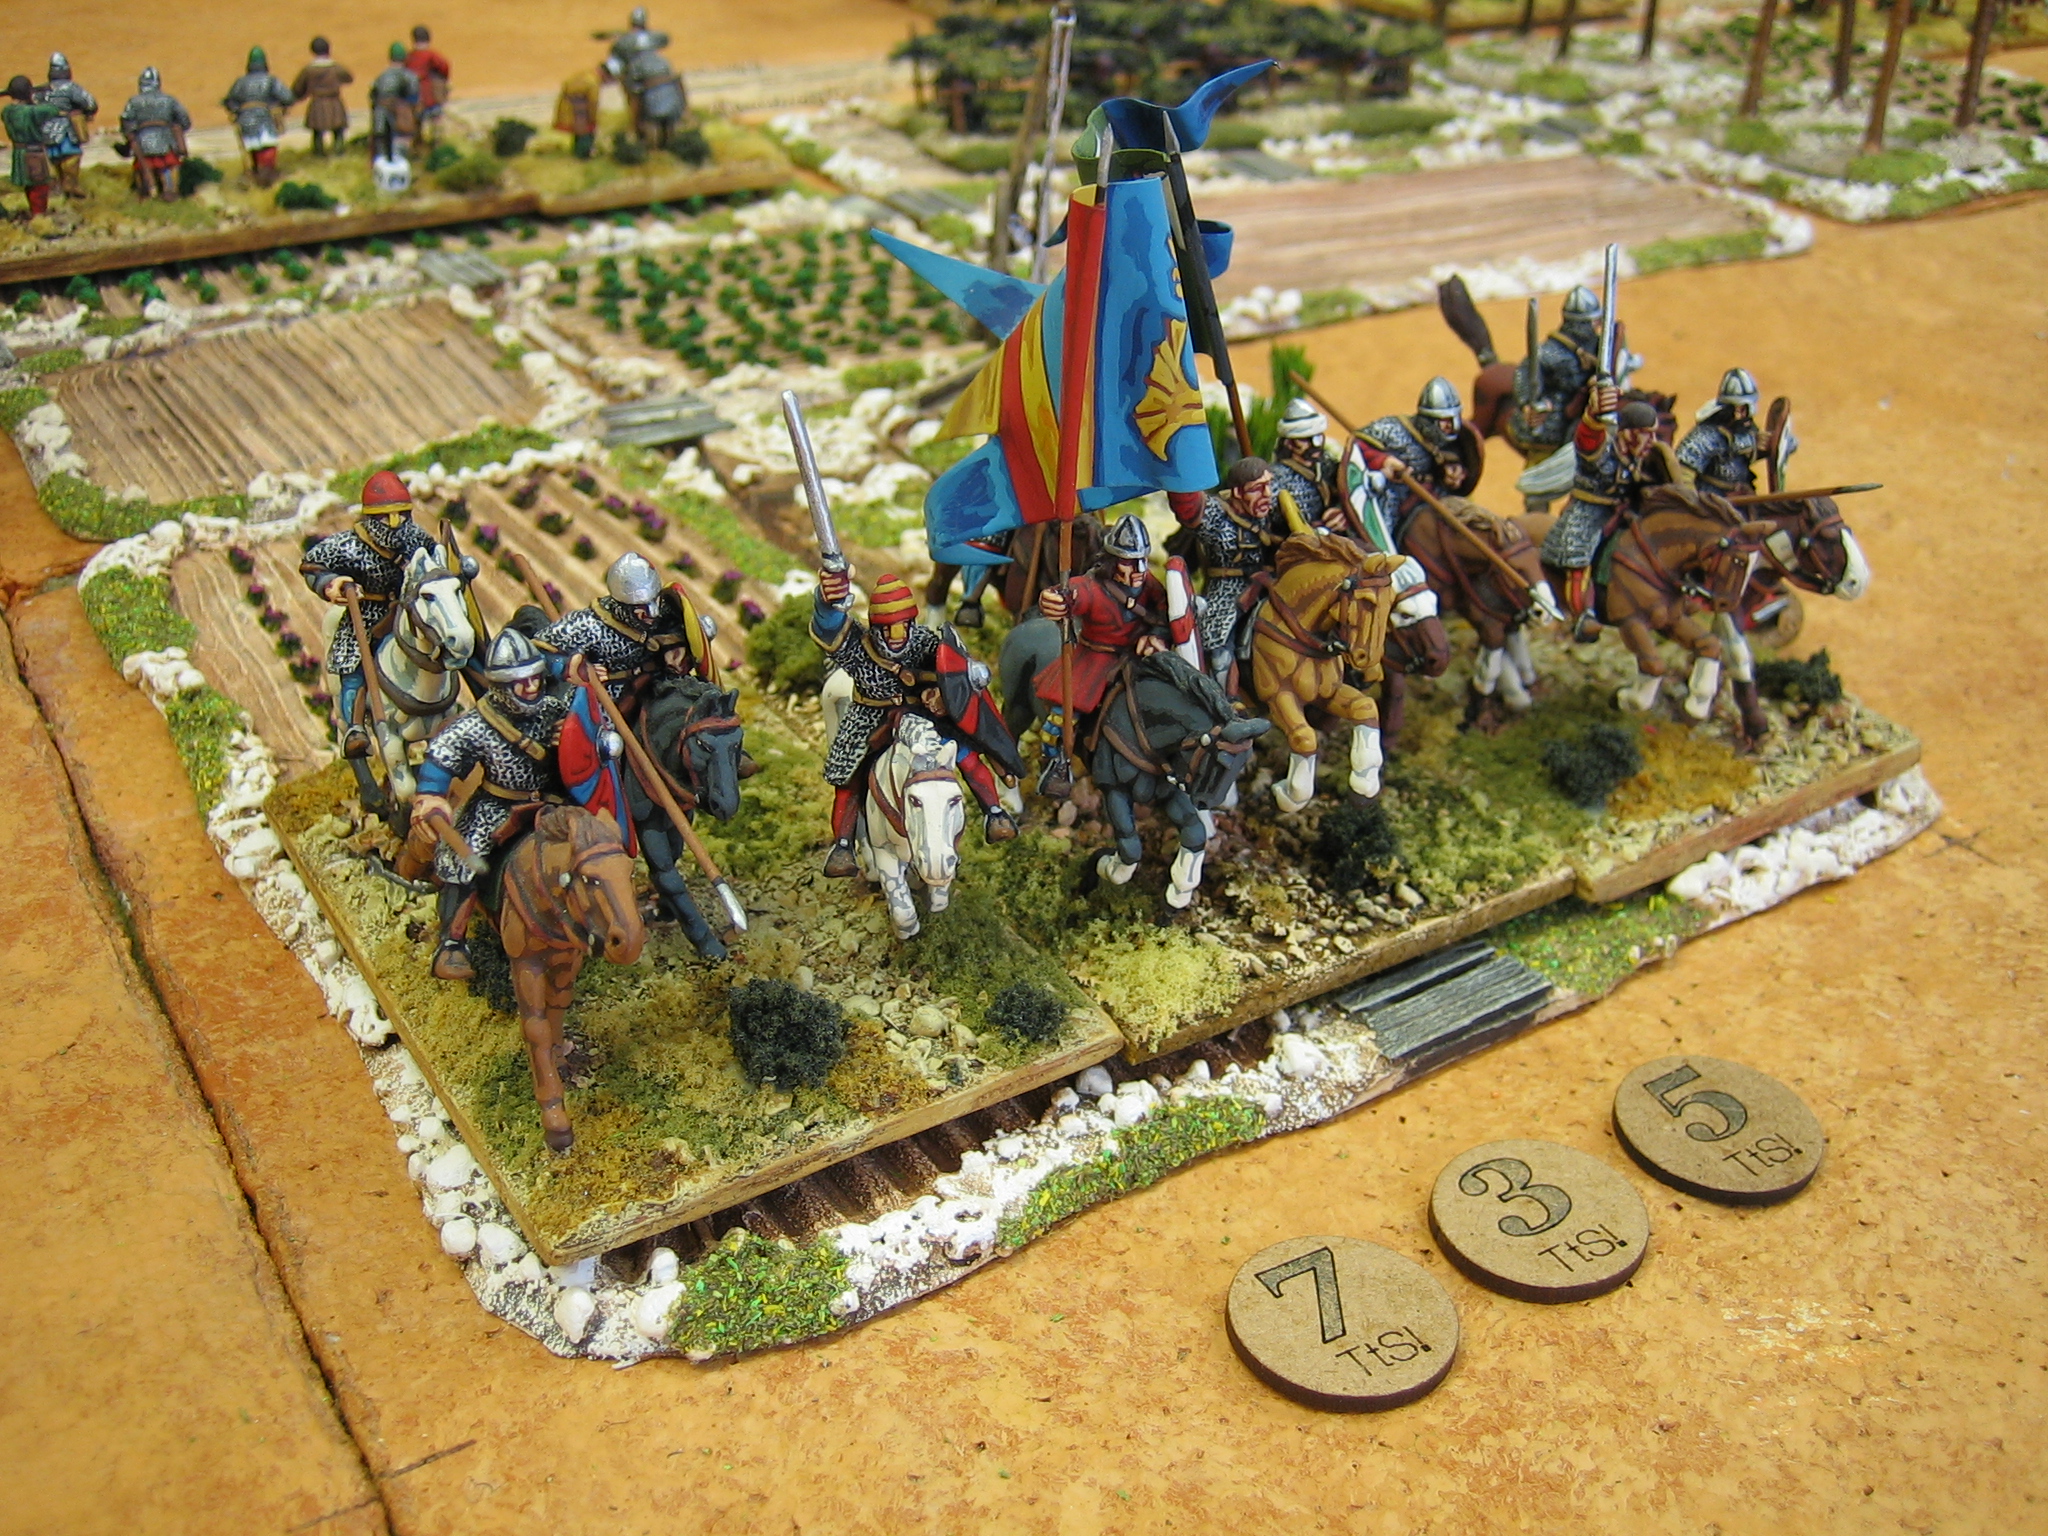
I will describe the game turn by turn. I will illustrate each turn with at least one photograph, usually a close up of something that occurred in the turn, and an 'end of turn map' showing the game position. I will try to explain new formations and period specific rule amendments as they come up in the game (in blue).
One thing not noted below, are the Victory Point Medals (I use poker chips). The Franks have 16 (including three for their camp and three for the True Cross), and the Syrians have 15 (including three for their camp). I like the idea of camps in Crusades games: historically, camps feature prominently as the objective and / or prize of many battles.
The Set Up:


Terrain Definitions:
Cedar woods: Rough terrain for activations for all except light infantry. Rough terrain in melee, cover versus missilery. Block LOS.
Fields: Rough terrain for activations for all, except light infantry. No effect, regardless of depicted crops, on LOS or combat.
Escarpment: Rough terrain to all for activation. Troops deployed along top of the escarpment get a +1 save bonus versus charges coming up the scarp face (similar to defending a river bank).
Buildings: The rules I will use for buildings differ greatly from the norm but, these a certainly not set in stone:
- Each buildings box has normal occupancy restrictions except that only one unit can be cavalry (infantry in the buildings, cavalry in the streets).
- Units in a buildings box never present flank or rear, nor do they have a defined position (front or back) within it.
- When shooting from a buildings box, the shooting unit can choose which face it wishes to shoot from for the whole turn (it can be changed turn to turn); two units cannot shoot out of the same face of a building box in the same turn; only one shot per activation is allowed regardless of troop type.
- Where an activation is made to charge or shoot at a building box containing two units, the attacker chooses the target; in a melee the defender can choose with which unit he wishes to battle back, even if the target of the charge was destroyed (this is similar to the battling back allowed to Republican Romans, so it didn't seem too much of a rule stretch).
- A buildings box counts as rough terrain to all, in all circumstances; buildings block LOS.
Partly, my reasons for these rules are practical. They work, especially for occupancy, with my model buildings.
Camps: Rough terrain to all for activation; cover versus missilery, no effect in melee; block LOS. Note that I don't quite get the amount of VPMs you should get for each camp box, I found the rules unclear (or I haven't found the right bit): but, as you lose three VP for each box lost, I settled on one added VP for each. I feel sure they will be targeted in the upcoming game.
 |
| End of turn 1. |
The Franks make a general advance. Nordwin's infantry occupy 'the farm' and its surrounding fields whilst his turcopoles and supporting knights move to counter any flanking move by the enemy Turcomans in front of them; Lazarus advances with Nordwin, slightly refused; Gungatin brings his Armenians up to the escarpment, throwing his archers, through the 'cedar wood', further out to the flank.
The Syrians begin a cautious envelopment on both wings with their Turcomans, whilst Prince Kalib throws his foot archers out to contest the advance of Nordwin's infantry through the fields and date palm groves about 'the farm'.
The Turcomans are in a new two unit formation: 'Whirling Mass'. I came up with this formation specifically for Turcoman nomads.
Unusually, for middle eastern horse archers of the time, they didn't 'shower shoot' from a stationary position. Instead, Turcoman masses would advance in groups to shoot off a few arrows before retreating, constantly being replaced by other groups in the mass. This action almost certainly had a forwards and backwards motion, with a definite direction of attack (according to Nicolle). It allowed Turcomans to deliver a constant, heavy, withering barrage of arrows.
I represent this with two permanently converged units of Turcoman horse archers. My army list holds the key facets of the formation for TtS. It is points costed as two units of horse archers (10 points). The rules for whirling mass are as follows.
|
· A whirling mass is a formation exclusively used by massed Turcoman horse archers. It represents groups of
horse archers, within the mass, advancing to shoot before retiring,
constantly replacing other groups within the formation ‘whirling’ in the same
manner. It is represented on the table with two converged units, one unit placed directly
behind the other: the stands of the second unit should be arranged with the
centre stand facing forwards and the outside stands facing backwards.
·
A whirling mass has two hits; it is
disordered after receiving the first, lost after receiving the second.
·
A whirling mass can shoot twice on the
same activation unless it is disordered, in rough terrain, or it is partially out of ammunition (OOA) when it can shoot only once: partially OOA have one OOA marker, totally OOA have two. .
·
A whirling mass never presents a flank
to shooters (because of its constant motion).
·
A whirling mass cannot share a box with
any other troops and, due to its ever whirling nature, it cannot be
interpenetrated.
·
A whirling mass is treated as light
troops in all other respects (including the ability to move backwards after
shooting).
|
Turn 2.
 |
End of turn 2.
A unit of Turcopoles has been eliminated by Turcoman fire (Frank's unit 8, in grey).
The small white crosses (Syrian units 11 and 4) are 'out of ammo' markers. |
Whilst the turcopoles shower their Turcoman adversaries with desultory volleys of arrows, the Franks advance through the fields an groves of date palms west of 'the farm'. On the left flank, the Armenian archers snipe from the woods and temporarily disorder a unit of Turcomans whirling around in front of them (it will rally in the Syrian turn).
All along the Syrian line, every bowmen looses arrows sending volley after volley of arrows into the serried ranks of heavily armoured Franks. The results are pitiful. Only one unit failed its save: a unit of turcopoles bit the dust under a hail of well directed (two hits on the first volley, one saved) Turcoman arrows. Two Syrian units received out of ammo markers *.
The photo shows the tall stack of 'to hit' chits drawn by Prince Kalib's command group, the smaller stack the number of saves that had to be made. The other chits were drawn for activations (and Kalib's command might have had more if I had remembered his signals group: more annon). It also shows a 'tuft' marker (behind the central unit of Syrian foot archers), which I'm using to mark units that have gone 'out of ammo'.
At this point I'll outline the changes I have made to the shooting rules. The basic mechanism is unchanged. All I have done is adjust the saves and ranges, changed the 'ammunition expenditure' rules to something simpler (if a little more abstract), and added a few troop types capable of firing twice on the same activation. I have made these changes purely in an attempt to tailor the rules for this specific period, where the technology of missilery was of great tactical importance.
Note: The change to the ammunition rules were made because of the sheer numbers of units armed with missile weapons and consequent stacks of ammunition chits that would be required: basically, for aesthetic (and lazy) reasons.
Note: Crossbows are not the powerful weapons of later times, predating even a stirrup to aid loading, and have been downgraded accordingly. Although they were feared for their penetrative qualities at short range (and I did think about a -1 save for armoured targets), crossbows had a slow of rate of fire and I think one attribute cancels the other.
Note: Composite bows had a remarkably long range when shooting light hollow reed arrows, or darts with a majra or siper arrow guide, but suffered a from lack of accuracy and penetration when doing so. Regardless of its lack of effect, long range shooting was often employed against the (outranged) Franks so must be included in the rules.
Note: Simple slings (not staff slings) were not a military weapon in this period: they were largely restricted to 'pilgrim' and other civilian types, shooting stones rather than much heavier (and more lethal) lead shot.
The rules:
- * Units of archers go out of ammunition if they draw an ace (1) chit to hit. Turcomans in whirling mass go partially out of ammo after drawing one ace chit, out of ammo on drawing two (because the formation comprises two converged units). Light infantry with javelin go out of ammunition if they draw a 1 - 5; other javelin armed units automatically go out of ammunition after activating to shoot. Note here, units armed with bow and javelin cannot shoot their javelin (javelins are their primary melee weapon and reflected in the unit's saving throw). Units can resupply themselves fully by activating to replenish and spending a replenishment (ammunition) chit.
- The effective range of all bows and slings is two boxes, except that composite bows can shoot very light arrows and darts out to three boxes. Javelins, naptha pots, and improvised peasant weapons have a range of one box. Artillery has a maximum range of four boxes and a minimum range of two boxes.
- Saving throws are unchanged for crossbows and composite bows at one or two box range. Saves against composite bows at three boxes range are made with a +2 modifier.
- All saves against hits by simple bows and slings are made with a +1 modifier.
- Saves against improvised peasant weapons are made with a +2 modifier.
- All save against naptha pots (incendiary terror weapons) on 8+.
- Artillery targets everything in a box, drawing a (to hit) chit for each target; all targets save on 7+.
- Close order foot bowmen (such as Fatimid Sudanese), Turkish ghulams, mamluks and bow armed veteran askaris may fire twice on the same activation. Turcomans in whirling mass may also fire twice (see whirling mass above).
Turn 3.
 |
End of turn 3: The Franks Press Home
Note that disordered units (Turcoman 4, Ahdath 8 and Armenian 16) are marked with grey numbers. Totally grey units are units destroyed this turn in the position in which they were destroyed. |
Nordwin's men went forward, forcing the Syrian archer screen to evade. Nordwin lead the charge with his veteran ferocious
* knights and, adding a hero to the equation, went through the Muttatawia (unit 9) like a hot knife through butter, then swept away the unlucky Syrian archers (unit 13) sheltering behind them (who failed to evade a second time) in their turn. To Nordwin's immediate left, his sergeants disordered a unit of Ahdath before the attack ran out of steam. However, whilst this attack went in, the other knights in his command also went forward and the turcopoles disordered the Turcomans facing them with a well timed volley.
According to plan, Lazarus and the Armenians maintained their refused positions to Nordwin's left. Lazarus' crossbowmen doing sterling service by routing the Syrian archers (unit 10) to their front.
* The mounted charge of western knights had a ferocious reputation. It was capable of smashing through far superior numbers of the enemy, be they infantry or cavalry. In the rules, veteran knights save on 5+, which makes them more durable than the best 'Saracen' cavalry which save on 6+, but doesn't quite reflect their devastating power in the charge. Consequently, I have added ferocious to the list of unit classes (army list cost, 2 points): Units charged by ferocious knights save at -1. Ferocious cannot be attributed to foot knights - these already have 2HCW (under the standard rules) which amount to the same thing.
Anything that makes the Franks, especially knights, so often outnumbered but victorious, more powerful but costly in points is probably a good thing - especially for balancing historical refights where the Franks are vastly outnumbered. It remains to be seen if this makes knights over powerful 'super troops' and if, in consequence, I decide not to make ferocious generally available as an army list option. At the end of the day, game balance is the most important thing.
Turn three is not a great turn for the Syrians: their activations, even with the aid of the signals group *, being shortened by the draw of dreaded ace chits. Except for Sarrouff's Turcomans disordering a unit of Armenian foot (unit 16) on the escarpment, they only manage movement activations. However, these movements might prove to be tactically important ones. As well as Kalib managing to reposition his cavalry to repel Nordwin's attack, Ratfan begins his own counter attack with his veteran Ghulams and Kurds, possibly outflanking Nordwin and deflecting his focus of attack. We will see.
* When reading about Saracen battle tactics, I was deeply impressed by their use of loud music or semaphore to transmit simple orders over battlefield distances. As the Franks get Holy Relics stands, I thought a balancing stand might be interesting and novel.
I had painted a group of musicians, including a camel mounted kettle drummer, and these were ideal to represent this aspect of their battlefield technology.
Anyway the rule for this is pretty simple. A senior general, and only a senior general, can have an attached long range signals stand. He can use it to re-draw for a failed activation in any box, within three boxes range, that does not contain a general, once per turn. It cannot be used to replace an activation chit to get a lower one, only replace a failed activation chit. It cannot be used in a box containing a general because players shouldn't get two bites at the same cherry, and can be easily explained as troops in a general's box looking to that general for orders rather than signals from afar.
In the army lists, I have given the piece a high cost of 7 points: I think the piece is a very powerful tool, to some extent making ordinary generals 'brilliant' and, in consequence, players should pay through gritted teeth for it (brilliant generals, such as Hannibal, cost an additional 4 points and are only allowed to specified armies).
I only allow them to Syrian states and Fatimids (Arabic rather than Turkish culture, though I'm not wholly sure the Seljuks wouldn't use similar technology).
BTW. The transmission of orders by flag (very simple semaphore) was carried out from a camel mounted platform - wouldn't that make an interesting gaming piece!
Turn 4.
 |
End of Turn 4: The Counter Attack
The Franks lose their first units of consequence (grey units 3,16), several units are disordered (grey numbers) and two units of lance armed cavalry lose their lance attack bonus (white cross, units S14, F2). |
The photo opposite shows how the table actually looks at the end of turn four.
Nordwin's men press home their attack still further. The sergeants to his immediate left rout the Ahdath they had disordered in the previous turn.
Norwin urges his knights into the fresh cavalry now facing them: the Syrian cavalry are disordered but fight back bravely, disordering the knights.
The knights to his right force the Turcomans back after a brief clash (the Turcomans failed to evade) but, the knights only manage to lose their lance bonus* and hero in the process (they hit twice, saved twice).
The Armenians continue sniping from the woods to good effect, disordering a unit of Turcoman horse archers.
* Lance bonus to hit chits are not automatically lost after the first charge. Instead, they are lost if either to hit chit drawn is an ace. Lances can be replaced by activating to replenish. I do not differentiate between arrow ammunition and lance replenishment chits; a replenishment chit can be used for either purpose.
Ratfan's Kurds now accomplish what they failed to do the previous turn. A unit of Kurdish cavalry (S16), orders reinforce by long range signals, charge into the flank of Nordwin's sergeants and scatter them to the four winds. Ratfan then leads his ghulams and Kurds in a charge against the Franks and Armenians on the escarpment. The fighting is fierce and three units (F11, F17, S15) are disordered, and Ratfans ghulams (S14) lose their lance bonus.
The torment is still not over for the Franks. The unit of Armenian infantry, shieldwall not withstanding, fall beneath Turcoman arrows.
At this point the Franks have surrendered 5 VP, the Syrians 7VP.
Turn 5.
 |
End of turn 5: Crisis.
[Edit: I have corrected an error in previous maps. The Frank's camp extends one box further to the right - it is three boxes wide].
Three more units have been destroyed, and both sides are running low on VP - the Franks have 6, the Syrians have only 4.
Ratfan's 'charge of opportunity' is shown with a red arrow. |
Nordwin rallies his knights and charges again hoping to finish the battle quickly by breaking into the Syrian camp. He breaks the Syrian cavalry in the cedar wood, but he has redrawn an activation chit (a nine) to do it. Rather than risk everything by trying for the Syrian camp, the Franks must break off this attack to deal with minor crisis elsewhere.
Fearing that the Kurds on their flank the sergeants withdraw into a defensive formation nearer the farm. Meanwhile the knights on the right, who have managed little so far, again come up short, forcing back the Turcomans but nothing more.
Lazarus, now is your time! A couple of good charges might do it. He draws a two, failing to extricate himself from the fields and palm groves, then draws an ace - Disaster!
Gungatin, now is your time! Gungatin's heavy cavalry career down the slopes of the escarpment and cash into the disordered Kurds at the foot of the slope. They are broken! He fails to rally his infantry. His archers fail to make an impact. All of his drawn chits are high. He tries to change his cavalry's eight to something lower - he draws a ten! The Franks finish their turn.
The Syrians now play cagey, to see what happens. Scarrouff rallies his disordered unit then fires on Gungatin's cavalry, disordering them. He moves his own unit forward then turns to bring more firepower to bare. His chits resemble those of his foe, all high. He fails to make any further impression.
Ratfan, charges up the slope into the disordered foot sergeants, they break. For once the chits are kind, he charged on the perfect score required, a 3. He is at the top of the escarpment looking at the undefended camp of the Franks. The Franks have 9 VP, the camp is worth 9 VP if he can take all three. The moves forwards (on a five, he could do it!), then sideseps into the camp (on a six, looking good), then the wheels come off. Poised on the brink of victory his turn is over.
Kalib, on the brink of defeat (4 VP left) now desperately seeks to defend his own camp. By hook and by crook he shifts several units into position and even manages to disorder the knights facing his Turcomans.
The Franks have 6 VP remaining, the Syrians still have 4 VP: This is going to be close. The Franks must decide either to defend their camp to buy time for a trial by combat they must surely win, or go for the kill, or a combination of both. For the Syrians, their best hope, I feel, is to survive the Frank's turn with Ratfan able to take the camp. The course is clear, the Franks priority must be to stop Ratfan.
Turn 6.
 |
End of Turn 6: Victory!
There is no map because very little actually moved and victory was achieved by....... |
Lazarus turns and races back towards the camp. His first activation chit is the worst possible - stick or twist. He decides to draw hoping for a nine to charge Ratfan cavorting amongst the tents. A three, followed by a redrawn five, and no banana. Now, it is all up to his father Nordwin.
Nordwin charges Kalib. The chip draw for the action is shown above. I actually kept track because of his initial draw of three tens. Top row is activation (the four was a replacement chit for the ten). The second row is to hit chits following a successful charge, the next row is the unbelievably great streak of saves, and the last row is the abysmal battle back chits to hit. after this, his other knights rallied, as did the Armenians, then failed to charge. The Franks ended their turn pretty much in the state they had started it.
The Syrians didn't mess around. Ratfan moved through the camp with ease: 6 VP surrendered, game over. A Syrian victory grasped from the jaws of defeat.
The camps worked well, giving a possible objective other than simple unit annihilation. The main lesson being to buy a camp guard. Just about anything would do, light infantry, Ahdath, or 'pilgrims': Any that would slow an attack on the camp long enough for help to arrive. In this game, following his unexpectedly easy victory over the sergeants on the escarpment, Ratfan saw his chance and took it.r for
The rule for ferocious knights wasn't overly tested in this game. However, it didn't seem to over egg the knight's pudding. A few more games required, I think.
I didn't get a chance to test the rules for buildings. My next scenario will be smaller, with unequal sides, and one side's camp will be in a town.
All in all, a good solo game. I hope you liked it too.


17 comments:
Looks like you had a cracker of a game, going down to the wire. What fun!
Jim
Great write up James, loads of work gone into that 👍 will definitely be having a close read through and studying your ideas. Hope you keeping well.
Regards Ken
Wow, great AAR, I loved it. Well, plus your usual spectacular eye candy.
I've already got your mods to TtS thanks to your earlier generousity but I will add in the new stuff you got here too. I fully agree on the knights getting that fierce charge bonus.
I'm still painting my two armies so no playtests yet but looking forward to it. I'm using Blue Moon's 18mm Crusades range for figs. I got about 14-15 units done per side but want more cav especially for the Muslims and need to paint up generals also.
Thanks for this post, yet more inspiration for my own project.
Really spectacular project; everything from the preparations and and rule amendments to the pictures and report. Inspirational too as I am currently reading the Crusader States supplement for Lion Rampant.
Excellent to see your crusader collection on the field once more.
You are totally right about the camps, in many battle of this era the camps seen to have been really important.
James some absolutely wonderful looking units - great photos. Also an excellent way of describing the ebb and flow of the the battle with the annotated maps. Thanks
Richard
Great looking set-up and a very thorough AAR. It sounds like there were lots of swings of fortune.
Beautiful looking game, well done!
Thank you, all, for your encouraging words.
It's hard to get motivated to game without opponents, or organise things purely for one's own enjoyment. Kind words always help.
James
Really nice looking game and troops and the changes to the rules appear to work as you wanted, although I don't know the rules so what do I know! It's always nice to see thought going into house rules so that they have the right historical flavour and play more smoothly.
Always such great-looking armies! Looks like a lot of fun. If you fancy an online game we are running a campaign using Tab Sim at the moment, you'd be most welcome to pitch in.
Looks great, James. I am a big fan of TTS!, modified or otherwise.
A lovely looking game indeed and your schematics of the action really helped. You have some beautiful figures there.
Regards, James
One of the best AARs I have ever seen on a blog! Absolutely Terriffic reading!
Sorry if I write in such an old thread but I would like to know the dimensions of the bases you used?
Thank you
Davide
Sorry if I write in such an old thread but I would like to know the dimensions of the bases you used?
Thank you
Davide
Infantry are on three bases 60 x 60, 22 per unit - 7/8/7.
Light infantry are on three 60 x 30 mostly three per base.
Cavalry are on three 60 x 90 bases: 7 per unit light - 2/3/2; 10 medium - 3/4/3, 12 heavy 4/4/4.
Post a Comment