Thursday 30 August 2012

A very short break from campaigning

Just for a change, Peter and I decided to throw something a little more heavy than pilums at each other. During my vacation from war game projects I've been enjoying painting a little bit of this and a little bit of that. Recently, I've been painting some Afrika Korps stuff for Operation Crusader and I have managed to complete Battle Group Cramer of 15th Panzer Division (less one coy of 15cm howitzers). Having already completed 22nd Armoured Brigade Group of 7th Armoured Division, I suddenly realised I could put together a tank battle.

The rules, largely based on classic Piquet's "Point of Attack - The Blitzkrieg", are still very embryonic. They are being designed to be very period specific - in this case covering Operation Crusader / Siege of Tobruk 1941, and the Gazzala Battles 1942 during the Western Desert campaign. As they stand, there is enough to do the basics, and rest can be explored or fudged as situations arise.

One quite interesting idea we tried last night, is to use the table tile grid for terrain definition - the tiles with a small hill in them are areas where hull downs might be found. There are few proper hills in the Western Desert, but the ground is not dead flat. The small hills (I'll be making some smaller purpose made mounds) are just movable markers. At the end of a movement within such a square a unit of vehicles, or deployed guns, can attempt to go 'hull down' by rolling their 'Other Difficulty' dice Vs D8.  The German 'Other Difficulty' dice is D10 the British is D8. This dice is a catch all fall back used to decide odd situations not covered within the rules and includes the tactical nous of tank commanders. If a vehicle or gun finds a hull down it is marked with a cover marker which it can place to either front, flank, or rear (again, I'll be making some better markers than the 'dug-in' markers we used last night).

Anyway, the game worked fairly well, though it took some time to remember the differences between classic Piquet and Piquet, Field of Battle style. I took a few shot to commemorate the new units losing their cherry - or is that a bar mitzvah for the Germans?

The British win most of the initiative and attack.
The British seek the tactical advantage of 'rolling ground'.

The Germans bring up the heavy stuff.

This one stand unit (representing a battery of 4 guns) is absolutely lethal - in Piquet terms it's base fire dice is D12+1 even after taking account of the small numbers of guns - it's a real tank killer.
British Crusader tanks manage to find hull downs.
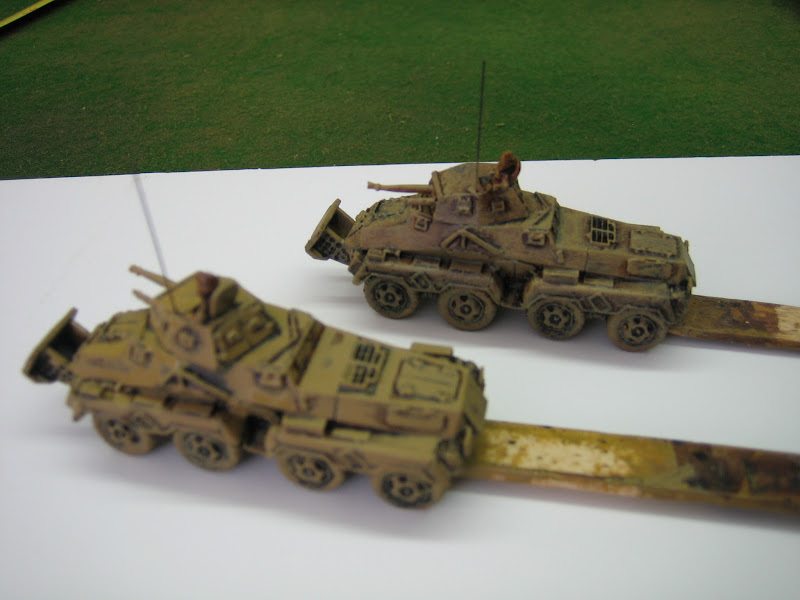
The virgins. 8th Panzer Regiment in wedges advancing, under fire, across open ground.

Wednesday 29 August 2012

And the punches keep on coming!

The situation map after the Battle of Faleri 209 BC. During the next two years a lull ensued. During the lull both sides sought to gain advantage through diplomacy and sneaky tricks until.............

Rome: Card 57: Hannibal councils Carthage - No troops may leave Africa until after the next reshuffle. 

Carthage: Card 49: Hannibal moves to Paestium.

Rome: Card 21: Mercenaries desert - Hannibal loses 1 CU.


Carthage: Card 13: Hannibal recruits 2 CU in Bruttium.

Rome: Card 53: Nero moves to Rome.

Carthage: Card 36: Diplomacy in Spain - Rome no longer has possessions south of Idubeda.

Rome: Card 12: Assert political control over 2 areas.

Carthage: Card 12: Assert political control over 2 areas.

Rome: Card 43: Rome raises slave legions, promising freedom for service.

Carthage: Card 17: Assert political control over 1 area.

Rome: Card 7: Nero gathers the strength of Rome. He marches south and brings Hannibal to battle on a plain near Paestium.

Rome musters 12 CU, Carthage musters 9 CU.  

  The situation at the end of the map phase - Summer 207 BC. Rome, it would seem, is insistent that Hannibal should leave Italy.

Monday 27 August 2012

Something for dessert - how I paint WW2 vehicles for N. Africa

I have found painting 15mm WW2 vehicles for the desert theatre quite relaxing and a complete change from 28mm figures. Recently, I was asked how I did it. I'd been planning on doing a "how I" for some time so I got the camera out whilst putting together my German reconnaissance battalion.

Before I start, and to prevent a pointless waste of peoples time posting corrective comments, I wish to explain the organisation of this formation. As most of you will know I have chosen to recreate my formations at a figure scale of approximately 1:5, and this being the case I will have to fudge and change some organisational details; none more so than for this formation. Instead of the usual company level unit organisation I have chosen to field the armoured car company in small 'battle groups' combining other battalion assets. There should be 4 armoured car groups based around the four A/C platoons in the battalion, each with attached motorcyclists, but this would be hard to scale into three stands per 'battle group' without making the overall battalion too powerful - so I have done only three. There should also be less SdKfz 231 armoured cars but I wanted a distinguishable 'heavy' unit. The battalion's support company weapons (a 7.5cm infantry gun and a PaK36) will be split up and added to a battle group for a 'combat adjustment'. Purists will want to hang me, but they will have to find me first.

Except for some gun crew, this is what the battalion will look like. 
This is how I got there.....

 
Step 1: Preparation.

i]. Build the models using super glue.
ii]. Add radio antenna where appropriate using a fine drill, plastic brush bristles and super glue.
iii]. Stick vehicles to painting bases using small amounts of UHU and vehicles to ice lolly sticks with a glue gun.


Step 2: Undercoat
Normally I would undercoat using black spray paint, but to get a better variation in 'base' colour I'm undercoating manually using 2 coats of Humbrol enamel, in this case number 225.


Step 3: Ink wash
All vehicles are given a good coating of acrylic ink. This is Liquitex transparent burnt umber.

Step 4: Dry brush
Everything gets dry brushed with enamel. This is Humbrol number 93. This gives the basic 'used' look by varying the shade of what is, to all intents and purposes, the base colour. 


Step 5: First highlight
Using the dry brush colour (H 93) the first highlight is applied by over painting most of the dry brushed areas, but obviously staying away from darkly shaded areas. The first picture shows two SdKfz 231s, the one in the foreground has been highlighted. 


Step 6: Ink detail
My next step is to go back over very deep shadow and around model detail, such as hatches, by painting with burnt umber ink. Ink flows extremely well so this job is easily accomplished with a fine brush.


Step 7: Second highlight
This is simply a case of going over most of the first highlight with a lighter shade (I used H 94). It is the time to tidy the edges and lessen the thickness of the ink lines - painting to a line is easier than pianting one.


Step 8 & 9: Last highlight and black
i]. The last highlight is applied with a brush, paying special attention to the 'corners' where two plates meet. I used H 94 mixed with H 34 (white) for this.
ii]. I paint everything that needs to be black with H33 then highlight with a grey colour.


Step 10: Bits and pieces
This is part of the finishing touches and includes adding metal tones to MGs and tracks, and painting luggage, tilts and the like using a basic three tone highlight technique.

Stage 11: Vehicle crew
Lastly I paint any human beings using various shades, and generally using a three tone highlight.

Some close ups of it all finished


That's it and I hope this might be of use to someone. It is a time consuming method that requires some skill, but I think the effort is worth it. It works very well for identifying these small vehicles and figures from war game distances.

Tuesday 14 August 2012

The Battle of Faleri 209 BC - I could lose the war.......

....with one more victory like this!

This battle had all the makings of a straight attack Vs defence game. The Romans clung to their hill whilst the Carthaginians positioned themselves in the valley.


It soon became clear that Hannibal was trying to force the issue on his left. The Romans quickly moved reserves to bolster this flank.


The Romans withdrew some their cavalry in the face of the advancing Carthaginian phalanx, whilst launching a probing attack and extending the flank with others.
A furious cavalry battle started to develop.


The Romans got the better of the first round but Hannibal was ready with his reserves.

....these managed to stabilise the deteriorating situation.


On Hannibal's right things were not going much better. Velites were holding off superior numbers of Numidian cavalry from what became known as 'the grassy knoll'.

Back on the Carthaginian left, Hannibal's cavalry were soundly beaten.


Had it not been for a unit returning from pursuit and the action of Balearic slingers the flank might have been lost.

The Roman cavalry was spent and finally defeated. But the cost was very heavy to the Carthaginians and their cavalry attack ceased to exist. The Roman cavalry had performed extremely well.


The battle for this flank now became an infantry battle.

The advantage of the high ground evened things up against Hannibal's veteran troops, and several attacks were beaten off. The day was drawing to an end. The Romans were running on empty (no morale chips) and it would only be a matter of time before they cracked - but would they crack before nightfall brought an end to the battle? 

On the last turn, almost the last card of the battle, the bulk of Roman army broke, and what was left was left shattered.

It was a very narrow Carthaginian victory. Nero retreated with a loss (loss to Probe attack -2 DRM) of 3 CU. Hannibal held the field, but had lost 3 CU as well.

Scrotivious wrote:

"After Faleri, it was oft heard in Hannibal's camp that these were not the same old Romans."

Monday 13 August 2012

Armoured pioneer company and anti-tank company

An Armoured Pioneer Company. Three stands of pioneers plus three stands of SdKfz 251 halftracks. Although it will make little (no) difference in my rules, one of the three Sdkfz 251s is armed with a 3.7cm; the others are armed with MGs.


The anti-tank company is a mixed battery of 3.7cm and 5cm PaK with SdKfz 10 prime movers.


Next up is an armoured recon battalion.

Friday 10 August 2012

10.5cm leFH18 battalion

The first of two German 10.5cm artillery battalions for the Western Desert 1941.
The battalion comprises 3 'firing' batteries of 10.5cm leFH18s.
This model, by Battlefront FoW, is a lovely little model. I have painted the crew (x7) in German tropical uniforms. These are variously described as light olive or sage in colour.

Each crew includes a radio team.
Each gun has a Sdkfz 11 prime mover.
The Battalion HQ is represented with a Steyr Kfz 70 four wheel drive and a clutch of officers in discussion.
The battalion also has an observer element of a small observation team with a radio and Horch Kfz 15 car.
Next up, an Anti-tank company, a 15cm battery, and an armoured pioneer company - all well underway.