Rather than fight the individual divisional combats in detail, or recreate the whole 'dog legged' deployment of both armies, this scenario aims to take in the major attack made by Wellington along the whole of his southward facing front. To make this possible I have 'bath-tubbed' the whole affair so that it fits on a 12 x 6 table. I will be playing the game using 'Sacre Bleu!': My heavily amended, now almost unrecognisable version of Classic Piquet rules - and still a WIP.
Note: Artillery on the terrace had insufficient gun depression to fire on any troops climbing the hill’s slopes.
Los Arapiles: Directly west of the Lesser Arapiles, and centrally placed within the British deployment, is the village of Los Arapiles. This linear village runs east to west and comprises stone buildings (very rough terrain, hard cover).
The Monte de Azan: The last major feature is the Monte de Azan. This isn’t as obvious to the eye as the previous three features but is no less important. It is a low, undulating, three mile long plateau; described as ‘ideal for marching’. The bulk of the French army is presently deployed on it, or making its way westward on or behind it. It obscures units 3" beyond the facing contour but does not provide a superior position for fire or defence. Troops marching on top of it gain the 3" rate bonus for road movement - it's 'The Monte de Azan Superhighway'.
Other terrain features: These include the small village of Miranda de Azan which stands at the north western end of the Monte de Azan; the high ground of the Teso San Miguel which begins to rise immediately north of Los Aripiles; two other pieces of gently rolling high ground (one between the Greater Arapiles and the Monte de Azan, the other extending from the northern edge of the battlefield to the western end of the Monte de Azan) which provide dead ground to troops behind them; and several areas of open, cork tree woodland, some going on to be extensive, that dot the battlefields edges, especially south of the French position (rough, obscuring terrain). Lastly, there are four roads radiating from Los Araples but, given the natural ‘good going’ of the ground they only really serve to stop a traveller from getting lost. Only the Los Arapiles to Miranda de Azan road is important in game terms because it serves as a delineating feature for British victory objectives (see below).
TIME AND ARRIVALS
The game will commence with the armies deployed as they were at about 4.00pm.
Marmont and Bonnet have already been wounded and carried from the field and French command has devolved to Clausel. Bonnet with 8th Division is holding the Greater Arapiles, Clausel's 2nd Division and Maucune's 5th Division have taken up position on the Monte de Azan, and Boyer is holding the gap between the two positions with his heavy cavalry supported by a French regiment of 8th Division. Thomiere's 7th division is marching westward along the top of the Monte de Azan and has become separated from the rest of the army and is now out on a limb: Brennier's 6th Division and Curto's light cavalry are marching in Thomiere's support.
Packenham and D'Urban with orders to 'sweep all before them' on the Monte de Azan and are about to assault Thomieres 7th Division (see Surprise Attack below). Leith's 5th Division, supported by Hope's 7th Division, Cotton's cavalry, Bradford's Brigade and the Spanish Division, have been ordered to assault the French position to their front, and Leith's division is presently filtering through Los Arapiles in compliance with those orders. Other units have not yet received orders to attack (see Victory Conditions below).
Surprise Attack: The game starts with the British getting an unopposed pre-turn one initiative phase of 10 initiative points. This phase can only be used to activate D'Urban and Packenham in an effort to take full advantage of their successful 'ambush' of Thomieres column. As soon as this phase is over any surprise has been lost: The British deck is shuffled - the game begins with turn one.
Tardy Sarrut: French 4th Division under Sarrut arrived on the field very late in the day, it failed to do much harm when he did, and several historians have asked why this should have been the case. Consequently, in true D. Featherstone fashion, I will allow for the military possibility of a more speedy arrival and effect. From turn two, on the appearance of the Special Event card, the French player can start dicing for arrival: On turn two roll D8 Vs D8; on turn three roll D12 Vs D8 and if 4th Division rolls higher it can arrive on the next Infantry March card; it will arrive on turn four (historical arrival) in any event. Sarrut arrives over the southern table edge between the south eastern corner and the start of the Monte de Azan.
Game Duration: The game will last five full turns, after which the light will be deemed too poor for the action to continue.
VICTORY CONDITIONS
The victory conditions are fairly easy for this one. Each side must bring its opponents Army Morale Points (AMP) to zero - at which point victory is achieved. If neither side has done so before nightfall (end of turn five) the game is drawn.
French objectives: Holding the Lesser Arapiles is victory objectives for the French: It is worth 4 British AMP. Holding the greater Arapiles is victory objectives for the French: It is worth 4 British AMP.
British Objectives: Holding the Greater Arapiles is a victory objective for the British: It is worth 4 French AMP. If an attempt is not made to storm (charge) the terrace of the Greater Arapiles before the end of turn three (historically made by Pack's Brigade) the British will lose 4 AMP. Holding the Monte de Azan (by having more units on top of it, east of the Los Arapiles to Miranda de Azan road, than the French) at the end of turn 3 is a victory objective for the British: It is worth 6 French AMP.
ORDER OF BATTLE
Below I list
the forces being used for this scenario. Absent are British 1st
Division and Light Division, which took little part in the battle until very
late in the day. They were side by side, set roughly at right angles to the rest of the
British line, behind the Lesser Arapiles, facing due east; Bock’s heavy cavalry
brigade (KGL) is in support. Tied up facing them are French 1st
Division and 3rd Division supported by a dragoon regiment from
Boyer’s division. Although French 3rd Division stood to cover the retreat of the French army - causing heavy casualties to British 6th Division in doing so - this only happened after the French had effectively lost the battle, therefore none of these forces are available to the players for this
scenario and I make no apology for not listing their composition – they are, as
they say, ‘on the moon’.
Note: I have pre-rolled Divisional Morale Points (DMP) for the divisions.
Allied Army:
Wellesley (Outstanding: 15 AMP, 6 PMP)
 |
Packenham and D'Urbans cavalry - note Arenchild's hussars coming
through the wood, and the precarious position of
Thomieres leading unit. |
Cavalry
Division: Stapleton
Cotton (Able: 5 DMP)
Two 3UI
Heavy Dragoon unit (Veteran, Fierce, British)
One 4UI
Light Dragoon unit (Reliable, Fierce, British)
Note: I have taken the decision to fudge the organisation of this command (see below) and make the heavy brigade two units strong so that it is possible for it to charge on a broader front - this has meant playing fast and loose with the overall numbers: The dragoons is 1 UI stronger overall and the light dragoons are 1 UI less overall.
D’Urban: (Independent units: 5 DMP)
One 3UI
Portuguese Cavalry unit (Reliable)
One 4UI
Hussar unit (Reliable, Fierce, British)
Note: For the purposes of divisional morale I have
split the cavalry division into two commands. Marchant’s and Anson’s Brigade
under the divisional commander Stapleton Cotton, and D’Urban’s and Arenchild’s cavalry,
accompanying Packenham, under D’Urban as an ‘independent brigade’.
3rd
Division: Packenham (Able: 10 DMP)
Two 5UI
British infantry units (Reliable, Steadfast, 3SK)
One 5UI
Portuguese infantry unit (Reliable, 3SK)
One 3UI
battery (Reliable, Steadfast, HA)
4th
Division: Lowry Cole (Poor: 8 DMP)
Two 4UI British
infantry units (Reliable, 3SK)
One 5UI
Portuguese infantry unit (Reliable, 3SK)
One 3UI
battery (Reliable, Steadfast)
Note: 4th
Division has had its command quality reduced to poor, and it’s British infantry
have lost their steadfast status because of the heavy casualties received at
the Trinidad breach at Badajos in April (including two thirds of its officers
‘knocked over’): The division’s poor performance at Salamanca probably stems
from that bloody assault.
 |
5th Division moving through Los Arapiles with 7th Division in support
on the Teso de San Miguel and Cotton's cavalry on their right flank. |
5th
Division: Leith (Able: 8 DMP + 5D)
Three 4UI
British infantry units (Reliable, Steadfast, 3SK)
One 4UI
Portuguese infantry unit (Reliable, 3SK)
One 3UI
battery (Reliable, Steadfast)
Note: 5th Division had only three brigades but they each had four battalions rather than three, making this the largest British Division in theatre - it could cover a very long frontage in line. In consequence there are four infantry units.
6th
Division: Clinton (Able: 10 DMP)
Two 4UI
British infantry units (Reliable, Steadfast, 3SK)
One 5UI Portuguese
infantry unit (Reliable, 3SK)
One 3UI
battery (Reliable, Steadfast)
7th
Division: Hope (Able: 8 DMP + 4D)
One 4UI
British infantry unit (Reliable, Steadfast, Light Infantry, 4SK)
One 4UI
Brunswick Oels infantry unit (Reliable, Light Infantry, 3SK)
One 4UI
Chasseurs Britannique infantry unit (Reliable, 3SK)
One 3UI
battery (Reliable, Steadfast)
 |
The Spanish Division of Carlos de Espana, with Bradford's Brigade,
and the cavalry brigades of Marchant and Anson (Cotton)
to their front and left.
Edit: There are now two units of dragoons with 3UI each and
one unit of light dragoons with 4UI (see notes above).
|
Spanish
Division: Espagnac (Able: 5 DMP)
Two 4UI
Spanish infantry (Reliable, 2SK)
Pack’s
Brigade: (Able, Independent units: 4 DMP)
One 4UI
Portuguese infantry unit (Reliable, 3SK)
One 3UI
Portuguese Cacadores SK infantry unit (Reliable, Light Infantry, Rifles, 2SK)
Note: I have
chosen to represent this strong brigade as line infantry and a SK unit.
Bradford’s Brigade: (Able, Independent units: 2 DMP)
One 5UI
Portuguese infantry unit (Reliable, 3SK)
French Army: Marmont (Reliable: 14 AMP, 4 PMP)
 |
Clausel, now in command of the army, directs affairs from his
divisional position (note additional 'staff'. Beyond are Boyer's dragoons
and, directly behind, Brennier's 6th Division marches westward. |
Note: Marmont was seriously wounded on the Greater Arapiles sometime after 3pm and was replaced by Bonnet when Clausel couldn't be found. Bonnet was seriously wounded soon after and replaced by Clausel who had reappeared after going to get an injured heal dressed. In effect, command of the army changed three times in an hour and confusion reigned in this vital period immediately prior to Wellington's attack. In consequence, the C-in-C stand is now just a dice holder. PMP has been reduced (from 6 to 4) for command being seriously downed.
Heavy
Cavalry Division: Boyer (Reliable, 7 DMP)
Two 3UI Dragoon units (Reliable, Fierce)
One 3UI battery (Reliable, Steadfast, HA)
Note: With one regiment absent on the French right this division should have one dragoon unit of 4UI and one unit of 2UI but, two 3UI units work better in game terms so that is what I've done.
Light
Cavalry Division: Curto (Reliable, 4 DMP)
One 5UI Chasseurs a Cheval unit (Reliable)
One 4UI Chasseurs a Cheval unit (Reliable)
Note: I did consider adding an activation mechanism for this division: It wasn't where it should have been and took some time to come to Thomieres' rescue. However, not introducing such a penalty will make the game a better game - for the French - so I've just started them half a move farther back.
2nd
Division: Clausel (Reliable, DMP)
One 4UI French Leger unit (Reliable, Light Infantry, Steadfast, 3SK)
One 4UI French Line unit (Reliable, Steadfast, 2SK)
Two 4UI French Line units (Reliable, 2SK)
One 3UI battery (Reliable, Steadfast)
 |
Bonnet's 8th Division holding the Greater Arapiles and 'the gap'
between it and the Monte de Azan. Note the 'terrace' with its
cliff like front: I madethat piece of terrain because it's such
an important feature of that hill.
Many moons ago, I actually climbed that 'parapet' - to 'test it'. |
4th
Division: Bonnet (Reliable, DMP)One 4UI French Line unit (Reliable, Steadfast, 2SK)
Three 4UI French Line units (Reliable, 2SK)
One 3UI battery (Reliable, Steadfast)
 |
Maucune's Division standing far enough back to obscure the British
view of them. Behind them are the cavalry of Curto's Division. |
5th
Division: Maucune (Reliable, DMP)One 5UI French Line unit (Reliable, Steadfast, 2SK)
Two 4UI French Line units (Reliable, 2SK)
Two 3UI batteries (Reliable, Steadfast)
6th
Division: Brennier ((Reliable, DMP)
One 3UI French Leger unit (Reliable, Light Infantry, Steadfast, 3SK)
Two 4UI French Line units (Reliable, 2SK)
One 3UI battery (Reliable, Steadfast)
7th
Division: Thomieres (Reliable, DMP) One 4UI French Line unit (Reliable, Steadfast, 2SK)
One 4UI French Line unit (Reliable, 2SK)
One 3UI French Line unit (Reliable, 2SK)
One 3UI battery (Reliable, Steadfast)
Note: The three UI French Line unit is at the head of the column. It has not had time to form square in the face of D'Urban's cavalry but has managed to bring up it's second company to face the threat six deep. It is surprised, and probably in panic. I have decided to represent this unusual formation as a column of attack, disordered, with skirmishers withdrawn.
8th
Division: Sarrut ((Reliable, DMP)
One 4UI French Leger unit (Reliable, Light Infantry, 3SK)
Two 4UI French Line units (Reliable, 2SK)
One 3UI battery (Reliable, Steadfast)
Note: This division starts the game off table. It cannot arrive before turn two. See Time and Arrivals above.
General Note: How were unit strength, unit type and unit quality derived? Basically, I took total divisional strengths from Oman, divided by 400 infantry, 200 cavalry, to get unit integrity (UI) points, then did the best I could to generate the right number of unit types by percentage (e.g. Legere 27%), with a strength of between three and five UI points per unit (because that works best for my rules). It's not an exact science, and there is a lot of fudging for effect but, it's not totally make believe. As for quality, well that was done with an eye to how troops perform under my rules and is, I believe, the only way such things can be done. Remember, this is a bath tubbed scenario, where units represent something close to brigade strength but are used on the table like battalions - it's the blending of two game scales and something I like a lot.
Lastly, I suppose I should cite my sources. I'm not going to do all, as some provided very little the others didn't, like the road network (Peninsular War Atlas - Osprey), but these three are the best I have. Oman's work, volume 5, is the key and his map is the best too. Of the three, Edwards tells by far the best tale, in the most detail and in an entertaining style but, he's short of a good map. Fletcher has done a good job for Osprey but, like all Osprey's, it's just a wetter and scene setter for further reading - if I'm honest, there could be more maps and they could be much better (Osprey, I thought you were better than that!).
Oh, and just to date my own visit to this fantastic battlefield, these photographs were taken using this weird stuff they called film. My wife, in shot above the parapet on the Greater Arapiles, is 5'4" tall and she's stood quite near the edge - I'm glad I didn't have to assault it in 1812, the 'cliff' I mean. The bloke by the monument? I haven't a clue who he is, LOL.

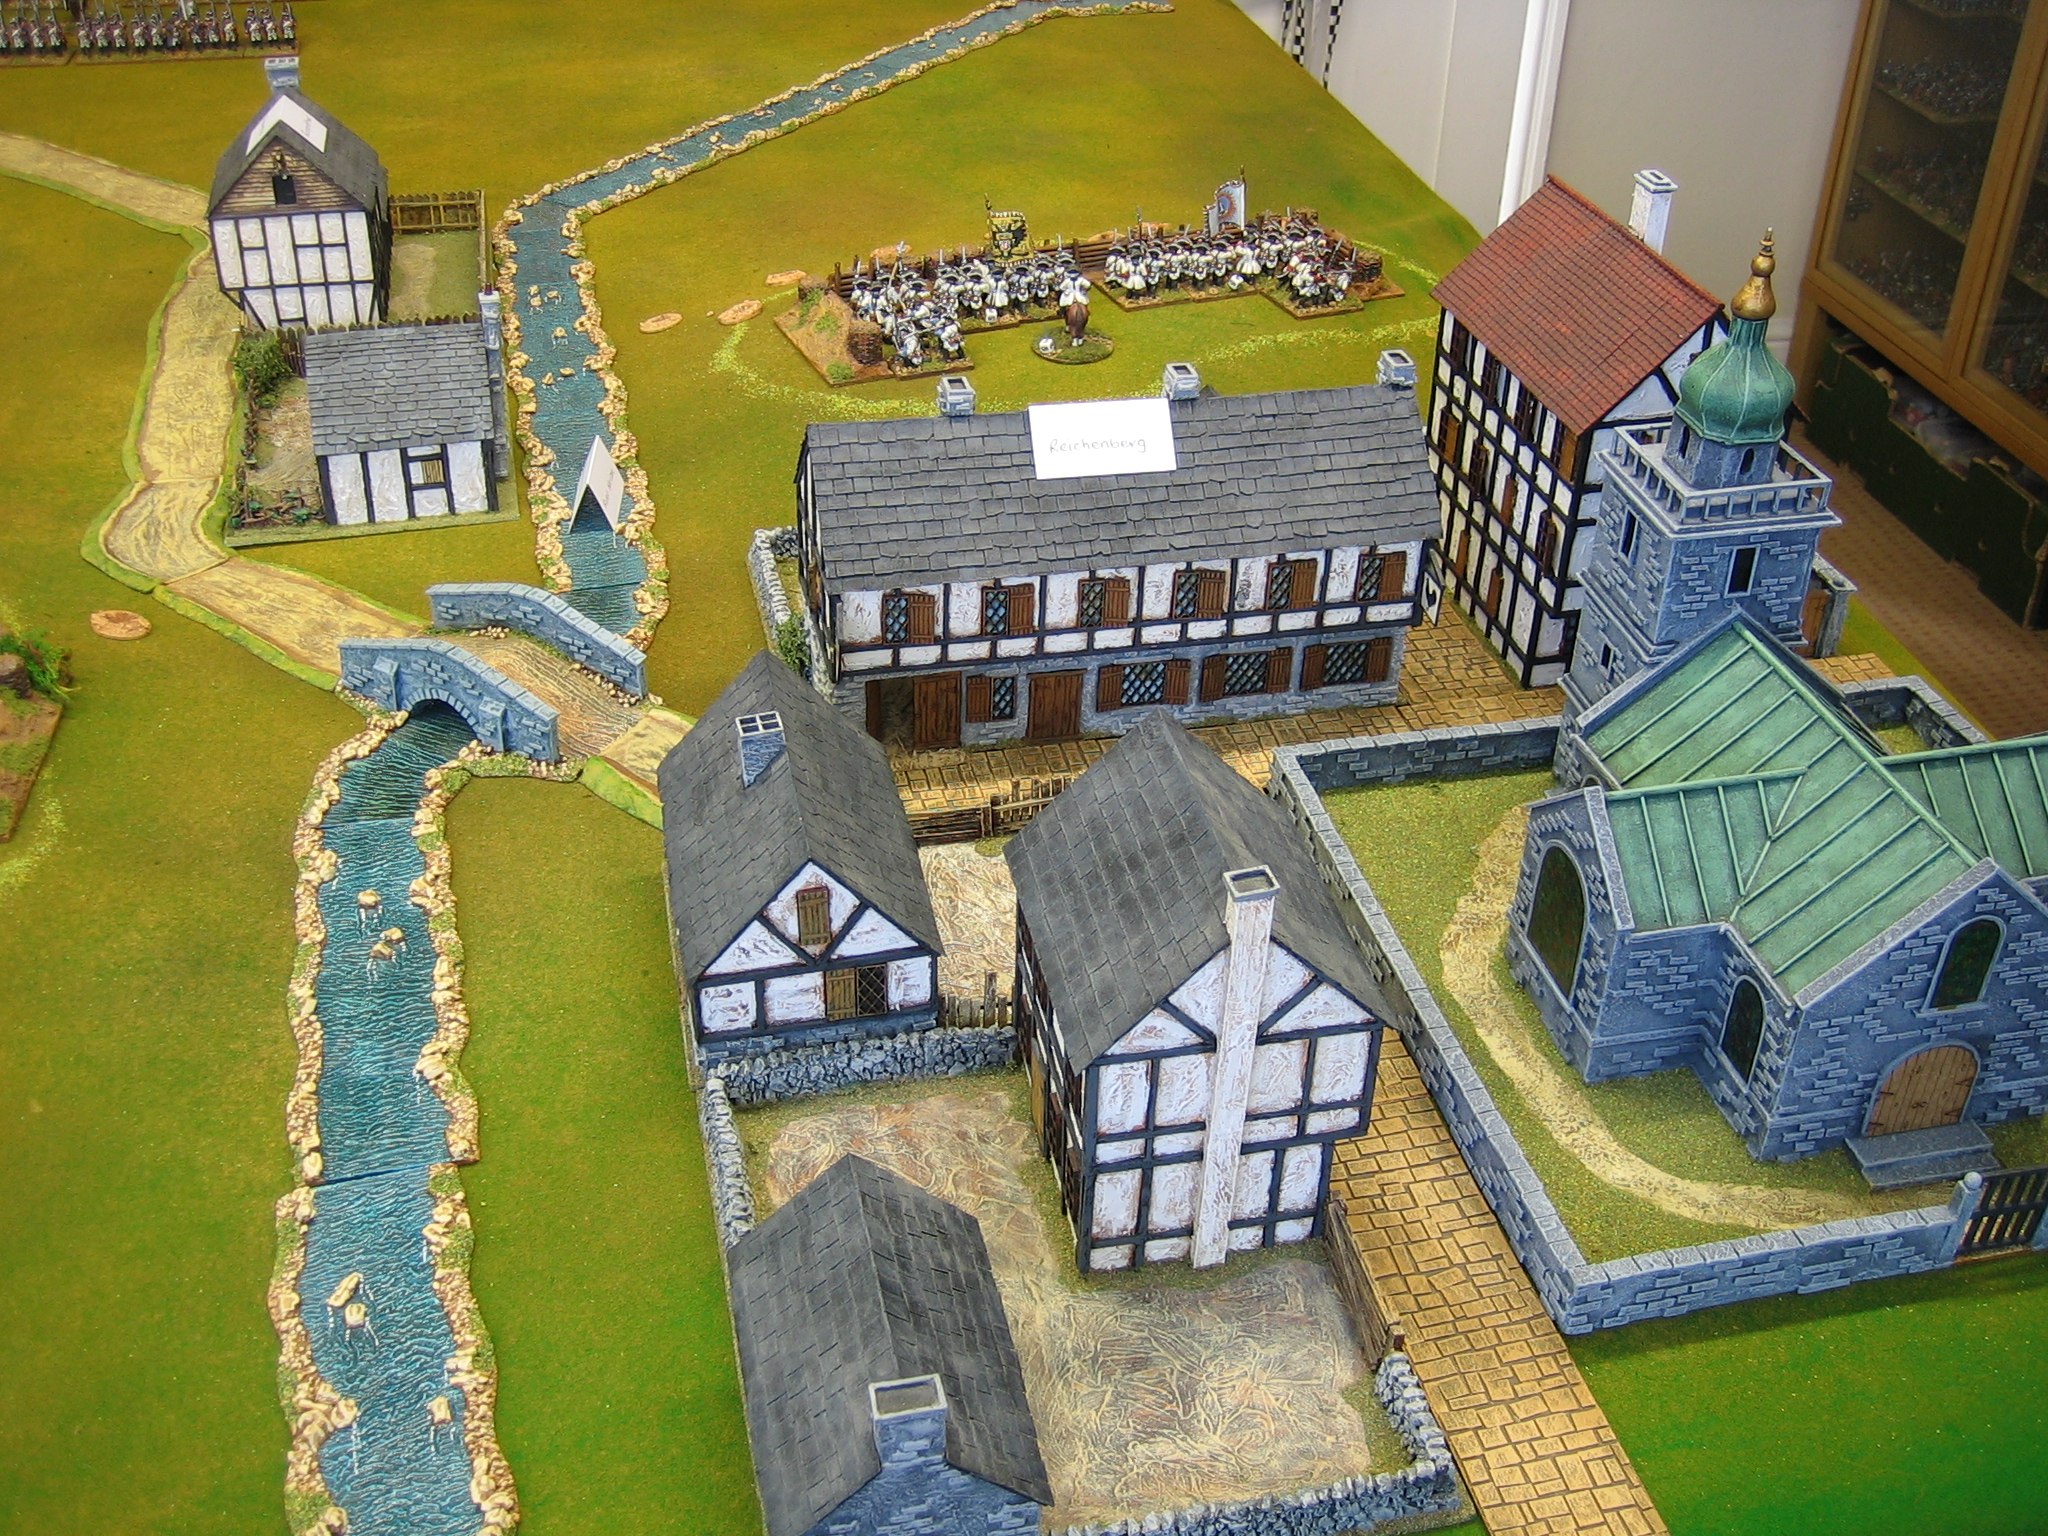
 The high ground in front of Reichenberg is held by two battalions in an entrenched position.
 The spur of the Schwarzerberg (shown as three individual heights on the St. Paul maps but as a long spur on the official German survey map) is defended by 7 infantry battalions, 11 companies of grenadiers and 3 batteries of artillery. In reality, only 1 battery was in the redoubts and entrenchments and the other 2 were in reserve on the reverse slope but, given that the Austrian player would immediately order them forward I saved him the trouble and placed them in the redoubts to begin with. Edit: I've actually changed my mind about this, put two batteries of guns on the reverse slope and shortened the two outer redoubts so that there isn't enough room for the guns and infantry to be in them together. Otherwise, the Prussian infantry will get (un-historically) slaughtered as they move up.
 Rather than have individual heights I decided to put a saddle in the spur. Here the Austrians deployed 11 squadrons of cuirassier and 10 squadrons of dragoons.
 In the forest, positioned behind barricades, are a battalion of grenzers and 2 battalions of infantry. On the road I have placed 2 battalions of infantry advancing from Gabel - this was for the picture, showing their arrival point, but they will start the game off table and arrive when activated (dice rolls, etc.).
 The Prussians have advanced from the west and swung into line facing the Austrian defences to the south of them. Their main infantry force comprises 8 battalions of infantry, 3 battalions of grenadiers, 2 battalions of fusiliers and 2 batteries heavy of guns.
 To oppose the Austrian cavalry the Prussians have advanced 15 squadrons of dragoons.
 5 squadrons of hussars secure the Prussian right wing.
 The entrenchments require some explanation and definition. In truth, these were designed with bastion like angles to cover every approach. This (because I use square bases for my figures) is always difficult to represent so I find it easier to 'square off' the redoubts and give them much better fire angles: troops within have a 180 degree frontal arc measured from the back of the position. Redoubts give hard cover and have no flanks. Whilst defending the occupying units fire separately, measuring from the redoubts nearest point; a unit firing at the redoubt can choose which defending unit it wants to target with fire; in melee the defender can choose which unit (infantry or artillery) will defend but, the attacker (if he wins) can distribute any UI loss.