My Spanish army is, for the present, finished. Time for a parade!
This is the army: It only two thirds the size of the British and French armies but, in the years to come I can't see it coming out half as much, and then mostly only in part as a contingent to a British order of battle. It numbers 715 men; 6 guns, 3 limbers and 113 horses.
It is a very colourful army with plenty of uniform variation. All figures are by Front Rank but, I had to do a lot of conversions - mostly minor in nature but lots of them. In the sidebar you'll find a link to individual progress reports with giving unit details, etc. (See: Napoleonic Peninsular War Project - Stage 2 - Mid War Spanish)
It's still not a bad array and is certainly enough to fight a campaign with. Don't be fooled by the proportion of cavalry: I know it is too high overall but, it's always the case that you a lot of units to get the different types you might need and you'll probably never field them all together.
The officers. A C-in-C stand (the best of the three armies) and eight further senior officers stands.
There are seven cavalry units:
Two dragoon units. As well a serving in the guise of Spanish dragoons (best classed as light cavalry), these units can serve as extra units of heavy cavalry when need requires.
Two units of line / heavy cavalry including a new unit: The Coraceros Espanoles.
Three units of light cavalry. Left to right: Garrochistas (irregular / geurrilla); hussars (another new unit); Cazadores.
The new unit of hussars, previously unphotographed: The Husares Espanoles. These are British bodies with Spanish infantry officer (in bell topped shako) heads.
The Coraceros Espanioles. This unit had one squadron in captured French helmet and cuirass. I've chosen to depict the whole unit with figures from that squadron (to make my life simple). It is simply a unit of heavy cavalry.
There are fifteen units of line infantry. Five are in bell topped shako. Several units have had minor conversion jobs - I've added popoms, shoulder straps, etc.
Rear view of the same five units from the back. The nearest two are Regimiento Toledo: these have all had tufted shoulder straps and pompoms added.
Three units of line infantry are in round hats.
Rear view of same. I found that I do like units in sky blue.
Seven units of line infantry are in the so called 'English Uniform'. It's boring but, literally tens of thousands of Spanish infantry, from one end of Spain to the other, were kitted out in this horrible thing.
Same from the back. The only interesting thing about it was that lots of the backpacks were made from 'yellow' canvas.
Guerrilla infantry, guns and limbers.
The crew in white uniform are Cadiz artillerymen on duty 'outside the walls'. White was an unusual colour for artillerymen (dirty job?) but, I had to have them. They are mostly Portuguese figures with shoulder wings removed and a round hatted head-swap.
Finally, five units of Spanish Cazadores, Two in 'English uniform (sky blue), two in round hats (brown) and one in bell topped shako (front, in sky blue).
Same from the rear. The two rear units are wearing the 'English Uniform' in sky blue (primarily shipped for cazadore units).


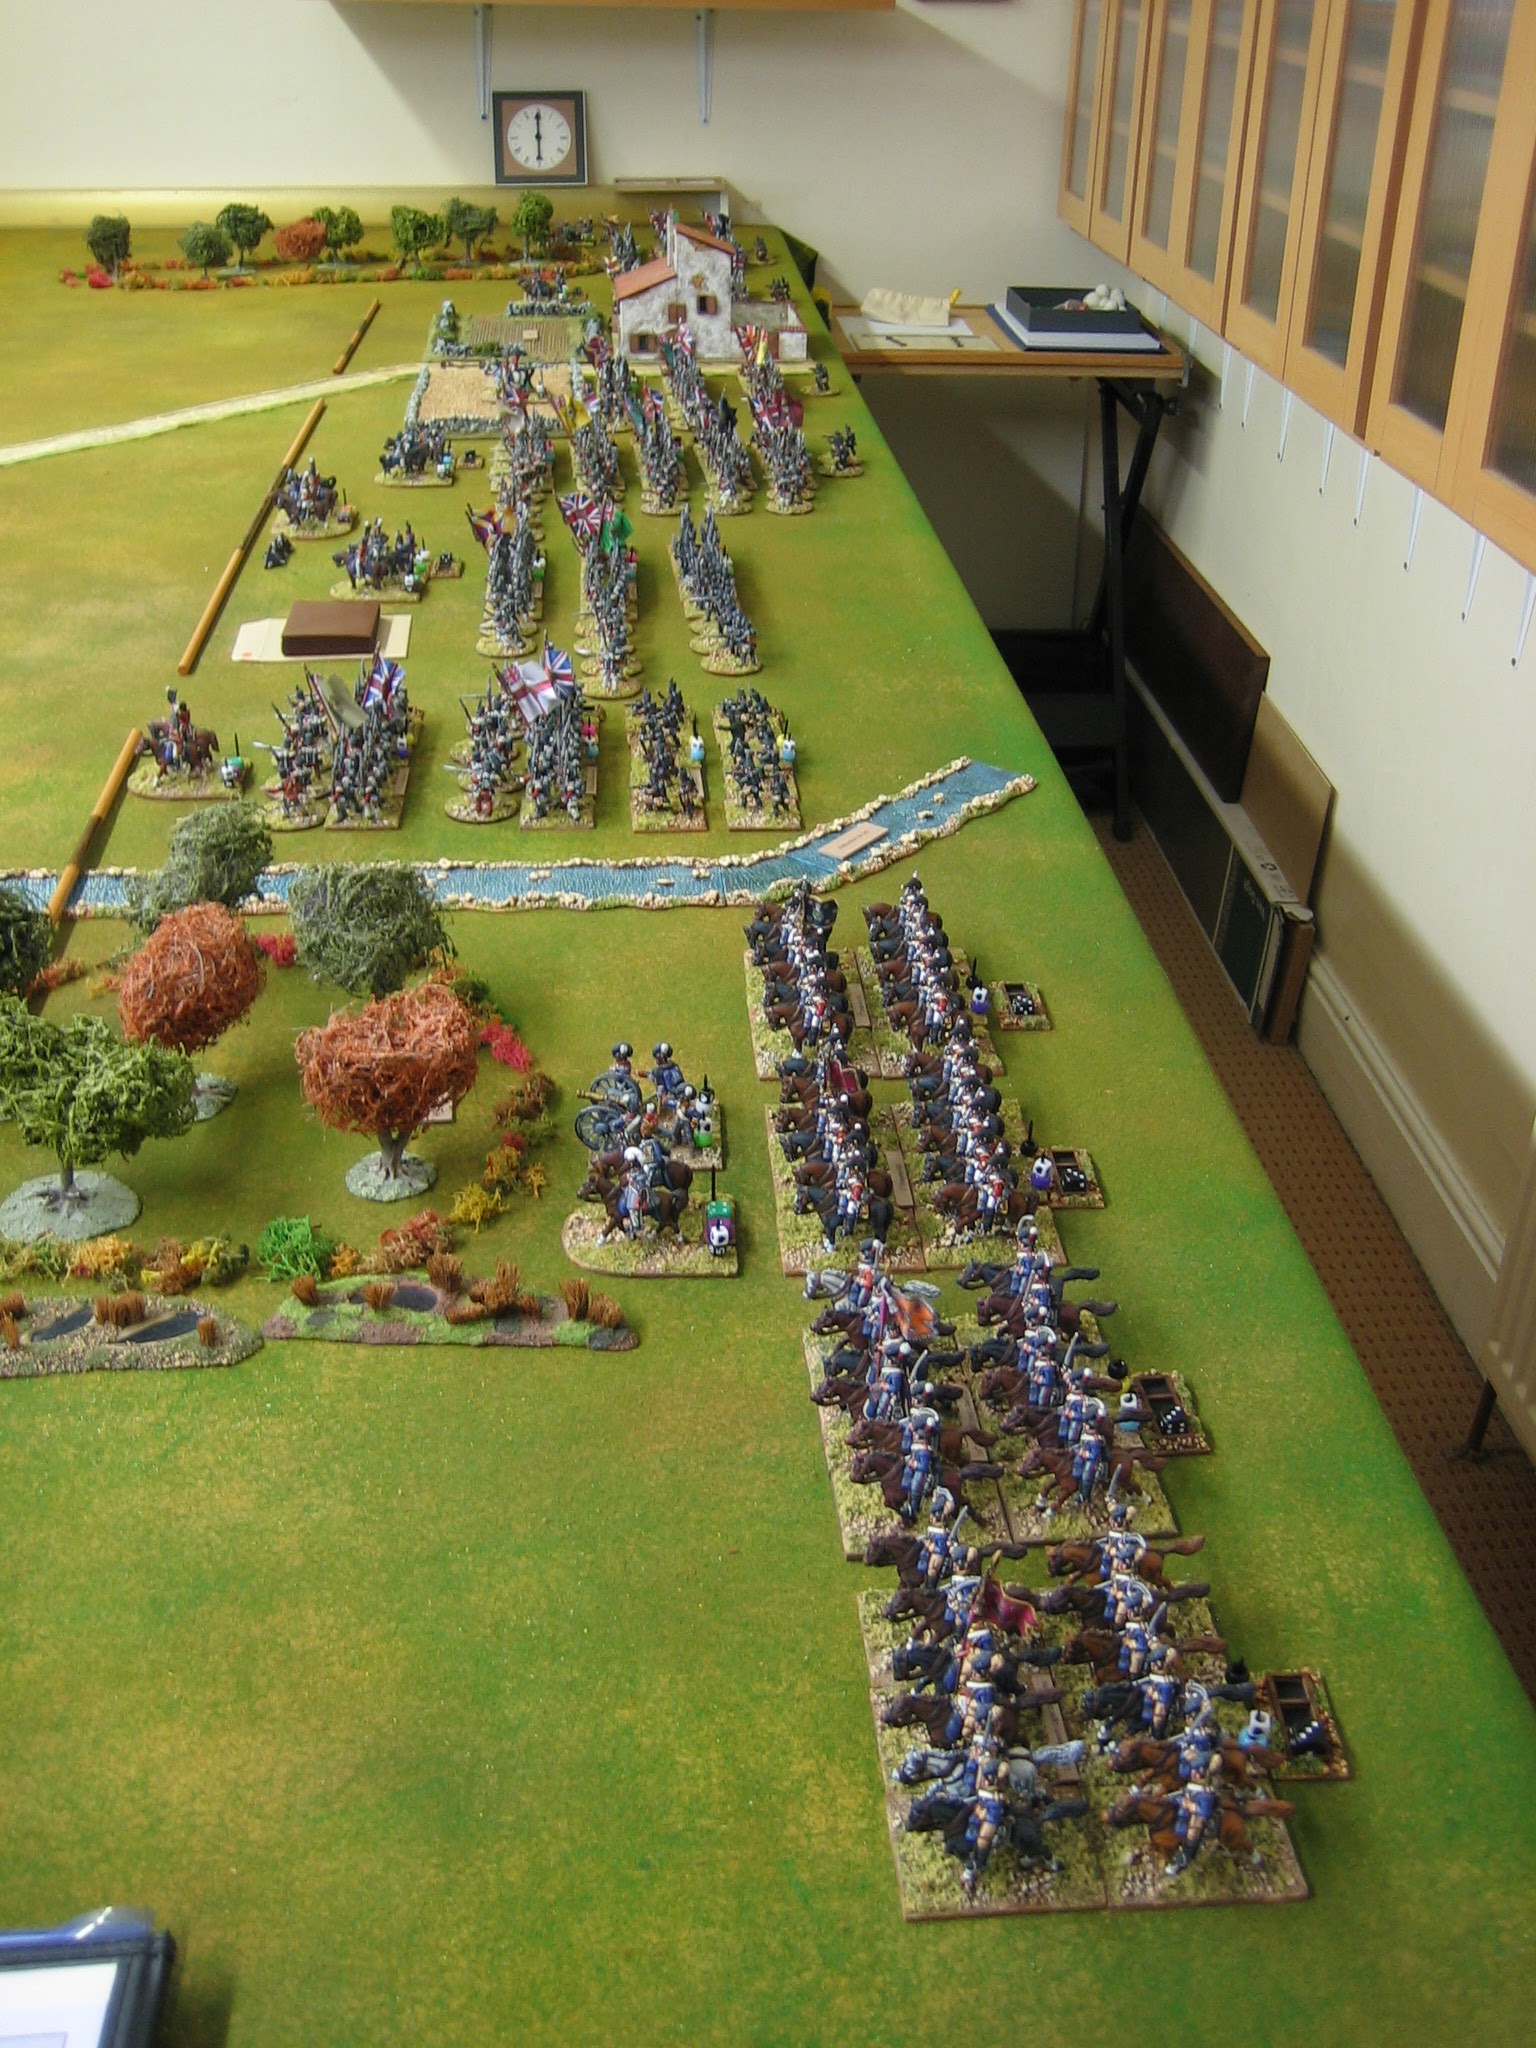
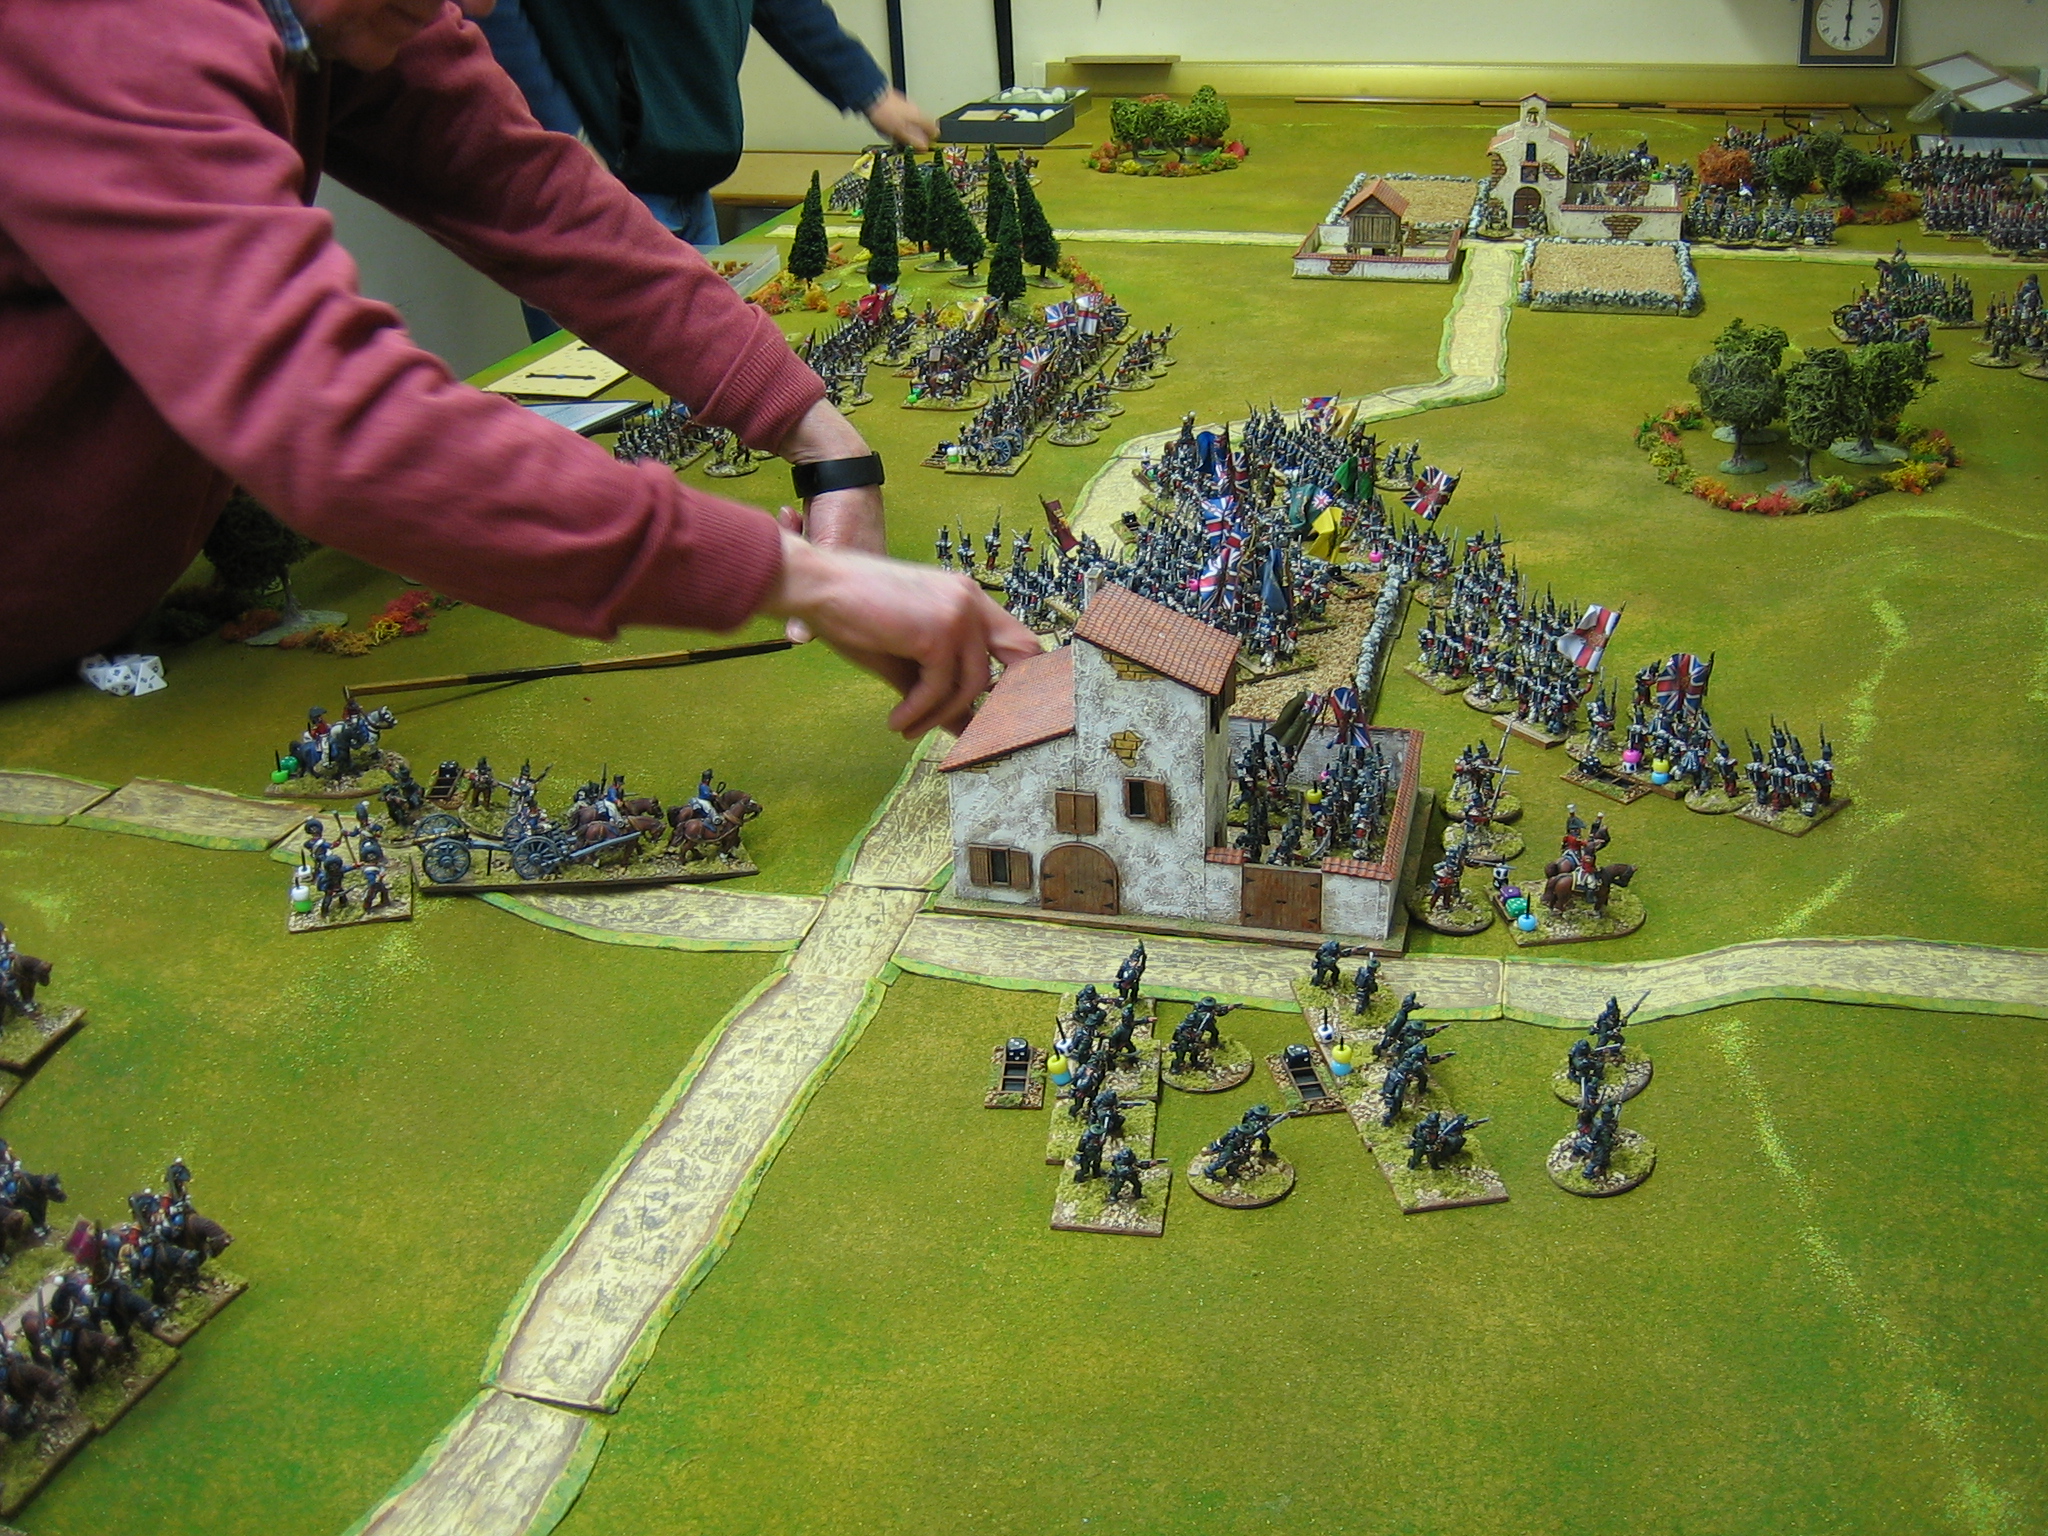
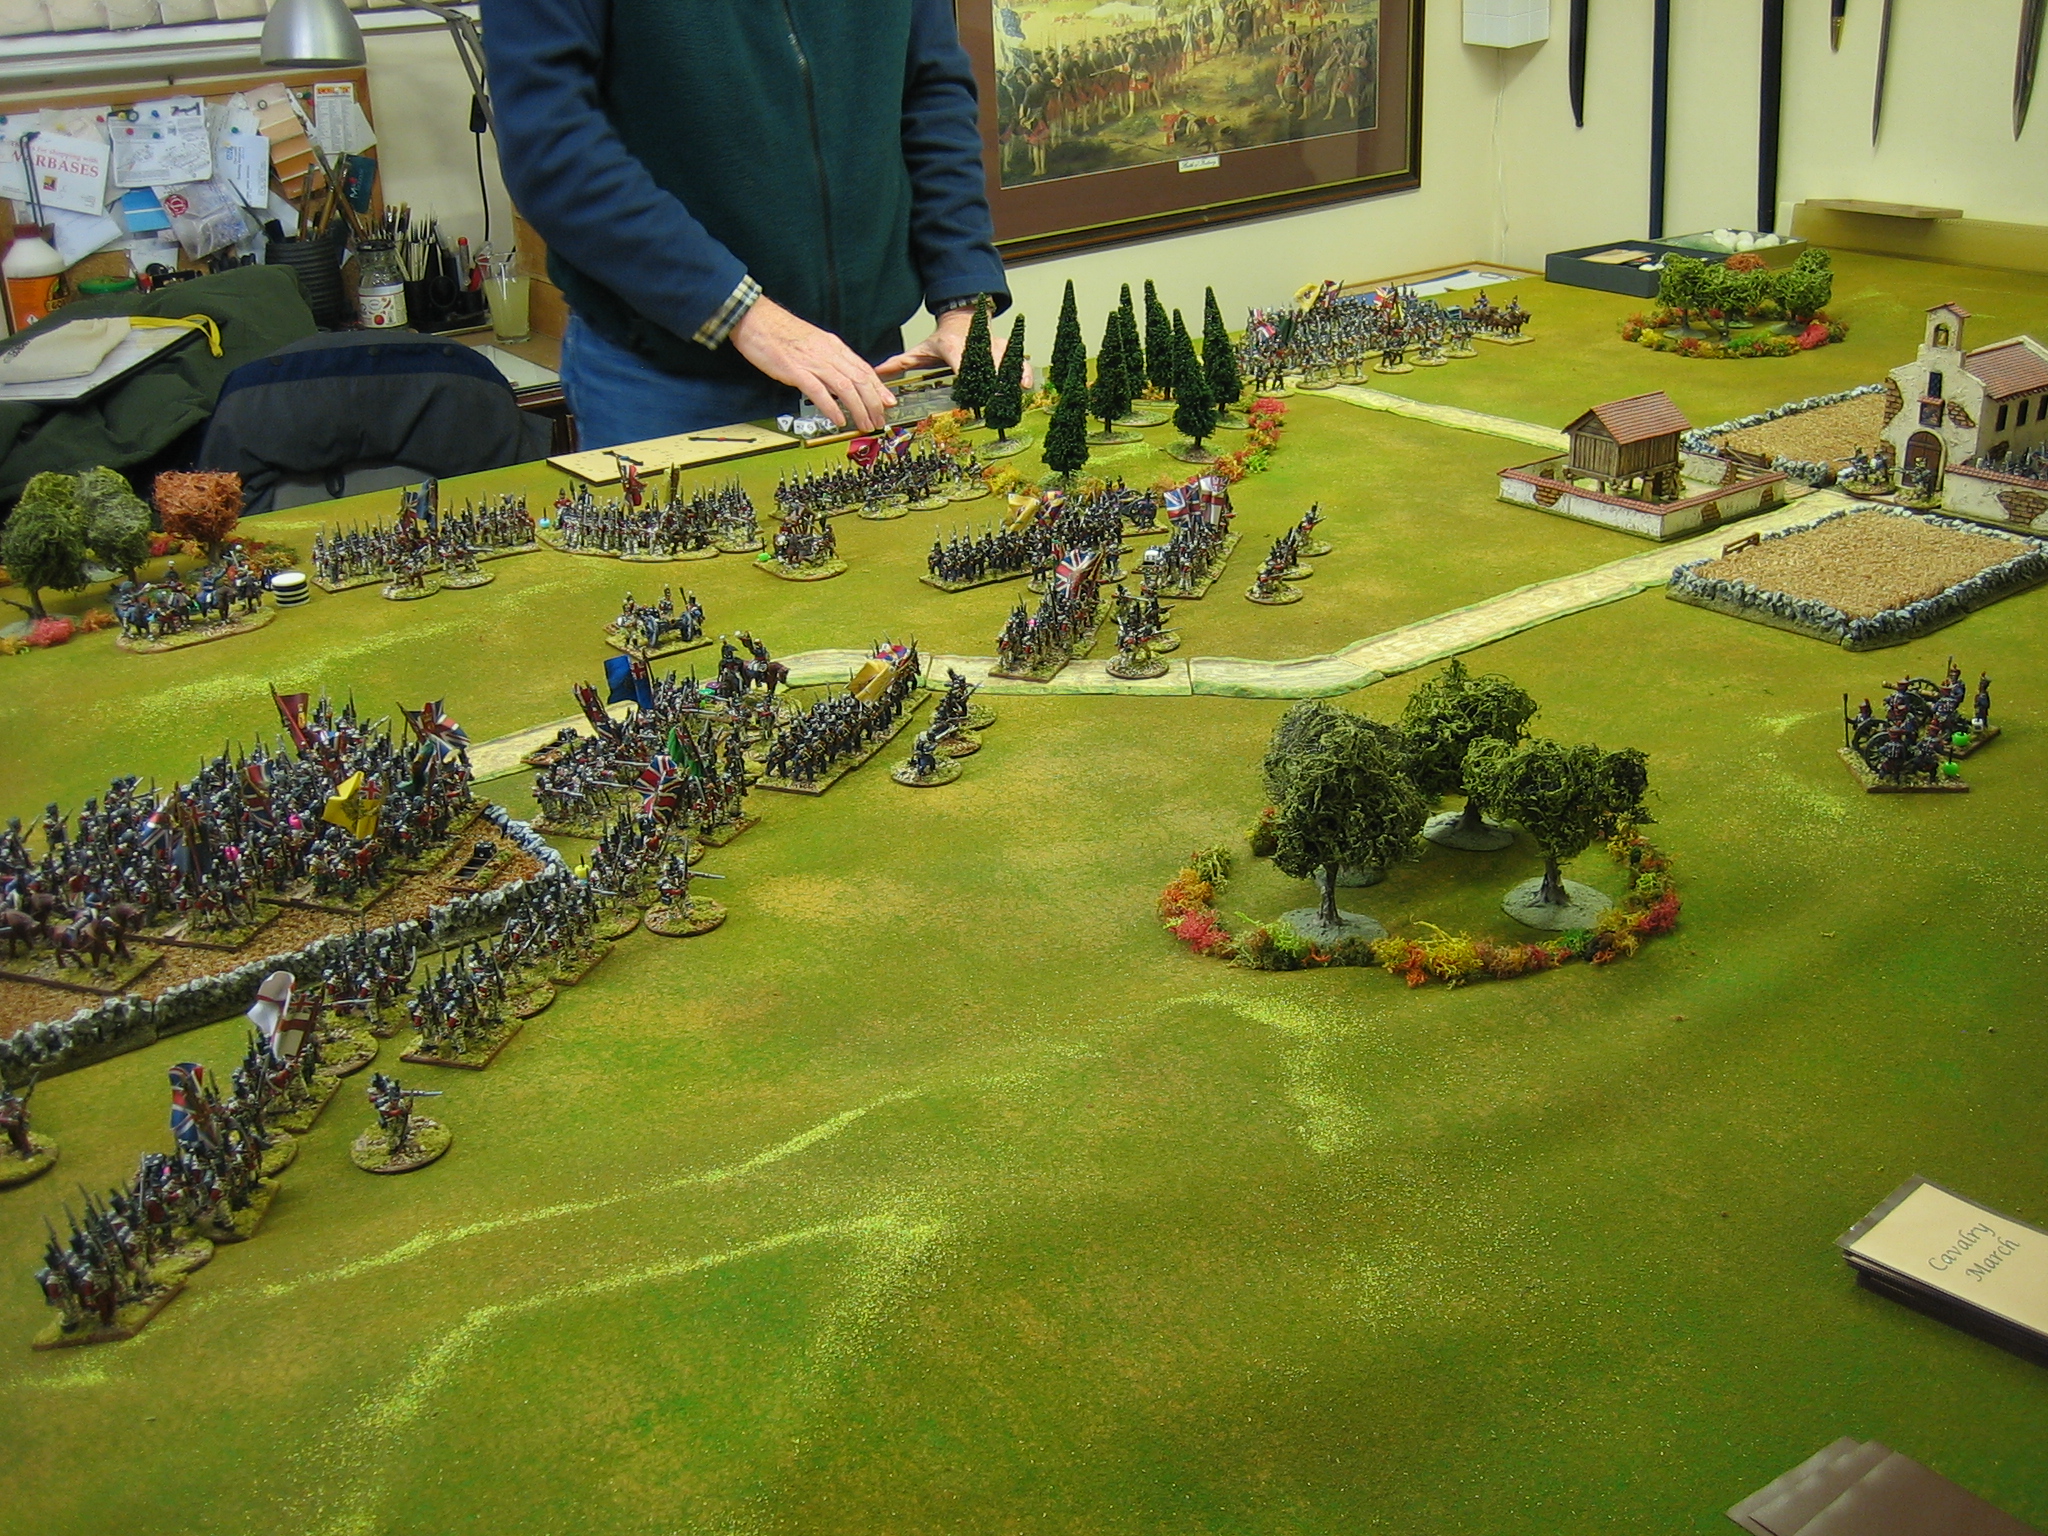
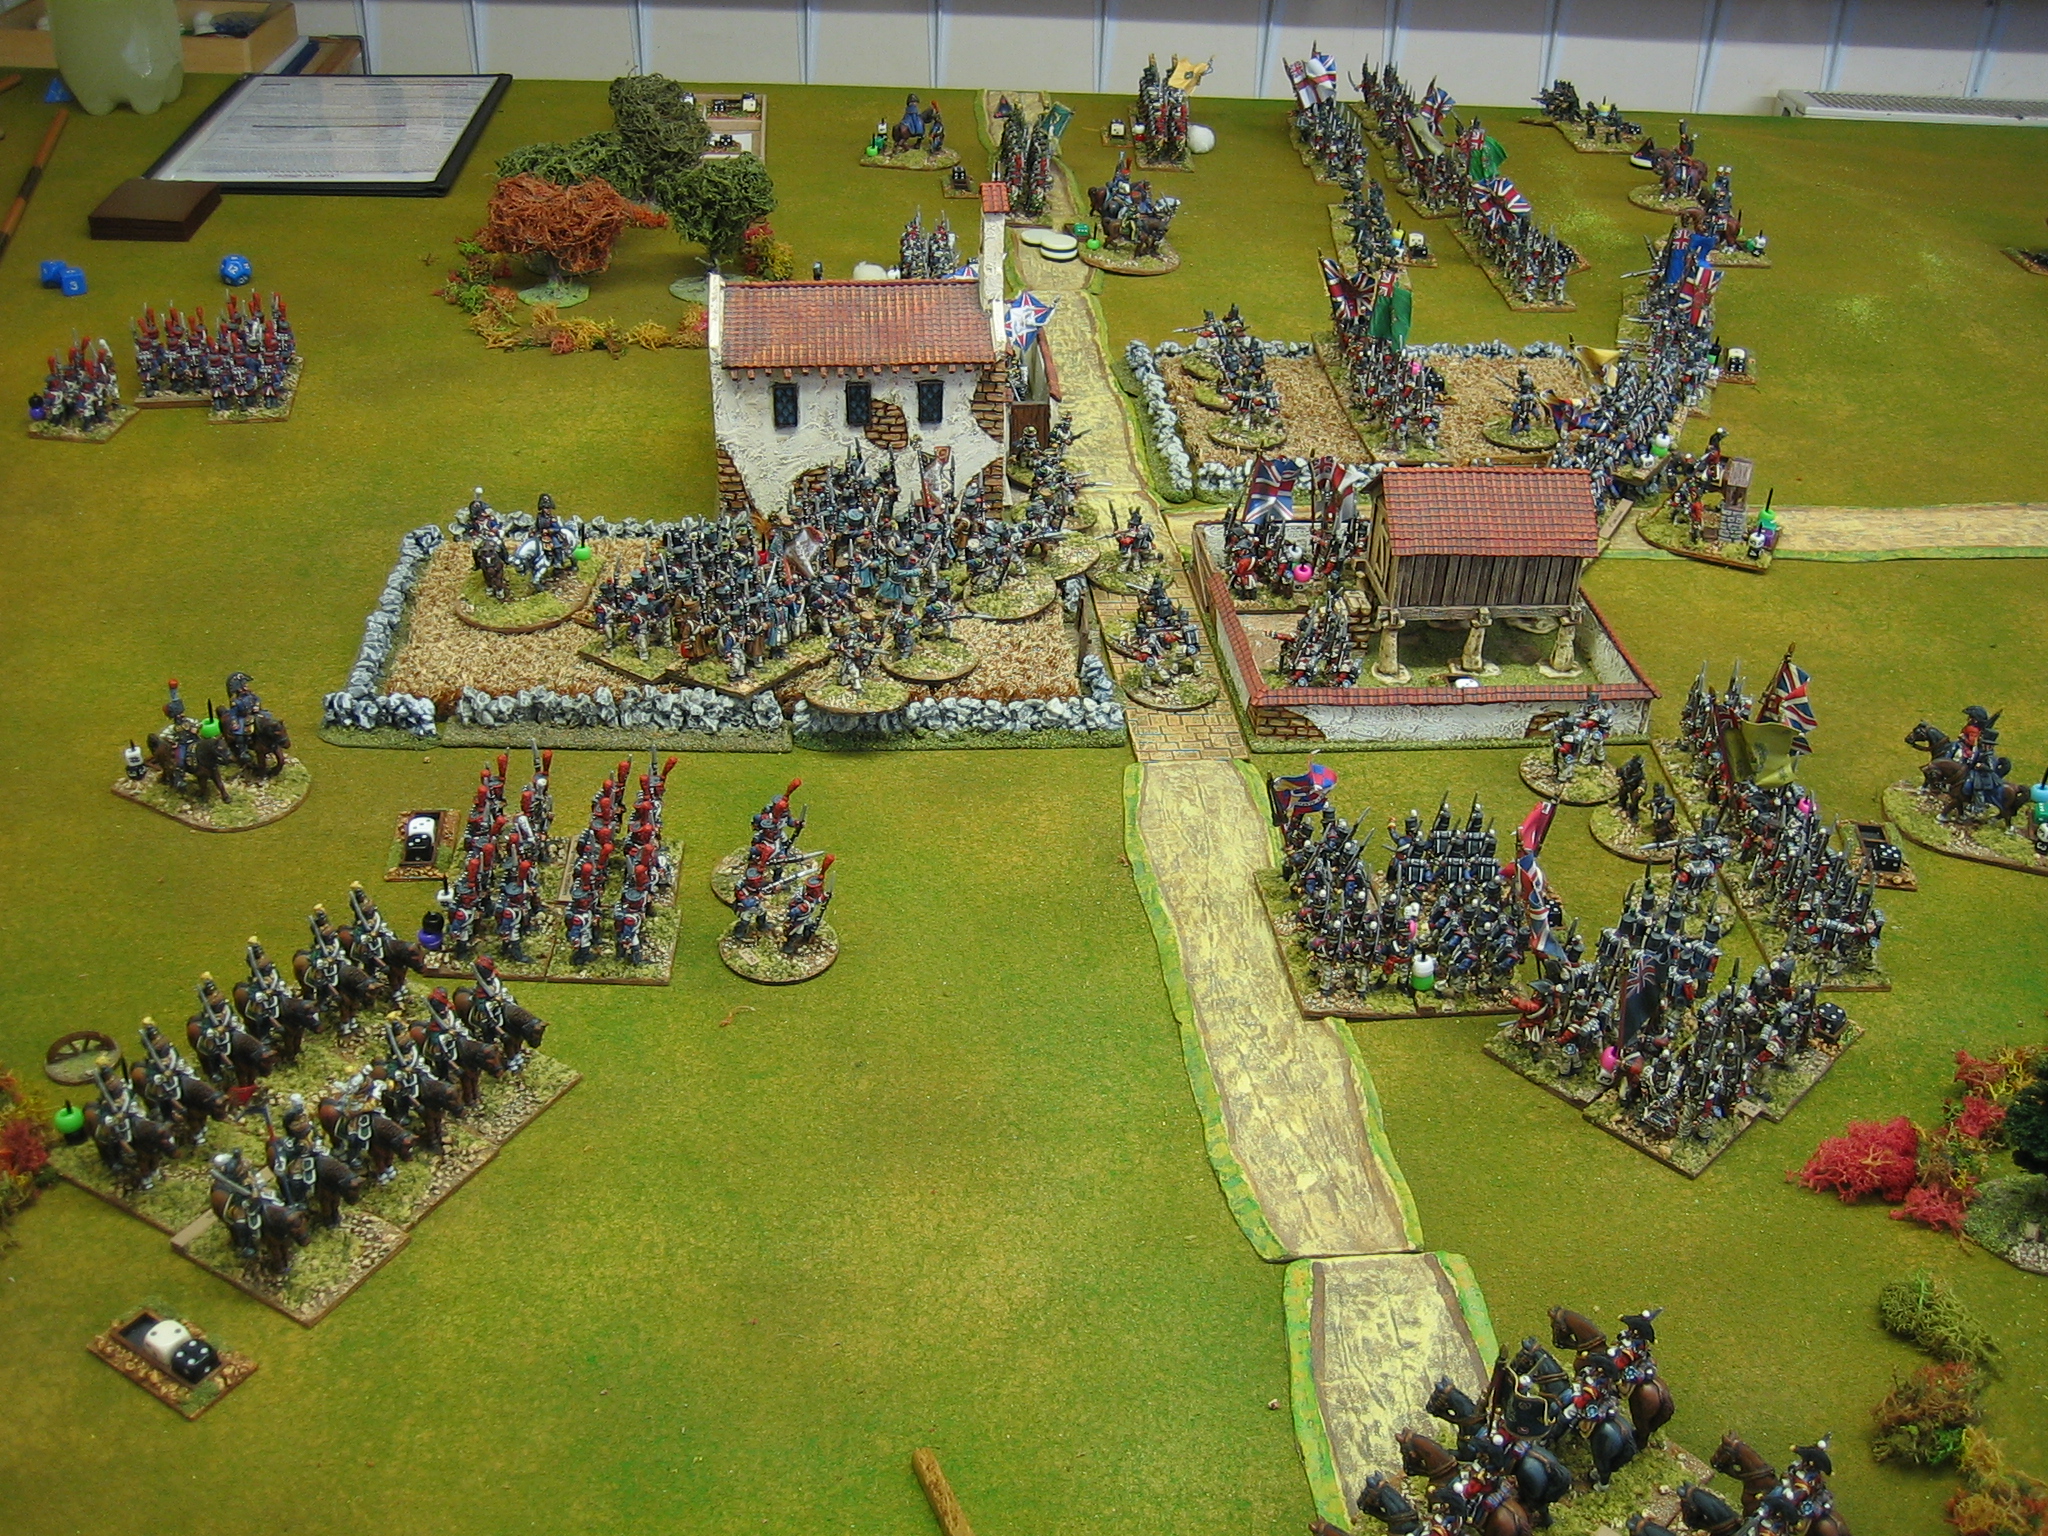
 The Battle of Cacares. Map 3 was rolled up, the French will choose table edge.
 The table terrain. The French will deploy on the left. The French will deploy first.
 The British, all laid out ready to be deployed. As attacker they can deploy anywhere along, and up to 24" in from, their table edge.
 The French, all aid out ready to be deployed. As defender they can deploy up to 24" in from their table edge and 18" in from the table ends.