Showing posts with label Battle Report. Show all posts

Tuesday, 17 September 2024

Zorndorf Battle Report 2

On the western flank, below Wilkersdorf, the cavalry battle raged on with the Russians finally gaining ascendancy.
Whilst, in the centre, the Prussians began to take up positions from where they could assault the Russians beyond the Stein-Busch and the Russians made preliminary moves to oppose them. 
Manteuffel continues his attack against Saltykov's troops between the Galgen-Grund and Zabern-Grund, then Gaugreben's cavalry intervene....
...with some success and the onslaught is temporarily halted....
....until Manteuffel's hard pressed grenadiers are reinforced by Marschall's dragoons.
In the centre, Galytsin's infantry secure their open flank on the Galgen-Grund and in conjunction with the Observation Corps launch a counter-attack against Kanitz and bring his advance to a halt.
At this point, Dohna's infantry march from Zorndorf, pass through the Stein-Busch and pour vollies into the open flanks of the Observation Corps. The action is now pretty much general along the entire front. The advantage swings back and forth with the initiative and both sides are nearing their break point.
The Russian advantage still lies with the cavalry under Demiku but they can't bring the Prussian morale points down quickly enough with what he has left.
In the eastern sector it is all up for the Russians: The Prussian cavalry is stacking up for the kill.

In the centre the action is becoming especially fierce but, it's all up. The Prussians win with a difference of plus nine morale points. 

The battle was hard fought throughout but Manteuffel's one sided local victory in the first session probably decided the issue - the Russians never recovered from the stack of morale points they lost there.


Sunday, 8 September 2024

Zorndorf - Battle report

This game was set up three weeks ago. Unfortunately, players had commitments and we were not able to meet until last Wednsday night. In the first session we completed three turns - here is the report.

The Prussians opened the battle with a two hour preliminary bombardment: The Prussians chose six units of Saltykov's infantry and inflicted d3 unit integrity losses on each.

But, it was the Russians who advanced first: Demiku advanced his cavalry, supported by Cossacks, and they were met in the open fields below Wilkersdorf by Schorlemer, who in turn advanced to greet them. A ding-dong, back an forth, cavalry clash is about to happen and it will last all evening.  
On the eastern flank, Manteuffel's strong line of infantry (mostly grenadiers) advanced on the many lines of Russian infantry between the Galgen-Grund and Zabern-Grunds. The Prussian artillery, lines of sight now blocked by their own infantry are made redundant. 

What is about to happen here comes as a shock to all.
The contestants exchanged several volleys of musketry. The Prussian fire was lethally accurate - the return fire was desultory in comparison. The Russian first line, which had already reinforced by their second following the artillery bombardment, began to waver and crumble. 
Seizing their chance, the Prussians advanced to contact. They had rolled even on a Move card and the Prussian grenadiers crossed bayonets with their foe.
The Russians collapse!
At the end of the first evening's play, Manteuffel's attack has (so far) been a complete success

It was aided, it has to be said, by their far superior sequence deck - integrity loss and so forth was rallied on successive Leadership cards, whilst the Russians failed to daw a single Leadership card on which to rally their crumbling lines.
Following the success of Manteuffel's attack, the second line of infantry under Kanitz moved to attack Galytsin's infantry beyond the Stein-Busch wood.
The Russians have not been wholly inactive. In support of their western cavalry advance, parts of the Observation Corps have gone forward. 

You might also note Seydlitz's four cavalry regiments emerging from behind the Stein-busch.
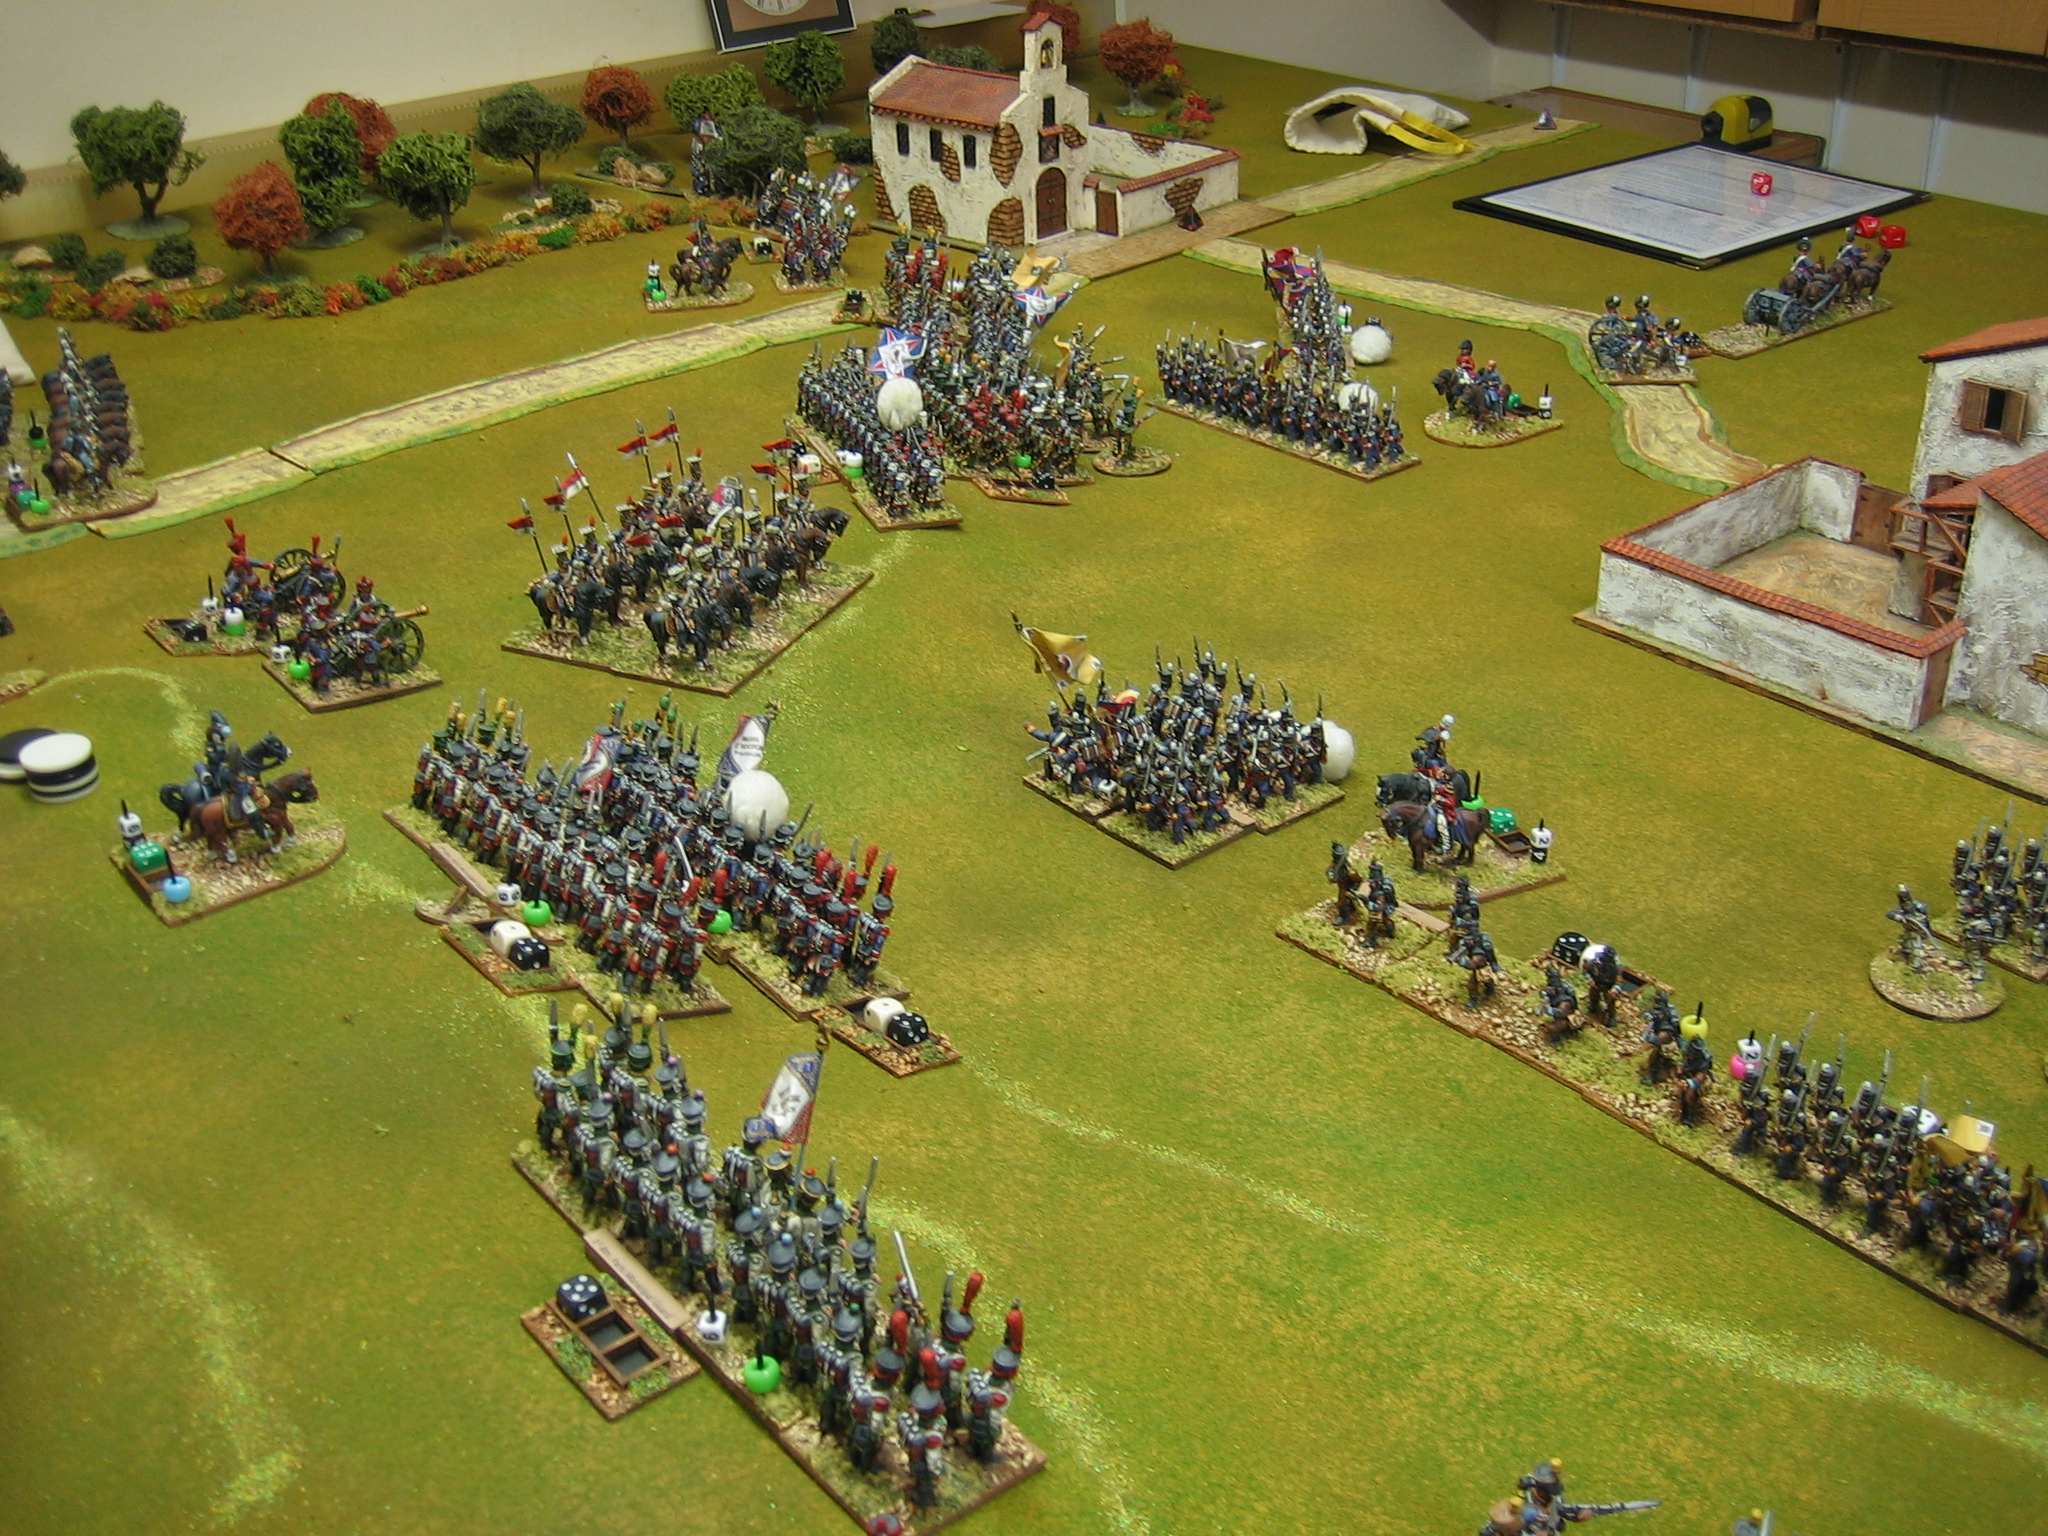
Looking west the disjointed (to my mind) advance of the Observation Corps can be clearly seen.
Seydlitz's cavalry which, having rolled three 'even' moves on two successive march cards, has moved from east to west (a combined move of 72") behind the Stein-Busch and deployed from columns of squadrons into lines. Historically, he actually did this but, historically much later in the day (after stabilizing the eastern sector which historically had not gone in Manteuffel's favour).

Note: Because of my big table (6' x 14' 8") I have increased rule measurements by 50%.
At the western end of the field the cavalry battle played out for most of the session. Casualties on both sides were heavy. At first, the melees went for the Russians but, yet again, the Leadership cards told: The Prussians have five in their deck, the Russians only have three and the Prussians got to turn theirs where the Russians failed to do so (two turns ending on same initiative rolls). 

The Prussian cavalry's counter strikes stabilized the situation - honours were about equal.
And that was where the session's action finished. We will meet to complete (hopefully complete) the battle next Wednesday evening. 

Another shot of Manteuffel's infantry - heroes of the hour.
As yet not fully committed, Kanitz's infantry.
From behind the same, showing the uncommitted Russians beyond. The Russians are in trouble but, this is a Piquet battle and is not done yet.


Thursday, 20 June 2024

Some new stuff hits the table: A town battle.

In what feels like a new era, I decided to put on a Crusades game using To the Strongest (with some house amendments). Partly this was to get some new stuff on the table. Some new units and some new terrain.

On the new terrain front, this game will centre on a large Saracen town being assaulted by the Franks. Since last reporting on building progress I've added two or three general town sections and 'grand mosque'.

On the Saracen side (Mark D.), only the towns garrison started deployed (by myself, the game umpire); the Saracen relieving forces would start to arrive on the flanks from move one.
Prior to the arrival of the players I also deployed the central command of the Franks for Graham H. The flanking commands would be deployed by Graham before turn 1.
The rest of the Franks: A small command of Religious Order (Hospitallers) and a much larger Armenian force. 

The Armenian force has increased dramatically: I've increased the number of infantry units from four to eight and added a unit of Armenian heavy cavalry. It's now a full contingent.
The Saracen relieving forces. A Seljuk command with two deep 30+ figure units of Mutatawia infantry (one of them new). A Turcoman command. Before Graham deployed his flanking Frank forces, Mark chose which Saracen force would arrive on which flank (the black/red aces correspond to cards at each flanking road entrance).
Two new units of Adhath glaivemen formed part of the town's garrison. The glaives were made out of heavy white metal spears: the heads flattened, trimmed with clippers and filed; the spear heads on the figures were cut off at the top hand then the hand was drilled to take the glaive head. 
Among the Franks are two new small units of dismounted knights.
I also made a siege tower. This is basically MDF. Although I don't have a curtain wall for the town I decided to call the outer face of the town as such. The tower allows easier activation over it.
The grand mosque. It stands on a low rocky outcrop. I made the dome using card fins and a paper skin.
So troops can be put in/on it, I decided to make the upper tier removable.
Two of the new town sections.
These were made with removable wall pieces so that they have more versatility.
Graham deployed the Armenians to his left and the Order troops to his left - the advance begins.

It gets to the wall in impressive time. The drawbrideg on the tower is dropped (it has small brass hinges pinched from a small wooden box of disgustingly cheap liqueur chocolates I got for Christmas).
The Franks force their way into the town with ease.
Seljuks and the Bro's clash. Order troops are soooo good. The Saracens do not fair well in the initial exchanges. Note the depth of the Mutatawia units - this is three stands side by side.

And the Turcomans, led by their cavalry, have arrived. They shoot volley after volley to little (zero) effect.

Next week Mark can't make it so I'll take the Saracens (to their doom).

To be continued....


Wednesday, 4 October 2023

Campaign Report: Road to Badajoz (part 2)


The second session of this game was very frustrating for all concerned. We decided that the severe rainfall in Extremadura was probably the cause. The simple fact was, no one could cause any damage because either the attack dice was too low or the defence dice was too high, in equal measure - it was all down to the mud and wet powder.
By the end of turn three (two non-turns having ended early), divisional morale dice were also too low for either side to press any attack with conviction.
The British had been pressed but, every time they suffered a reverse they successfully rallied. To frustrate the French further, attacks in column were being stopped, with minimum casualties, by British firepower morale challenges at the crucial moment.
With the rain falling heavily on everyone's parade, the French offered the British a draw - allowing them to withdraw back to Elvas (Estramoz). 
The Road to Badajoz - more like a Road to Nowhere.

And, Soult had failed to arrive.

Casualties were assessed - and they were very low considering the amount of dice rolled. The Anglo-Portuguese had lost 3UI killed and 8 UI hospitalised; the French had lost 3 UI killed and 10 UI hospitalised.

The campaign continues....


Monday, 25 September 2023

Campaign Battle Report: The Road To Badajoz.

 With everyone present we got going ASAP.

The British set up first: A line with their left echeloned back, cavalry in reserve.
It looked like the villages would be something of a hindrance to Bereford.
Then the French deployed. They decided to hold their centre and left in strength. Their extreme right was covered, some way off, by cavalry
The left and centre.
The centre right.
The Anglo-Portuguese, bless their cotton socks, attacked from the off. The French artillery began to tell immediately. This did not have the look of half measures.

With the allied advance the French cavalry holding the right advanced into uncontested ground to threaten their left flank.
In the centre left the action was hotting up quickly as the skirmishers of both sides became emmeshed. 

Note: On the extreme French left, Mark has begun to counterattack. 

Note: In the foreground the allied Cavalry is moving to counter the early French movement here. This will result in one French unit of cavalry destroyed by British Guard Dragoons and the Portuguese cavalry being forced back shaken. 

The allies had taking the brunt of it coming in but, they were not doing badly. The lines were forming up at musketry range: A firefight, then; a duel of cards and initiative (with the odds slightly favouring the allies). Shortly after this shot was taken the sides withdrew skirmishers and the volley fire began in earnest.

On the French left, the French pressed home a counterattack. This attack will cause the outnumbered Portuguese division to flinch, losing an infantry unit. However, they do hold.
Almost the last action on the night: On the extreme allied right, Portuguese Cacadores came out of the village onto the flank of French light infantry moving through the woods in extended line: They fired, they charged. The French Legere were sent packing: A classic ambush.

Importantly, this was just the end of turn one (four turns to go) and the French have turned two Stratagem (reinforcement) cards. Soult may well arrive early!

To be continued....