The scenario for this game can be found: HERE
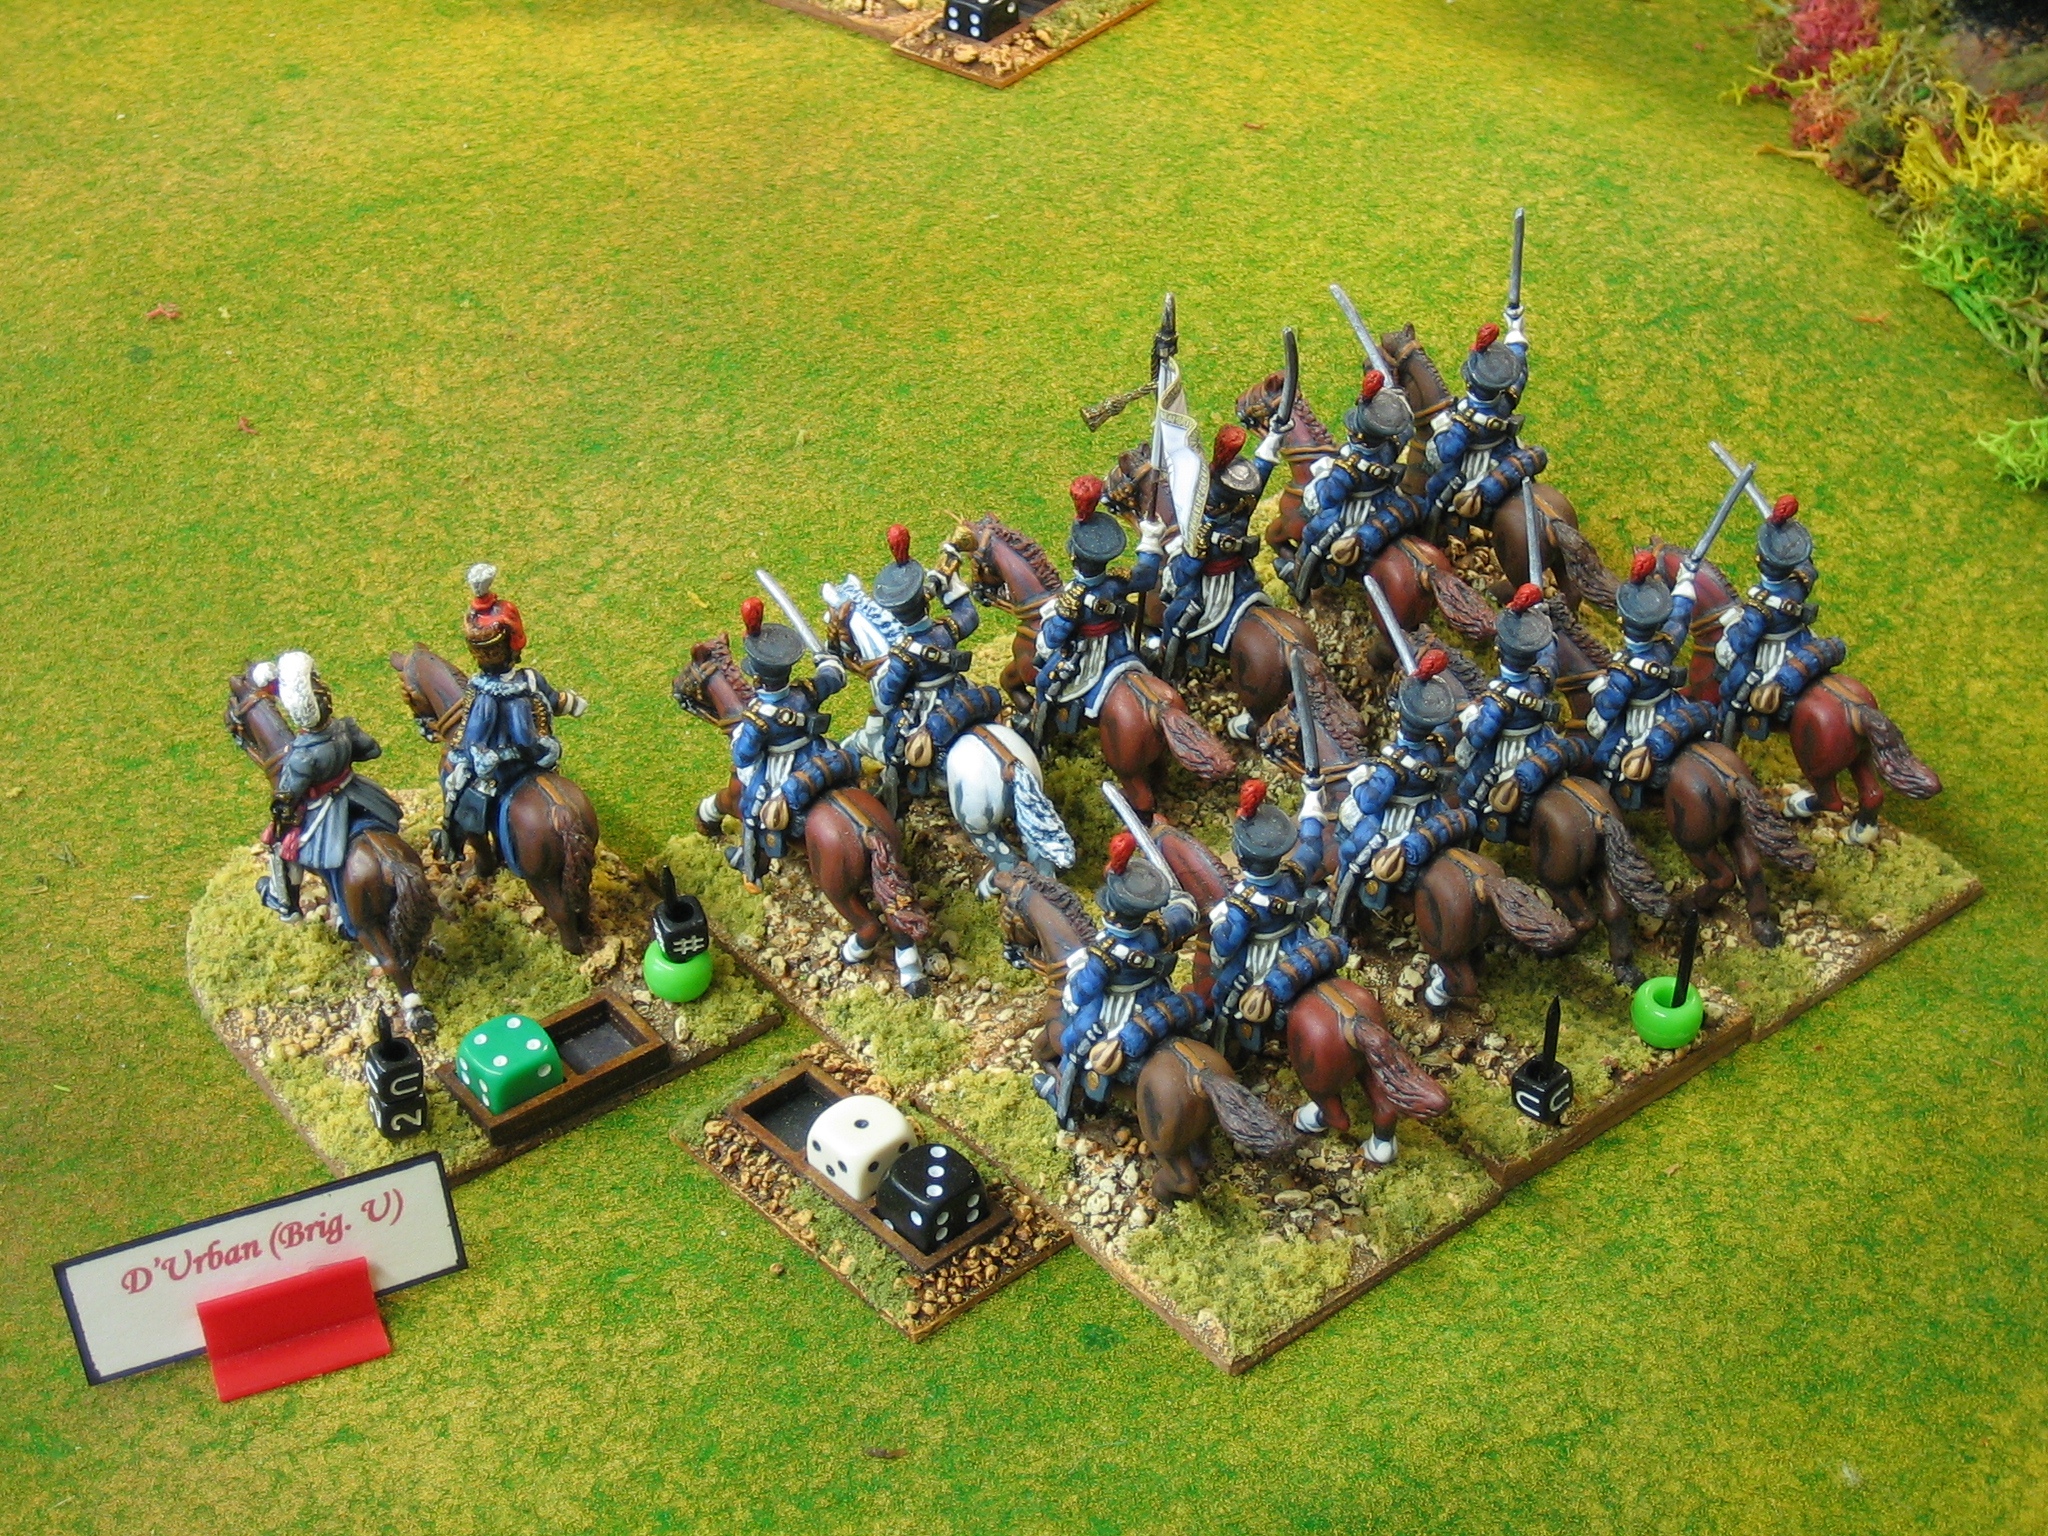
In accordance with the scenario notes the British get ten free initiative points to resolve their surprise attack on Thomieres' 7th Division. This picture shows the situation before the start of play.
This is all for the better because I can detail how things move and fight using Sacre Bleu rules. This wasn't a decision I made before turning the cards but after, because they were almost perfect.
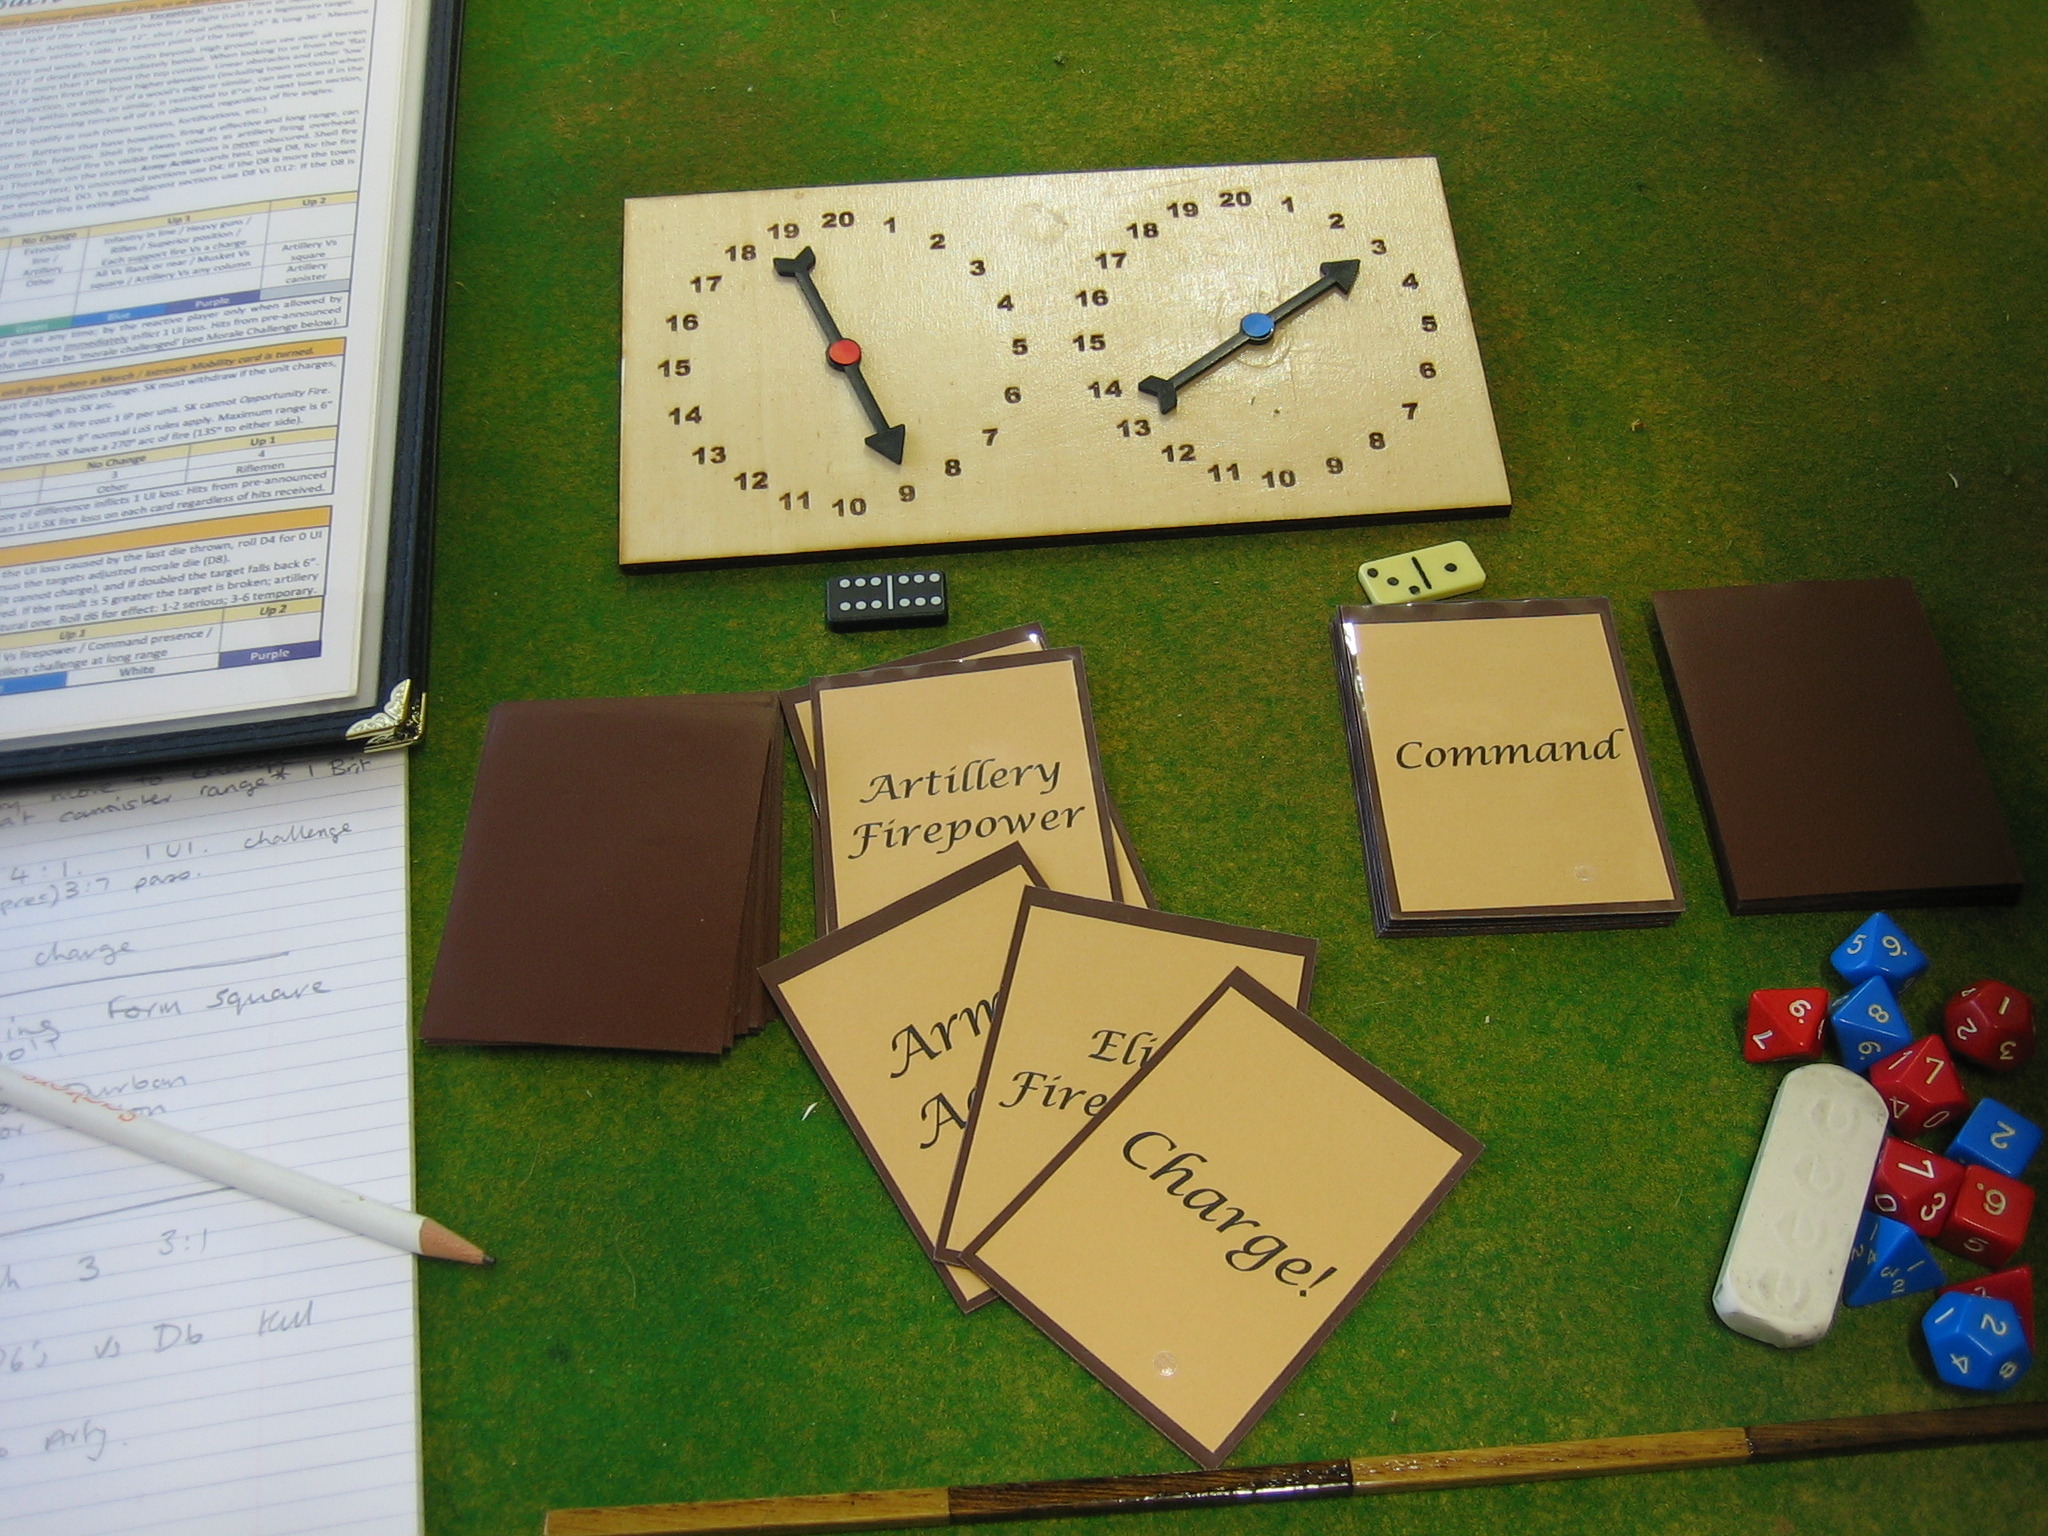
So here is the paraphernalia of the game. Bags of dominos, sequence card decks, initiative clocks, dice and measures.
As per the scenario notes, the compulsory 10 point initiative win to enable Packenham and D'Urban to gain the benefit of surprise has been put on the clock, and a couple of cheeky dominos make an appearance to emphasise the point.
The British ignore their first two cards, each turned card costing one initiative point, then draw Brilliant Leader as their third.
They want to make the most of their infantry so declare Brilliant Leader as an Infantry March card to advance 3rd Division. The division's units are all within command group distance so all four units (including the artillery) move for just one initiative point.
The lead unit then gives Thomieres' leading unit a volley (going unloaded), costing 1 initiative point. Consulting the combat table, all firing units start on D8. The British get up 1 for being in line, so D8 Up 1 dice is a D10, one dice type bigger. Fire is always versus a D6 , so D10 Vs D6. The result is 7:1.
Unit Integrity points are 3 'hits' each so 6 'hits' (the difference in the rolls) causes 2 UI 'casualties'. This in itself doesn't do anything but put the unit closer to having zero UI (it was a weak unit and started on 3 UI) when it will automatically become shaken, or negative UI when it will automatically break. The British are not happy with this so they decide to force the issue by spending a divisional morale point to challenge the French unit's morale.
2 UI casualties makes their morale challenge dice a D10 (see rules). All units start facing a challenge on D8 but, the French unit started the game disordered (scenario rule for surprised) so they are Down 1 but have skirmishers deployed for an Up 1. D8 Down 1 Up 1 cancels. The result is D10 Vs D8 with a roll of 3:2. The French unit rolled less so it becomes shaken and the French lose a divisional morale point as a consequence - the British are happier.
Joy! The British draw a Cavalry March card. The French infantry is shaken so it can be charged on this card and D'Urban's cavalry started the game at charge reach (6").
D'Urban's Portuguese cavalry charge home, costing 1 initiative point.
All units start a melee on D8. D'Urban's cavalry are Up 1 for charging, Up 2 for charging infantry not in square, so Up 3. So the D8 becomes a D12+1 (no dice can be bigger than D12 so any more ups are added as digits but, it's a D12 being rolled so any result greater than 12 is only 12). The French are Up 2 for facing cavalry in attack column (it was an effective anti-cavalry formation) but this is cancelled by a Down 2 for being shaken, and receive Down 1 for being outnumbered in UI by two to one, the French D8 becomes D6 (one dice smaller). Result D12+1 Vs D6 rolling 10:2.
The difference in the rolls is 8 'hits' so this causes 2 UI 'casualties' (they are 3 'hits' each, remember) and any melee lost to cavalry by 2 UI or more means automatic elimination: The infantry are destroyed losing two divisional morale points for elimination.
Cavalry destroying a unit need to make a Command Contingency test for 'pursuit' with D8 Vs D8. The result is 1:2. They have failed by rolling less. They are automatically reduced to zero UI and become shaken (without divisional morale point loss in this case because they won) - most of them have ridden off in pursuit, or are blown, and must be rallied back before the unit can become effective again. The 'unit' chooses to retire, which it can do following a victory, to do so.
Point of note: When a unit charges from charge distance (6") it is not moved until after the melee has been resolved, though it is possibly useful to move one stand to contact when the charge is declared. There are reasons for this but, they only became apparent during extended play testing. Likewise, the 6" distance at which units are at charge reach (you can't move to contact from over 6") was chosen for purely gaming reasons: Primarily it breaks movement to contact into two distinct acts (moving and charging) and possibly gives time for a reaction, secondly because units can always move that far, and thirdly 6" gives enough of a gap to deploy two lots of skirmishers facing off against each other prior to a charge being made - units can face off at charge reach for extended periods (whilst waiting for a card on which you can charge) and it is a defensive morale challenge advantage to have skirmishers deployed.
The Hussars now move up on the same March card for 1 initiative point. D'Urban moves to be with his Portuguese (not shown in shot).
Finally, the infantry draw another Infantry March card and spend their last initiative point to advance further and threaten the second French unit of Thomieres' 7th Division.
This is how the position looks now.
In accordance with the scenario notes, surprise has now been lost. The British must reshuffle their deck in preparation for Turn 1 proper.
A handy little action to start the battle off, and a fairly historically correct one.
Turn One, Phase 1: At this point I have decided to run through the play of turn one in some detail. It might serve to illustrate why I think Piquet style rules are the best set of rules for solo play in existence.
The British draw 2:2 'the domino of death' and the French draw 4:1. The French win the initiative and because one domino is a double get all the points, they get 9 (4+5). The British lose but have the double, they get 4. The French choose to play first.
With Thomieres in trouble the French decided to cycle for an Infantry March card (on which to retreat) or a Command card (on which they could change formation to fight back). The second card is a March card. They bring up Brennier's 6th Division for one initiative point and retreat Thomieres' 4th Division for another.
But, before Thomieres' can retreat his lead unit, which the French want to move double distance using the Heroic Moment card, the British give it an 'opportunity' volley in the flank, which they can do because it has declared an intent to move, for one opportunity chip.
In retrospect, the French should have prevented the British firing by using their Heroic Moment card to bend the rules in their favour and opted to move just once.
Note: Heroic Moment cards can be used to bend the rules in your favour if a sound argument can be made to do it - it's possibly the neatest card type in the deck.
The British get Up 1 for being in line and Up 1 for flank fire. Their D8 becomes a D12. Versus fire the opposing dice is always D6. The result is 11:6. The French unit takes 1 UI loss. The British want to stop it moving so pay a divisional morale point (DMP) to challenge it's morale. They would normally roll D8 Vs D8 but, the French choose to use Thomieres' command presence to get an Up 1 to roll a D10. Result 7:4. The French roll less, become shaken (lose 1 DMP, not shown taken in shot) and are halted in place, before they can move.
The French continue to cycle through their sequence cards. They draw a second Infantry March card but cannot act on it this phase: They have run out of initiative points.
Note the broken wheel marker for shaken. The original strength of the unit is indicated by the black dice showing a 4. UI losses are indicated with the white dice showing 1. The green dice shows DMP, a purple dice (not in use here) would be used to show DMP x 6 (Thus a range of 0 - 42 can be achieved using 2D6: Purple 2 and Green 2 would be 14)
The British have the luck with them. They turn a Charge! card, first up. They charge the hapless French column in the flank. It's should be a slaughter, with a charge, flank attack and both generaland positional supports they are rolling D12+2 versus D4. The result is 7:4. The French unit takes another UI loss, is doubly shaken and breaks, and the Division loses two more DMP. Thomieres has just 3 DMP left - at zero his division will be spent.
The British second card is Command. This can be used to change formation so the 3rd Division's artillery unlimbers for one initiative point. It can also be used to rally using a DMP, so D'Urban attempts to rally his 'blown / pursuing' Portuguese. He will roll a modified D8 Vs D8, which works to D10 Vs D8. He rolls 9 Vs 3. This is more and double, the Portuguese rally back 2 UI and are no longer shaken.
This shows the positions at the end of the first phase of turn 1.
Packenham and D'Urban are running riot and the French are all over the shop.
The French win the initiative 10 points to 6 points and decide to go first. They have not used the showing Infantry March card so use two points to move Thomieres' 7th Division and Brennier's 6th Divisions. Then they turn a new card, Command, for a point and use it to deploy both divisions into fighting formations (facing westward and Packenham's threatening advance) for two points more. This presents a strong line of infantry and guns to the British.
Another new card, Cavalry March, and a point to bring up Curto's Division of light cavalry.
Another cavalry move card brings the French cavalry to charge reach of the British infantry, one of which fails to form square. As the cavalry advance the British spend an opportunity chip to give them a taste of canister - which causes a UI loss but the French pass the subsequent morale challenge. Then French cycle to find a card they can charge on but fail to do so before they run out of initiative.
The British have a Command card of their own showing so form square on it - a unit cannot carry out any other action on a Command card if it uses it to change formation so it's disorder (for fighting a melee) cannot be removed. However, the imminent threat of being overrun by the Chasseurs is averted.
Next, they turn a cavalry move card and spend three points to move Cotton and D'Urbans cavalry - D'Urbans cavalry cannot move for one point because his units are too far apart to count as a single command group.
The British turn Artillery Firepower with their last point. Fortunately, things load for free so Packenhams guns are back in the fight.
Turn 1, Phase 3: The Brits win the next initiative with a big swing - 16 points to 3 (remember that the high domino wins and double dominos mean the winner wins every spot).
With Artillery Firepower still showing the British fire their batteries all along their line (4 points) but only succeed in causing a UI loss to Clausel's 2nd Division and a UI loss to Thomieres battery.
The British turn an Army Action card. This moves any routers (Thomieres routing infantry) for free.
The British then turn Elites Reload (which they can't use) followed by a Charge! card. D'Urbans hussars charge into the chasseurs. The dice will be closely matched. The British get Up 1 for charging to give D10 Vs D8. The result isn't close: It's 10:4. The French cavalry is destroyed and the British cavalry test for pursuit. Because they are British they get a Down 1. They roll D6 Vs D8, but pass. They advance to occupy the ground, disordered for being in melee.
Then the British turn another cavalry march card which they use to move Cotton up again, followed by an Infantry March on which they advance Leith and Bradford. Leith's 5th Division costs 3 points to move because two of its units are moving through the village of Los Arapiles.
The French turn Cavalry March and Curto's remaining Chasseurs turn to threaten the British Hussars with a flank charge. The British immediately opportunity counter-charge with their Portuguese which become disordered passing through the defile between the two squares (see movement through defiles and opportunity rules), placing themselves in their turn on the flank of the Chasseurs.
The French turn a Charge! card but they have used their three points of initiative, the phase ends. If they win the next initiative they charge the Hussars, if the British win they may get a card on which they can intervene with the Portuguese - gotta love these rules for solo play.
Turn 1, Phase 4: The French win! They get 13:3 points of initiative.
For one initiative point the chasseurs immediately charge the hussars with Up 1 for command presence and charging, plus another Up 2 for a charge from befind a flank - D8 Up 4 is a D12+2. The hussars are still disordered so are Down 1 for a D6. The roll is 12:2 and the hussars are destroyed for losing 2+ UI to cavalry in melee. The French add command presence to their pursuit check for a D10 and pass. They occupy the hussars ground.
The French turn a Command card and immediately rally the chasseurs from melee disorder, each costing an initiative point.
On Army Action Thomierres' broken infantry move again.
Fortuitously, this clears the broken infantry out of the way just in time, because the next card turned is Intrinsic Mobility. This card allows light cavalry to move so they withdraw behind their infantry line - their job done for the moment.
On Artillery Firepower the Frechbatteries open up all along the line for 5 points but only cause 2 UI casualties.
Note: Artillery Firepower is not a fire card. Providing something is 'loaded' it can fire at any time. The card actually allows things to 'reload' and restore firepower potential. 'Reloading' is actually free on the card.
The French end their initiative with Infantry March and have one point left to slightly change the angle of Thomierres' line.
The British use their 3 points to move Carlos' Spanish Division, Hope's 7th and Cole's 4th on the open Infantry move card the have not previously acted upon.
Turn 1, Phase 5: The French win the initiative 10 to 2.
Brennier's 6th Division moves into the line, shoring up the left flank of the French army.
Out of shot, Bonnier shifts his reserve infantry west of the Greater Arapiles so they able to better prevent the expected advance of Cole and Clinton.
Then the French cycle through their deck until they turn their last sequence card, Artillery Firepower, with two initiative points left. They fire two batteries causing 1 UI loss to Bradford's Brigade.
The British move Clinton's 6th Division forward on the showing Infantry March card, then turn a Command card. They are out of initiative points.
Turn 1, Phase 6: The British win the phase 11 points to five.
The British use their initiative points to use the command card to come out of square, which allows the Portuguese to pass the defile between them and expand back into line.
Cotton uses the card to put his cavalry into more wieldy column of squadrons.
5th Division uses the card to rally troops coming out of Los Arapiles to rally disorder.
The British then turn Infantry March. This they use it to move 3rd, 7th, 6th and Carlos' Spanish Division, and Pack's Brigade.
The French now use their pips to fire off more batteries, to absolutely no effect. They save one pip to end the turn before the British have chance to turn the last of their cards.
This is the general situation at the end of turn 1.
The British attack is well underway but the French position looks relatively secure. Time will tell.
As you can see, Piquet style rules are very well suited to solo play.
They break up a turn up into easily manageable small chunks. This means that a game can be dipped into and out of without much need for a long memory. I find this invaluable for solo games which are, by their very nature, always twice the work.
This turn was played over a couple of days, in four short sessions. (BTW: I did keep notes for the write up).
They hold enough back to create invaluable 'fog of war' to the solo player. If you play each side with an overall plan (how you should play Piquet style games in any event) the sequence cards and random initiative division actually make the game quite tense and exciting to play - something often lacking in solo games with a rigid move sequence.