Having made my master of an 'ancient' cargo ship in 1:600, I now needed to make a mold for drop casting. To recap on the master:
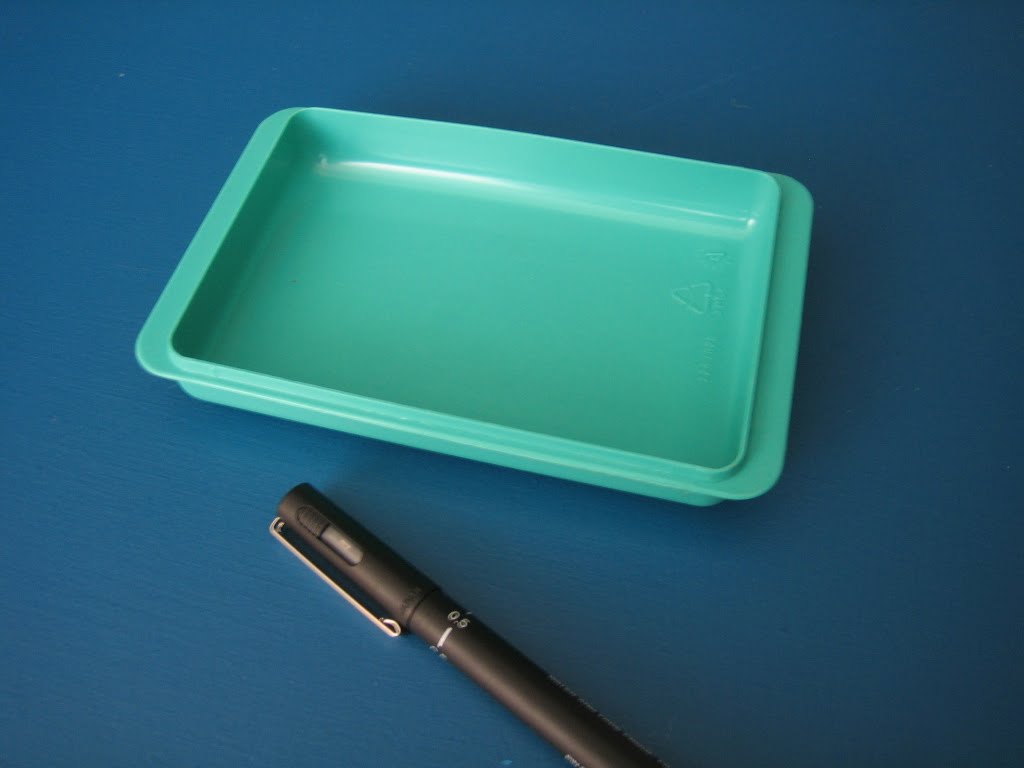
http://olicanalad.blogspot.com/2009/07/making-master-for-ancient-merchant-ship.htmlTo start I needed a small tray; in this case the bottom of an unused butter dish. I filled this with plasticine, making the surface relatively smooth.


I made two mould boxes out of balsa wood. One to go around the master (rubber mold box) and a bigger one (plaster box) to fit around the smaller one. Note the difference in height, width and depth. Both were glued on three sides, the last side was not glued. I reinforced the outer joined corners with paper and
PVA. It is very important that these boxes are square. I painted all the inner surfaces with Vaseline.


I laid the master in the centre of the plasticine tray and gently pressed to get an outline


I chopped out a hole and placed the master in it so that half the master was buried, carefully smudging the plasticine up to the edges of the model to remove any 'gaps' around the model; and I added three location holes with the end of a brush .


I placed the smaller box around the master, pinning the fourth side into position and sealed any gaps around the bottom with plasticine. I painted the surface of the master and plasticine with a very thin coat of Vaseline. I also sealed the corners of the unglued corners of the box with Vaseline.


I then mixed up enough rubber to cover the master and poured. The rubber is 96 - 98% rubber plus 2 - 4% catalyst - which I found hard to judge.


When it had cured I removed the box, cut of the 'flash' and put on the bigger box. Preparation of this box is the same as the small box. I also made four big location holes in the plasticine (not shown).


I mixed up some plaster of
paris and poured this into the large box. Do this on a level surface.

When all was set I removed the box and molds. I forgot to take a picture of what I did next so bear with me. I took out the rubber mold with the model in it. I coated the surface with a thin layer of Vaseline and put it back into the small mold box 'master up' (as shown). Then I poured in the other half of the rubber mold.

When this had cured, I removed the box, put the rubber mold back into the plaster casing, and put the whole thing into the large mold box. I painted the surfaces with more Vaseline and poured on the other half of the plaster casing. Do this on a level surface, then the plaster mold will be 'square'.


When this had set, I removed the almost completed mold

I split the mold (it comes apart easily because of the Vaseline) and cut the first air vents and pouring hole. It is important that the pouring hole is big enough to get a good 'pour'. The vents allow air to escape the mold as the lead goes in. IT IS VERY IMPORTANT that your vents all end at the top of the mold: HOT LEAD LEAKING OUT SIDEWAYS (OR DOWNWARD) IS NOT VERY GOOD! Don't overdo the first vents; you can add or enlarge after test casting.


VERY VERY IMPORTANT!!!!! LEAVE THIS TO DRY OUT THOROUGHLY. IT WILL EXPLODE IF YOU POUR HOT LEAD IN BEFORE IT IS TOTALLY DRY!!!!!!
Advice: Leave to dry for at least three days on top of a radiator or on a sunny window sill. After three days, put the plaster sabots in a very low (60 C) oven for three hours. When it is dry it will make a clean 'ceramic ring' when tapped.
When it is dry cut out two pieces of paper and put them into the 'holes' behind the rubber (between plaster and the back of each rubber mold). These provide just enough of a wedge to 'pinch' the rubber when the two halves of the mold are put together.
CASTING:
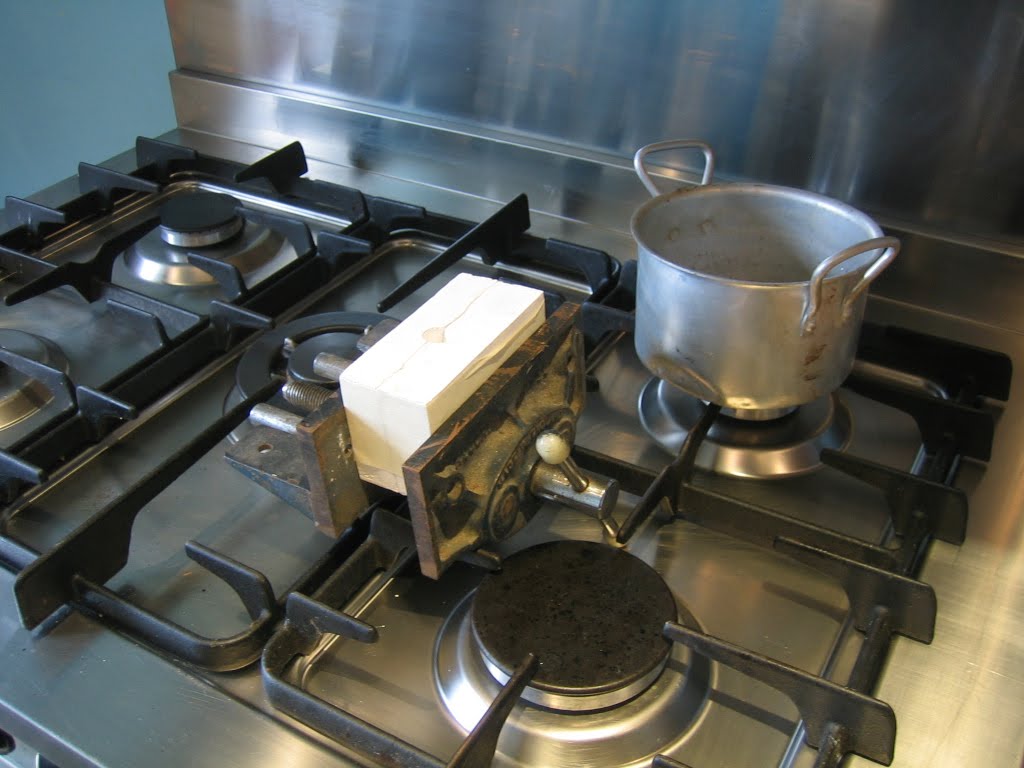
LIABILITY WARNING: I will not accept any liability for accidents on your part or for accidental misinformation on mine. This post is only a non professional guide as to my methods. Casting is VERY dangerous. If you copy what I do: YOU DO IT AT YOUR OWN RISK.For casting I used the gas hob of a domestic oven, my melting pan (an old camping pot) and a vice. I also used a pencil, a soft brush, a sharpener and a piece of sand paper.
SAFETY: I wear thick cloth or thick leather gardening gloves (NO RUBBER OR PLASTIC!); I use goggles; I wear a cloth or leather apron and good solid leather shoes. SHOES are very important - sandals, trainers, slippers, shoes with ventilation holes or bare feet are a no-no - anything I spill is heading, by law of gravity, in the direction of my feet. Also - I NEVER MIX WATER WITH ANY PART OF THE CASTING PROCESS.


I sand down the point of a pencil, re-sharpen it and do it again about four or five times. I tip the graphite into the mold and brush about with the soft brush. I put the mold together, vice it up and pour in the lead of my first casting. This will be rubbish, the mold is cold.

When the mold warms up the casting gets better, but there will be problems with air escaping, etc. I work out where the air vents should be added to get a clear cast - remember they must end at the top of the mold or back into the casting. I had a problem with the 'swan' at the back - I had to add two air vents. I also had to widen the pour hole slightly.


Once I worked through the mold's niggles the castings were clean and easy.


This is not the best model I've ever made. It certainly isn't the best mold; I found working with the rubber I bought difficult. I've used the white stuff (
RTV31) in the past and this has much better flow properties than this orange stuff. But it served its purpose.
Apart from the safety tips on working with molten lead, I have nothing to offer. Without a commercially available thermostatically controlled smelting pot it is all hit and miss to me.