My main source for this set up was the Kronoskaf SYW project aided with maps from volume 1 of Horace St. Paul and the Campaigns of the Austrian Army in the Seven Years War by Neil Cogswell.
Because my information isn't as complete as I would normally like, this set up has been a case of making the shoe fit. In consequence, I had half a mind to call this set up 'Combat at Reichenbrogue'. However, I think it's close enough to pass muster under its historical name - though I'm always happy to be corrected if I've got it all wrong.
Google Earth, note to self: For modern day Reichenberg see Liberec (Czech Republic).

The Austrians are defending this line in some force and have established several entrenched and barricaded positions along it. The Prussians are attacking from the north.
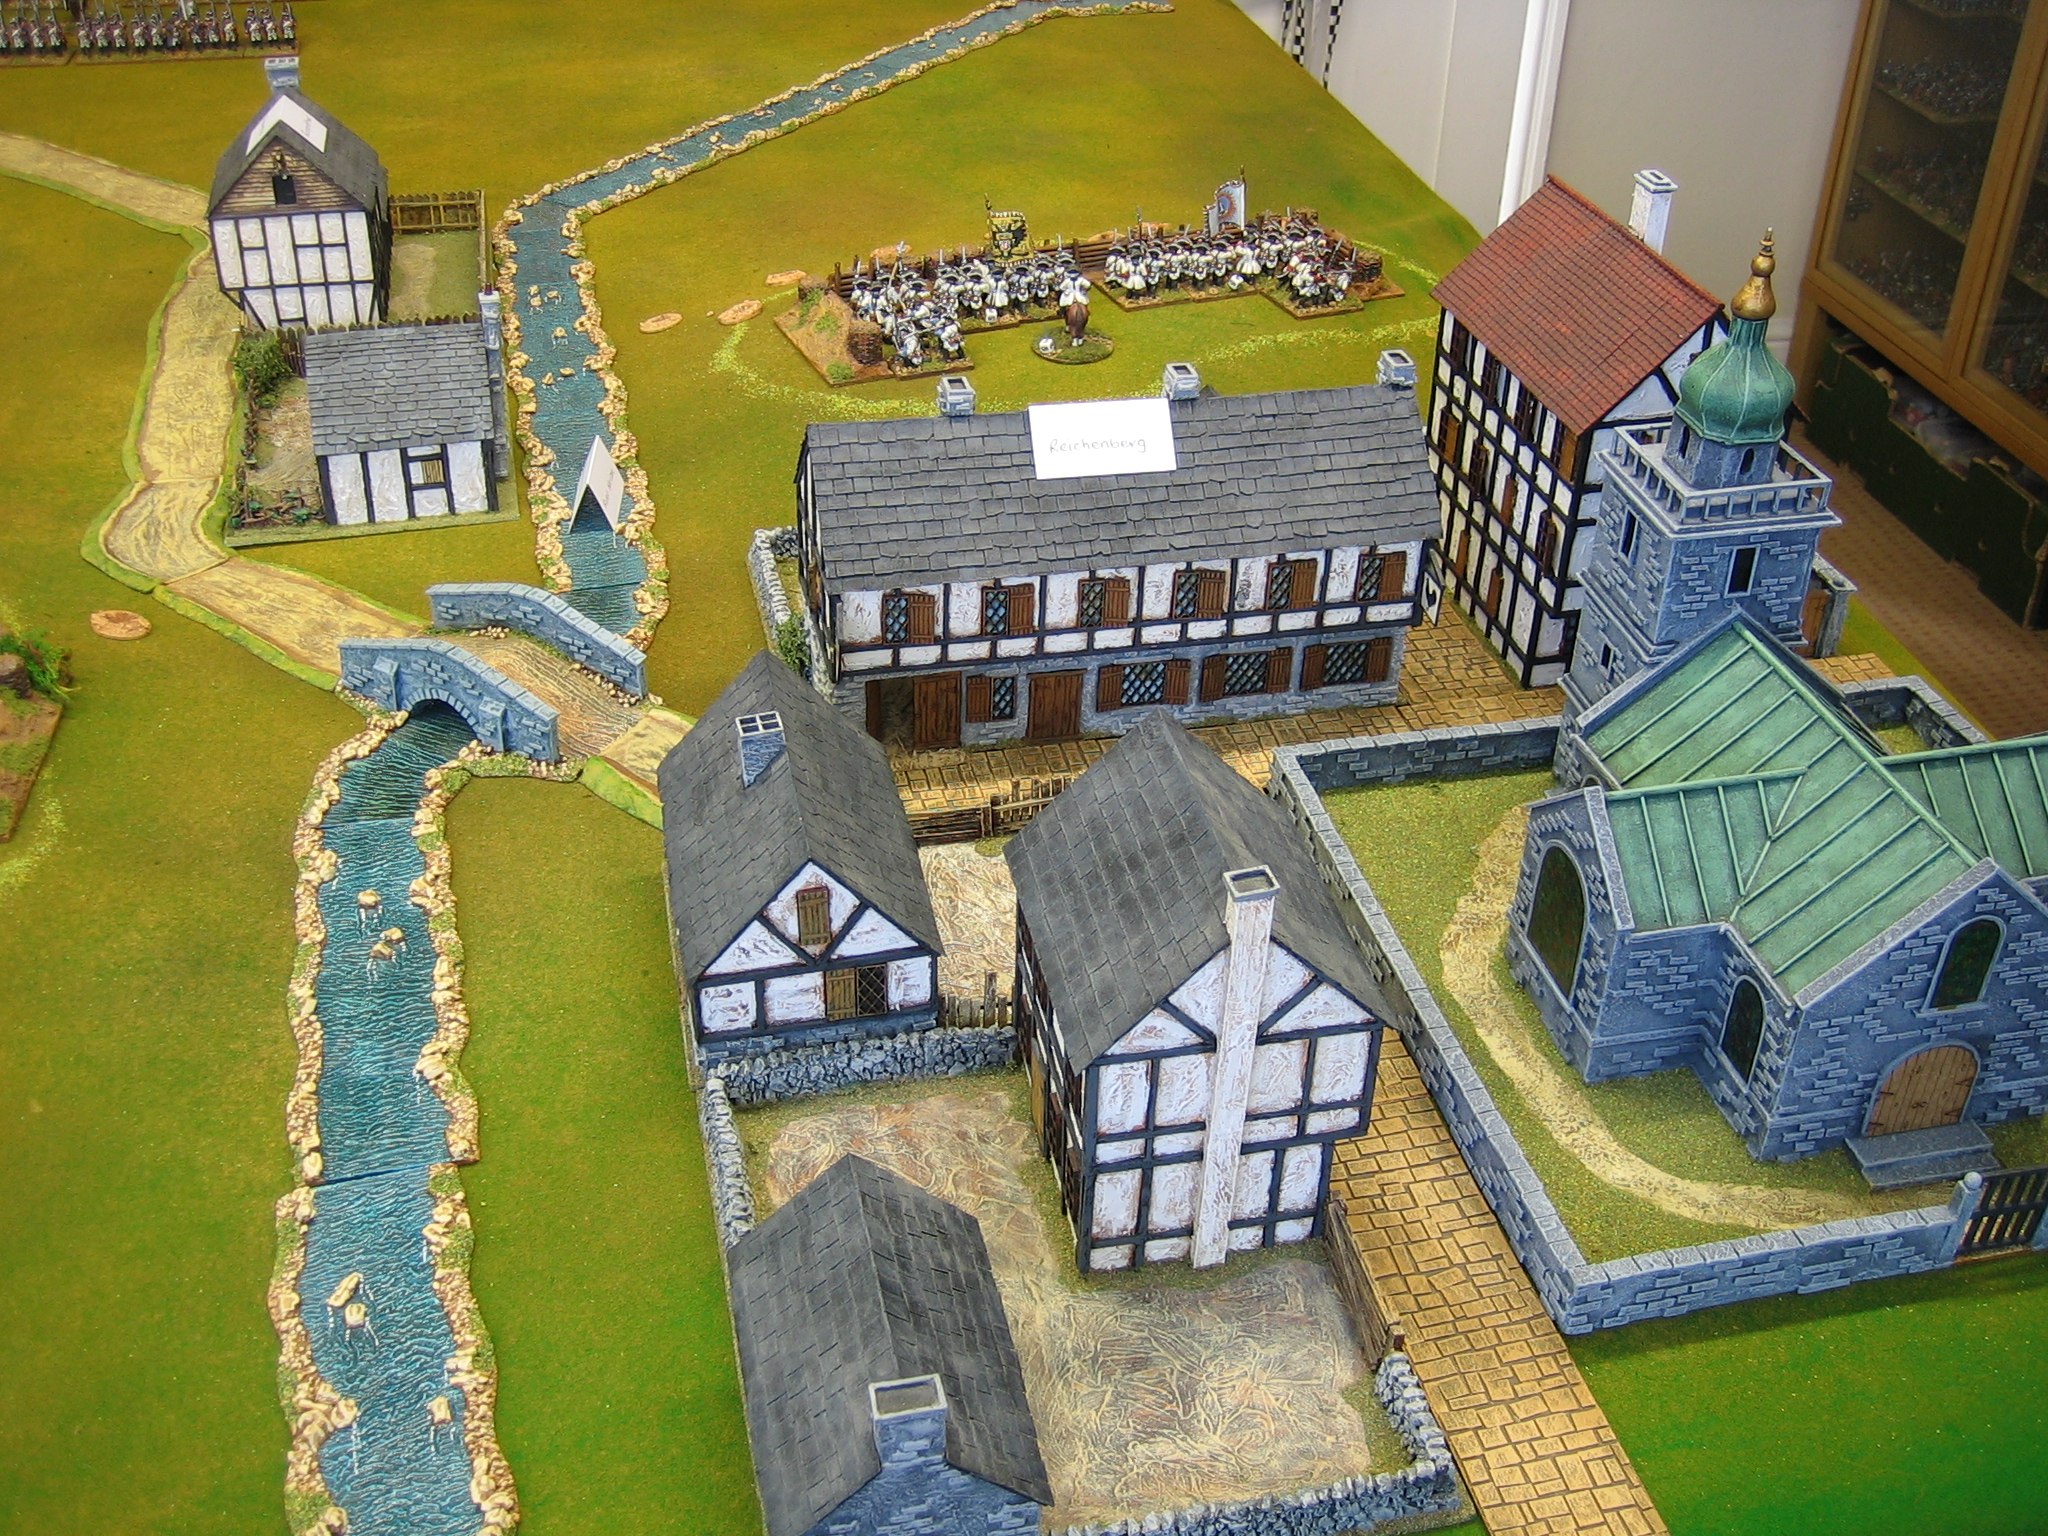
 The high ground in front of Reichenberg is held by two battalions in an entrenched position.
 The spur of the Schwarzerberg (shown as three individual heights on the St. Paul maps but as a long spur on the official German survey map) is defended by 7 infantry battalions, 11 companies of grenadiers and 3 batteries of artillery. In reality, only 1 battery was in the redoubts and entrenchments and the other 2 were in reserve on the reverse slope but, given that the Austrian player would immediately order them forward I saved him the trouble and placed them in the redoubts to begin with. Edit: I've actually changed my mind about this, put two batteries of guns on the reverse slope and shortened the two outer redoubts so that there isn't enough room for the guns and infantry to be in them together. Otherwise, the Prussian infantry will get (un-historically) slaughtered as they move up.
 Rather than have individual heights I decided to put a saddle in the spur. Here the Austrians deployed 11 squadrons of cuirassier and 10 squadrons of dragoons.
 In the forest, positioned behind barricades, are a battalion of grenzers and 2 battalions of infantry. On the road I have placed 2 battalions of infantry advancing from Gabel - this was for the picture, showing their arrival point, but they will start the game off table and arrive when activated (dice rolls, etc.).
 The Prussians have advanced from the west and swung into line facing the Austrian defences to the south of them. Their main infantry force comprises 8 battalions of infantry, 3 battalions of grenadiers, 2 battalions of fusiliers and 2 batteries heavy of guns.
 To oppose the Austrian cavalry the Prussians have advanced 15 squadrons of dragoons.
 5 squadrons of hussars secure the Prussian right wing.
 The entrenchments require some explanation and definition. In truth, these were designed with bastion like angles to cover every approach. This (because I use square bases for my figures) is always difficult to represent so I find it easier to 'square off' the redoubts and give them much better fire angles: troops within have a 180 degree frontal arc measured from the back of the position. Redoubts give hard cover and have no flanks. Whilst defending the occupying units fire separately, measuring from the redoubts nearest point; a unit firing at the redoubt can choose which defending unit it wants to target with fire; in melee the defender can choose which unit (infantry or artillery) will defend but, the attacker (if he wins) can distribute any UI loss.


In front of the entrenchments the Austrians had dug wolf-pits (these were covered traps - deep holes with spikes at the bottom) which will cause attacking troops to go out of command.
The barricades in the forest (most likely abatis - which I don't have terrain pieces for, so I've used my 'temporary barricade' pieces and cheveaux-de-frise) are treated in a similar fashion but they are soft cover and have no wolf-pits.
5 comments:
Table and troops look absolutely wonderful! When will we get an AAR?
Superb looking game, figures and table are really excellent.
A great looking setup 👍
The battle will begin tonight, 18/09/24
Superb table and figures, as usual. Looking forward to the battle report.
Post a Comment