Post edited on 26:04:18
Introduction
Firstly, I'd like to thank all those people who have kindly helped me to understand this battle by emailing me, or posting via various groups, maps, information and narratives from sources I don't have.
I'm not exactly sure why I had such difficulty with the narratives, and matching them to the maps. And I still don't understand the line in the Kronoskaf narrative - "These columns were not expecting a Prussian attack. The column which was supposed to move through Panten halted in the village and occupied it without trying to advance farther." - as, on the maps, no columns other than the reserve, which led the attack beyond Panten, appear to be going there. However, that aside, I'm fairly sure I now have a solid handle on it and can't quite understand what my problem was in the first place.
The map which helped most, and which I had without realising it, is in Die Schlachten Friedrichs des Grossen by Gunter Dorn & Joachim Engelmann (it appears on p.133, prior to the chapter on Liegnitz and next to a map of Maxen). This map shows the lines of march prior to the encounter. The map in Refighting History Vol. 4 by Charles S. Grant, which I don't have, helped very much in deciding the table orientation for the following set up. Overall, I think the best narrative (I have) is in The Wars of Frederick the Great by Dennis E. Showalter.
I have devised the following historical scenario (based on the Battle of Liegnitz 1760) for use with The Ilkley Lads home grown version of Piquet for large 18th Century battles, a supplement we call Men Are Like Lemons (To be squeezed).
 |
The battlefield looking west.
In the distance the Prussians under the personal command of Frederick II stand in a crescent on the plateau overlooking Panten. In the foreground, the tail of the 'first' line marches through Bienowitz. Beyond the stream (a tributary of the Katzbach River off table to the left) the Austrian reserve (left) and vanguard cavalry (right) are about to deliver the first attacks. In this picture (extreme right) the head of the 'second' line can be seen heading towards the northern [stone] bridge. |
Background to the battle
For those unfamiliar with The Battle of Liegnitz it came about during the Austrian and Russian invasion of Silesia in 1760. Here Frederick the Great of Prussia found his army of 30,000 men outnumbered 3 : 1 by the Austrians. During the campaign the Austrians, ostensibly under the command of Field Marshal Daun, formulated a plan to crush the Prussians by delivering simultaneous attacks from multiple directions, as they had at Hockirch in 1758, with the further refinement of placing a capable blocking force, under the command of Field Marshal Loudon, across Prussian line of retreat. Frederick's army would be hit by hammer blows of overwhelming strength, then crushed against an anvil.
Then, on the night of August 14th - 15th, when the Austrians were about to deliver their attacks, Frederick fortuitously decided to steal a march and escape his enemy. To confuse his enemies he left detachments to maintain the fires in the old camp; in the morning, the hammer blows delivered by Daun would fall on thin air.
 |
| Austrians of the 'first' line (foreground) marching on the outskirts of Bienowitz to the sound of the guns. In the distance, the 'second' line can be seen on the more northerly road. |
During his night march a further stroke of good luck befell Frederick. A deserting Irish officer in Austrian service drunkenly stumbled into the Prussian lines and, after being forcibly sobered up, detailed all of the Austrian plan. Frederick halted his 30,000 strong army on the low plateau above the Katzback River. Fearing he would be caught between Daun and Loudon he deployed in two wings, facing in two directions, to counter whichever attack came first. As it was, it was the anvil force of 24,000 men under Loudon, moving into its blocking position, which accidentally triggered the Prussian hussar pickets, at 2.30 a.m.; the hussars immediately retreated and reported. Frederick, still maintaining two wings, ordered some small adjustments to his dispositions. To delay the Austrian advance until this redeployment was safely accomplished he sent forward some of his heavy cavalry.
 |
| Prussian units, in the wing commanded by Frederick II, in their starting positions on the plateau. The plateau is quite a feature: it covers an area roughly four feet wide by five feet deep; it is two contours (2") high - this is where using a cloth, rather than terrain boards, generally proves its worth. see this link to see what the hills are made of.The plateau is not a hindrance to movement in any direction; it provides a superior position to artillery shooting down slope. |
Loudon's force was marching in three parallel columns, moving in a roughly northerly direction. Loudon had no idea that the Prussians were close by and he was moving at speed, and without scouting ahead.
 |
| Prussian Brummers stand ready to receive the Austrians. Heavy guns were generally nobody's child when things went badly; at Liegnitz, Frederick put a battery of ten heavy guns under the command of each brigade for mutual support - it proved to be a master stroke. |
It was the Austrian cavalry vanguard which blundered into the main Prussian position first, soon followed by the reserve still marching in column. These clashes gave Loudon his first insight into his predicament. When the shock of contact occurred Loudon reacted with his usual sagacity. With the Katzbach blocking his line of retreat south, withdrawal in the face of the enemy was not an option. With overall numbers roughly equal - unknowingly, with half of the Prussians facing a possible attack from Daun he actually had a local superiority of about 3:2 - he decided to attack and hold Frederick in place until Daun arrived. He gave his orders accordingly. As his vanguard cavalry engaged, he planted some artillery and organised his reserve division of grenadiers and elite squadrons into line for an assault on the plateau. Thus began the Battle of Liegnitz on 15th August 1760.
 |
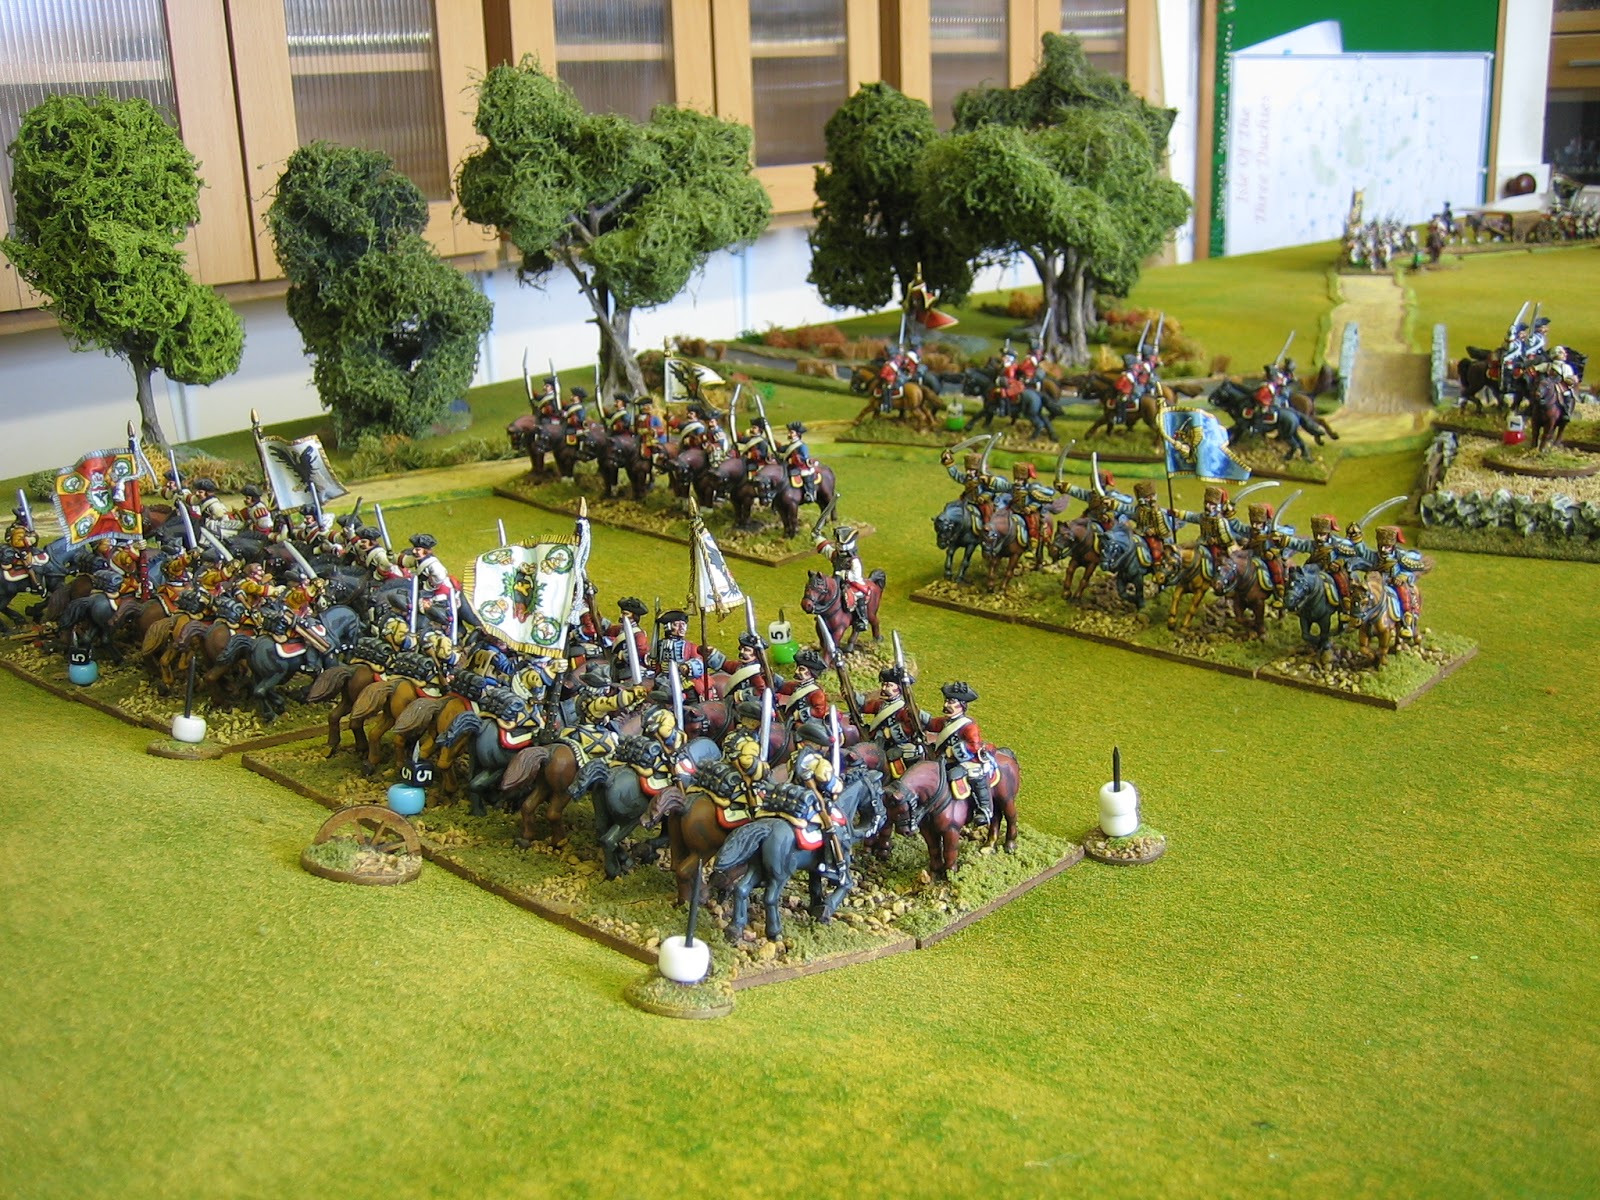
Loudon has planted his artillery to support the attack of his reserve. Note that all five of these infantry units should be grenadiers but I only have three units - I will upgrade the line infantry to have similar stats by making them 'eager'. In the distance the Prussian heavy cavalry are deployed to delay the oncoming Austrian cavalry of the van.
The woods behind the cavalry (on and beyond the north edge of the table) were extensive and forced the Austrians to attack on a very narrow front - I will class them as type III [difficult] terrain for movement and type II [light] cover. |
Scenario notes
Deciding how to set this battle up poses something of a problem. Starting with the first cavalry encounter at the crack of dawn and just before the arrival of the Austrian infantry at Panten (or with them advancing in column into the face of the Prussians), would be a fair place to start. However, purely for gaming reasons I'm going to discount this option because too much valuable gaming time would be spent fighting a small cavalry action whilst the Austrians and Prussians pointlessly manoeuvre into positions they have little choice over anyway. And furthermore, it might lead, in a multi-player game, to a lot of thumb twiddling. Far better, I think, to start the action with a slight fudge on the timing of the initial contact between the Austrian vanguard and Prussian heavy cavalry, and the attack by Loudon's grenadiers. As these two actions are separated by some distance they can probably happen simultaneously without distorting the initial narrative to any great extent. After that, as in all war games, the luck of the dice will tell and the war game will simply veer off and tell its own narrative and a new history will be made.
 |
This shot shows the columns of the 'first' and 'second' lines marching west from from the direction of Bienowitz. They have not (as I first thought) marched from the east - they have crossed the Katzbach south of Bienowitz before turning west.
This shot shows the southerly flowing tributary of the Katzbach River quite nicely; it is type III terrain except at the 'rocky pools' just south of the stone bridge - these are not passable. The boggy ground running from Pantern to Bienowitz mark the sodden water meadows of the Katzbach River (which runs just south of the table) - these are not passable. |
My action will start at first light (approximately 4.30 a.m.). My set up will have the Austrian vanguard cavalry running into contact with the advancing Prussian heavy cavalry sent to delay it. Loudon's reserve will begin the battle organised to deliver its attack against the Prussians on the heights from the direction of Panten. The Austrian 'first' and 'second' lines will start the game marching to the sound of the guns from the direction of Bienowitz. The final Prussian reserves will start getting into their final positions.
This then, as the accompanying photographs show, will be the initial set up.
 |
Two regiments of Prussian fusiliers marching from the opposite wing to bolster Frederick's reserve infantry - one of the last minute adjustments made by Frederick to the Prussian deployment.
Note that the windmill is the game objective: To hold it a player must have the nearest unit to the marker placed under its base.
The windmill is only a scenic item. If necessary, it can be moved but the marker under it may not. |
The next thing to consider are the victory conditions.
Historically, Loudon was probably trying to buy time for Daun to come up and finish Frederick off with a classic pincer movement but, on hearing reports that Loudon had been unable to dislodge Frederick, Daun decided not to attack and withdrew to his start positions.
Loudon believed that Daun had betrayed him. Loudon believed Daun had refused to attack as soon as he knew of Loudon's predicament because he was jealous of his rising fame and saw his chance to see off his rival. For the purpose of this scenario, the betrayal angle works for me. Without the possibility of Daun's arrival this game becomes a one on one fight and victory conditions become far easier to set - Daun will not arrive unless Loudon has already won, when he will move in to share the spoils.
Therefore, the loser will be the first side, not holding the windmill, to throw in the towel whilst at zero morale points. At that point the side holding the windmill will be able to claim a victory and only the level of the winners victory needs to ascertained.
The battle saw several counterattacks by the Prussians and giving further defined objectives might encourage the Prussians to do more than simply sit on their hill.
- If the winner holds Bienowitz, Panten and the windmill it is a crushing tactical victory.
- If the winner holds Bienowitz or Panten and the windmill it is a major tactical victory.
- If the winner holds the windmill it is minor tactical victory.
If the winner has less than 50% of his starting unit count (Prussian 24, Austrian 32) still in action at the end of the battle the tactical victory, of whatever level, is pyrrhic and the result is a strategic draw. Note that winning the tactical battle is still the important thing!
Order of battle
The order of battle given below is given in wargame units. As a rule of thumb, an infantry unit represents two infantry battalions, a cavalry unit represents five squadrons and a battery of artillery represents about ten pieces.
I have used the order of battle given by Kronoskaf as the basis for the OOB in conjunction with the German General Staff map and Duffy's map in The Army of Frederick the Great.
Because the elite companies that formed the converged battalions of the reserve were from their parent units in Loudon's force, I have reduced the number of units in the 'first' and 'second' lines by three units.
Although I have enough line infantry to do Liegnitz (with four units left over) I didn't have all of the right infantry to do this battle. I was three units of grenadiers and a unit of Hungarians short. These have been replaced with Austrian line infantry stand ins, suitably upgraded where required - they are listed in the OOB as what they should be.
I have had to make a guess about the cavalry brigade that formed the Austrian van. I have made it the lead cavalry of the 'first' line.
I have omitted the Austrian light troops, except for 1 regiment of hussars (fielded with the vanguard cavalry command), because I have no evidence for their participation in the battle excepting that one unit of hussars suffered six casualties.
Beyond training and weaponry, units in Piquet games are given a quality rating. As a rule of thumb, ready troops are average and use basic factors; battle weary troops are downgraded for combat; eager troops are upgraded for combat; determined troops are double up graded for combat.
The Prussian infantry of the first line had seen relatively little action since 1758 whereas the reserve infantry had all been badly knocked about, especially at Kunnersdorf in August 1759. To differentiate, I have decided to make the Prussian first line troops eager and the reserve ready.
Austrian
Commander in chief: Field-marshal Earnst Gideon baron Loudon - rated as skilled.
Army morale: 35 points.
Extra cards: Brilliant Leader (for Loudon); Infantry Morale Up 1; Stratagem - Heroic Commander *.
2 units of field artillery - ready (both with the reserve)
2 units of heavy artillery - ready (one with each 'line')
Reserve: Field-Marshal-Lieutenant baron Müffling - rated as average, heroic commander.
- 5 units of grenadiers - ready
Cavalry of the Reserve: Unknown - rated as average.
- 1 unit of elite squadrons - eager (inc. carabiniers)
- 1 unit of elite squadrons - ready
Vanguard cavalry of the first line: Unknown - rated as average.
- 1 unit of cuirassiers - eager
- 2 units of dragoons - eager
- 1 unit of hussars - ready
Infantry of the first line: Unknown - rated as poor.
- 1 unit of grenadiers - ready
- 2 unit of Hungarian line infantry - ready
- 2 units of Austrian line infantry - ready
- 1 unit of Austrian line infantry - eager
- 1 unit of Austrian line infantry - battle weary
Rearward cavalry of the first line: Unknown - rated as average.
- 1 unit of cuirassiers - ready
- 1 unit of dragoons - ready
Vanguard cavalry of the second line - Unknown - rated as poor.
- 1 unit of cuirassiers - ready
- 1 unit of dragoons - ready
Infantry of the second line: Unknown - rated as average.
- 1 unit Hungarian line infantry - ready
- 1 unit of Hungarian line infantry - eager
- 2 units of Austrian line infantry - ready
- 2 units of Austrian line infantry - battle weary
Rearward cavalry of the second line - Unknown - rated as average.
- 1 unit of cuirassiers - ready
- 1 unit of dragoons - ready
* The heroic commander stratagem card is a Brilliant Leader sequence card, that can be used three times in the game, for the grenadiers of the reserve.
Prussian
Commander-in-chief: King Frederick II - rated as superior
Army Morale: 30 points.
Extra cards: Brilliant Leader x2 (for Frederick); Musket Reload; Cavalry Morale Up 1; Heroic Moment.
First line infantry on the left: Major-general von Anhalt-Bernburg - rated as average.
- 1 unit of musketeers - eager
- 1 unit of musketeers - determined (this is IR 3)
- 1 battery of heavy guns - ready
First line infantry in the centre: Major-general von Schenkendorf's - rated as skilled.
- 1 unit of grenadiers - eager
- 2 units of musketeers - eager
- 1 battery of heavy guns - eager (upgraded for Brummers)
First line infantry on the right: Zeuner - rated as average.
- 1 unit of guard - average (downgraded for only one battalion)
- 2 units of musketeers - eager
- 1 battery of heavy guns - average
Reserve infantry: Stetchow - rated as average.
- 1 unit of grenadiers - ready
- 1 unit of musketeers - ready
- 2 units of fusiliers - ready
- 1 battery of field howitzers - eager (upgraded for Saldern's 10 thaler reward *).
Cavalry on the right: Meineck - rated as average.
- 2 units of dragoons - ready
Cavalry on the left: Holstein - rated as skilled.
- 3 units of cuirassiers - eager
- 1 unit of cuirassiers - ready
Cavalry on the extreme left: Krokow - rated as average.
- 1 unit of dragoons - ready
- 2 units of hussars - eager
* Saldern offered a 10 thaler reward for the first gun crew that could silence an Austrian battery, sited in front of Panten, that was making a particular nuisance of itself - a howitzer scored a lucky hit on the battery's ammunition wagon and the battery was duly silenced.
Battle Casualties (from Kronoskaf) : The losses according to Gaudi amounted to 6,000 men killed and wounded and 4,000 taken prisoners, along with 82 guns and 28 flags for the Austrian, and to 3264 killed and wounded and 342 taken prisoners, along with 10 flags for the Prussians. Tempelhof gives 1800 for the Prussian Killed and wounded. The Austrian relation recognizes 3791 killed and wounded, 2140 prisoniers, 68 guns and claims 10 guns and 6 flag taken. According to Duffy sources: Austrian 3767 killed and wounded, 4731 prisoniers and missing, Prussian 3172 killed and wounded, 250 missing and prisoniers, 10 colours and 1 standard.
That, in a nutshell is the set up for my Battle of Liegnitz 1760 scenario. For those wanting to read how the battle went historically I can't point you to better place than the Kronoskaf Seven Years War Project site.
For those wishing to find the battlefield on Google Earth, Panten (now Patnow Legnicki) can be found at 51
⁰14’41.03”N
16⁰13’02.46”E.
For one reason, or another, there has been no game here for two weeks. Hopefully, the Lads will be around next week to start fighting this battle out. If you think I've got something completely wrong with this scenario, please don't hesitate to let me know - there may be time to change it.
Edit note: A first play test has shown that I had set up the columns of the first and second lines too far back. For the next game they will both start with their heads at the bridges. I have made some slight alterations to the text and OOBs. An Austrian unit of hussars has been added to the vanguard cavalry.